Hi there...
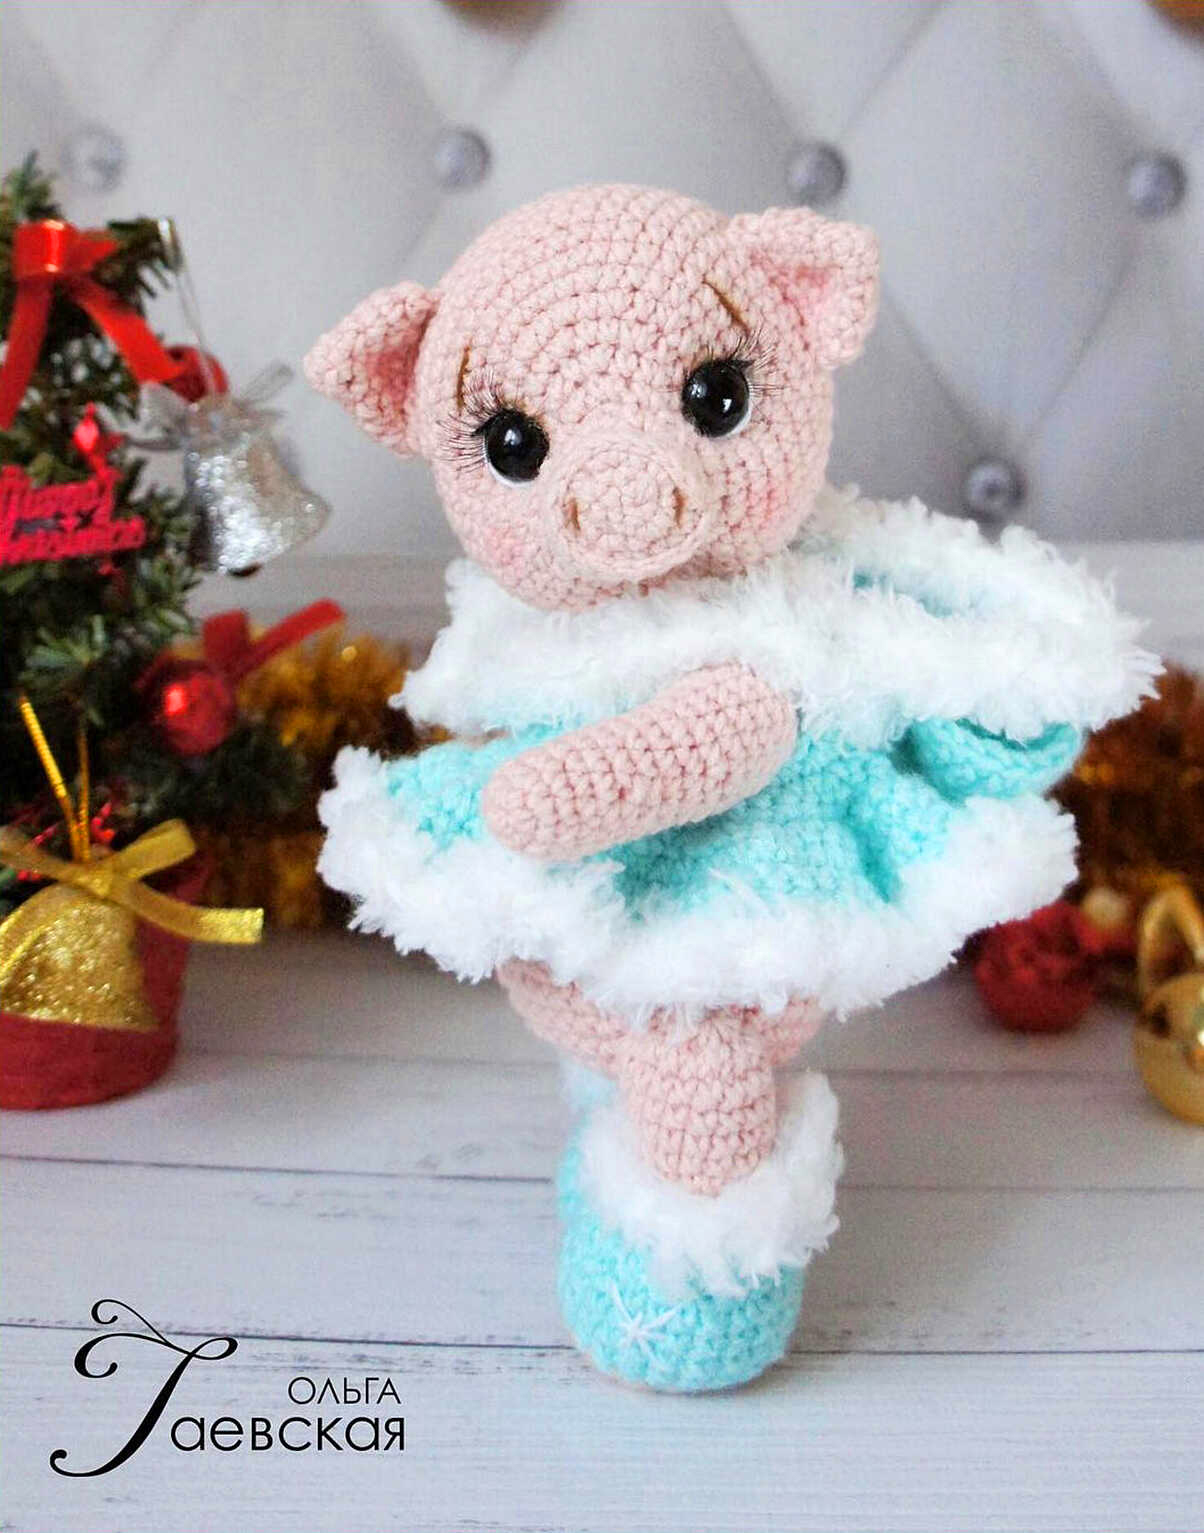
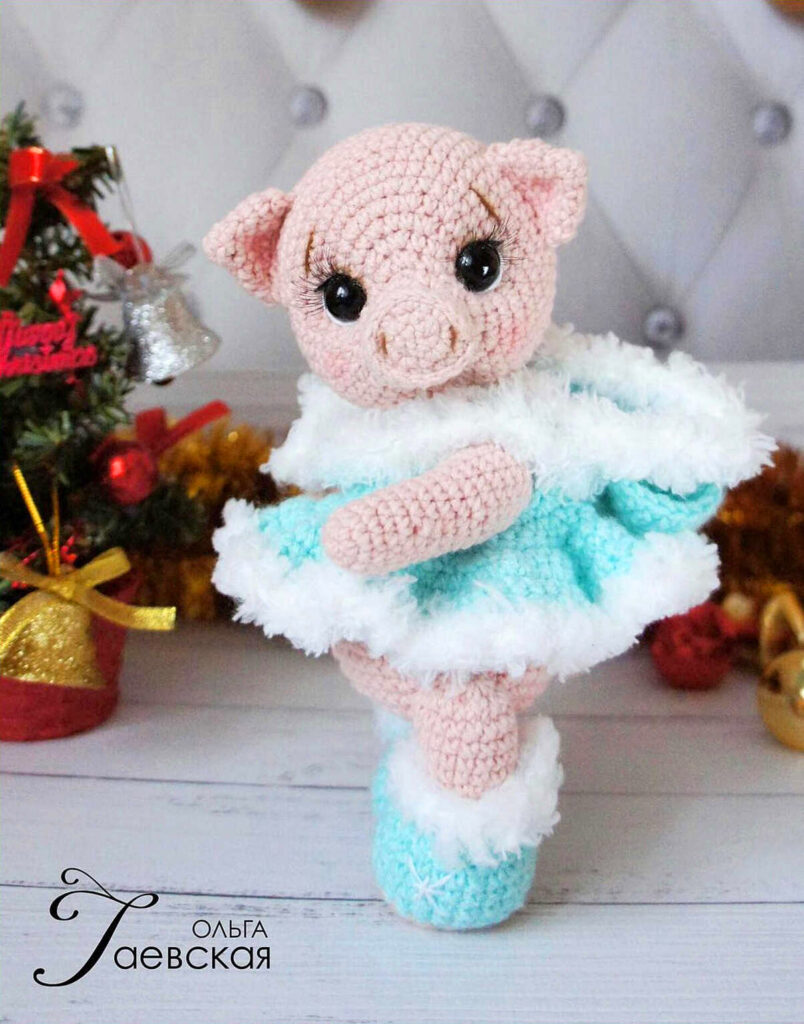
One of the free amigurumi crochet patterns we will share today is the amigurumi piggy, whose photos and design belong to Olga Gaevskaya. You can learn how to crochet these pig using the free amigurumi pattern. Thanks to Olga Gaevskaya (toys_by_volshebstvo_petelek) for this cute pig.

If you don’t know how to often crochet and needles, read our shares. Start your knitting according to the rate you have according to the shape you will make. Shape your toy by increasing and decreasing the point. Once you weave the shape you want to fill the inside of your toy and look at the pictures to decorate.
Amigurumi cats, amigurumi dolls, amigurumi dogs, amigurumi unicorns, amigurumi lambs, amigurumi dinosaurs, amigurumi foxes, amigurumi bears, amigurumi giraffes, amigurumi pigs, amigurumi penguins, amigurumi panda, amigurumi llama, amigurumi bunny, amigurumi clowns, amigurumi elephants, amigurumi hippos, amigurumi monkeys will not be difficult for you…
Materials
1. Alize Cotton Gold yarn (55% cotton, 45% acrylic, 100g, 330m)
2. Alize Happy Baby (65% acrylic, 35% polyamide, 100g, 350m)
3. Color City “Kuzya Klubochkin” (15% cotton, 85% polyamide, 50g, 95m)
4. Hook under your yarn. I have number 1.75 for the main and number 2.5 for clothes.
5. Cotter pins: T-cotter pin (size 2×20) – 4pcs, O-cotter pin (size 2×25) – 2pcs.; wheels: 15mm – 4pcs. for pens, 18mm – 4pcs. for legs, 20mm – 2pcs. for fastening the head; washers – 10 pcs.
6. Filler (syntepuh, holofiber or swan fluff).
7. Screw eyes with a diameter of 10 mm.
8. Strong thread for tightening, needle, safety pins, scissors.
9. Round-nose pliers.
10. Clay Crystal Moment.
11. Dry pastel for tinting or any other means of tinting familiar to you (optional), eyelashes for dolls (optional).
12. Mouline thread for eyebrow embroidery
Abbreviations
inc – increase;
dec – decrease;
ch – chain
sc is a single crochet;
sl-st – connecting column;
(sc, inc) * N – repeat knitting N times;
flo – knit for the front half loops;
blo – knit for the back half loops.
All parts are knitted in a spiral, without a lifting loop, unless otherwise stated in the description.
AMIGURUMI PIG FREE PATTERN

Head
1 – 4ch, from the 2nd from the hook of the loop: 2sc, 3sc in 1, continue on the other side of the chain: sc, inc (8sc)
2 – inc, sc, 3inc, sc, 2inc (14sc)
3 – inc, sc, 3sc in 1, 2 sc, inc, 8sc (18sc)
4 – 18 sl-st for 3rd row flo
5 – 18 sc for blo 3rd row
6 – (sc, dec) * 6 (12sc)
7 – sc, inc * 6, 5sc (18sc)
8 – 2sc, inc * 6, 8 sc, the marker is portable and further aligned with it (22sc)
9 – 2sc, inc * 2, 2sc, (sc, inc) * 5, 2sc, inc * 2, 4sc (33sc)
10 – 5sc, inc, 2sc, inc, (2sc, inc) * 4, 4sc, inc, 7sc (40sc)
11 – 16sc, (sc, inc) * 4, 16sc (44sc)
12 – (10sc, inc) * 4 (48sc)
13-20 – 48sc
In the 10th row, install a cotter pin for attaching the head.
21 – (6sc, dec) * 6 (42sc)
22 – (5sc, dec) * 6 (36sc)
23 – (4sc, dec) * 6 (30sc)
24 – (3sc) * 6 (24sc)
Stuff your head
25 – (2sc, dec) * 6 (18sc)
26 – (sc, dec) * 6 (12sc)
Up to fill your head
27 – 6dec
Ears
1 – 6sc into magic ring
2 – 6sc
3 – inc * 6 (12sc)
4 – (sc, inc) * 6 (18sc)
5-6 – 18sc
Fold in half and tie sl-st, do not stuff.
Straighteners
Point 1 – 8 rows below the start of knitting
Points 2 and 4 – 8 rows above knitting
Points 3 and 5 – 4 rows above points 2 and 4
We introduce a needle with a long thread at point 1, output at point 2. Enter at point 3, and output 1 sc lower than point 1. From this point, enter at point 1, output at point 4. Enter at point 5 and output 1 sc lower than t. 1. Repeat the tightening procedure again, tighten it well. Fasten and cut the thread.
Arms
1 – 6sc into magic ring
2 – inc * 6 (12sc)
3-9 – 12sc
10 – (5sc, inc) * 2 (14sc)
11-18 – 14sc
Having retreated 2 rows down to set the cotter pin, fill the handle
19 – dec * 6
Legs
(center marker in the back)
1 – 6ch, from the 2nd from the hook of the loop: inc, 3sc, 4sc in 1, continue on the other side of the chain: 3sc, inc (14sc)
2 – 2inc, 3sc, 4inc, 3sc, 2inc (22sc)
3 – 22sc
4 – 22 sc per blo
5-6 – 22sc
7 – 6sc, 5dec, 6sc (17sc)
8 – 4sc, (sc, dec) * 3, 4sc (14sc)
9 – (5sc, dec) * 2 (12sc)
10-11 – 12sc
12 – (3sc, inc) * 3 (15sc)
13-16 – 15sc
17 – (3sc, dec) * 3 (12sc)
To retreat 2 rows down and install a cotter pin, fill the legs
18 – 6dec
Body
(marker in the center of the back)
1 – 6sc into magic ring
2 – 6inc (12sc)
3 – (sc, inc) * 6 (18sc)
4-5 – 18sc
6 – 6sc, 6inc, 6sc (24sc)
7-9 – 24sc
10 – 6sc, (sc, inc) * 6, 6sc (30sc)
11-13 – 30sc
14 – (5sc, inc) * 5 (35sc)
15 – (6sc, inc) * 5 (40sc)
Set the head, in the 7th row install the handles
16-17 – 40sc
18 – 40sc, we tied the row and then we knit the tail. We collect a chain of 6ch. With the second ch we knit 2sc in each, we return to the end of the 18th row
19-21 – 40sc
22 – (8sc, dec) * 4 (36sc)
23 – (4sc, dec) * 6 (30sc)
In the 21 row we fix the legs
24 – (3sc, dec) * 6 (24sc)
We begin to fill the body.
25 – (2sc, dec) * 6 (18sc)
26 – (sc, dec) * 6 (12sc)
We continue to fill the body
27 – 6dec
Embroider eyebrows and two stripes – nostrils. I tinted the dimple of the mouth, cheeks and inner part of the ear. As eye proteins, you can use felt or embroider, as in my case, with a white semi-cotton thread.
Dress
(knit in swivel rows, ch rise at the beginning of each row) 8ch short into a ring (this will be a buttonhole) and continue to knit a chain of 26ch From the second from the loop hook, knit 25sc
1 – (4sc, inc) * 5 (30sc)
2 – (5sc, inc) * 5 (35sc)
3 – 35sc
4 – 35sc per blo
5 – 6sc, 4ch (skip 6sc), 11sc, 4ch (skip 6sc), 6sc
6 – sc, inc, 9sc, inc, 3sc, inc, 3sc, inc, 9sc, inc, sc (36sc)
7 – (5sc, inc) * 6 (42sc)
8 – 42sc
9 – 2sc, (3sc in 1) * 2, alternate to the end of the row
10-12 – 82sc
Yarn “Kuzya K Lubochkin” I divided into 3 threads. I tie the bottom of the dress and the shelves in 2 threads.
To float 4 rows I attach one thread “Kuzi Klubochkina” and knit 2 rows of 35sc each.
Sew on a button and decorate.
