Designer: Fairytechlab
VK: @fairytechlab
Hello dear friends...
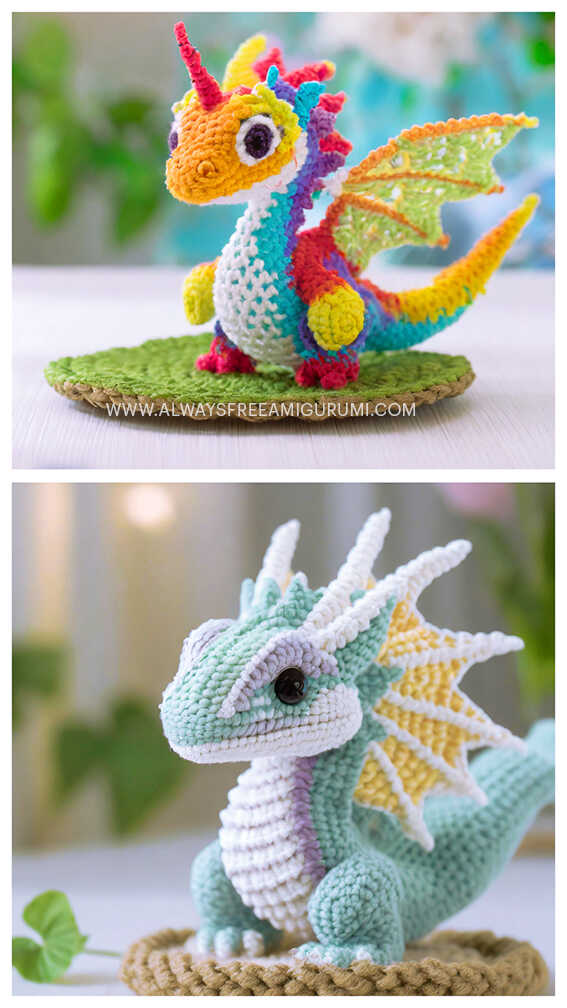
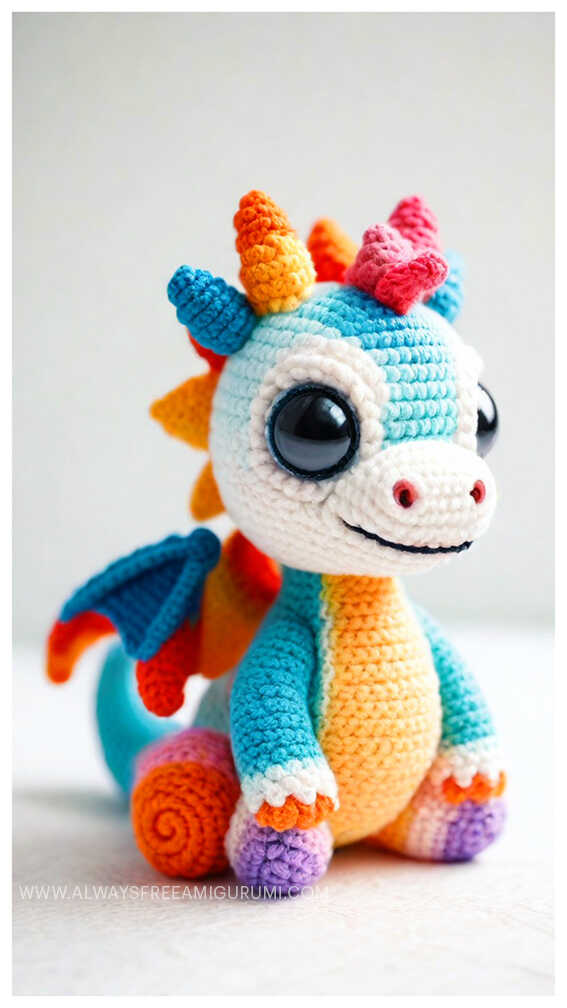
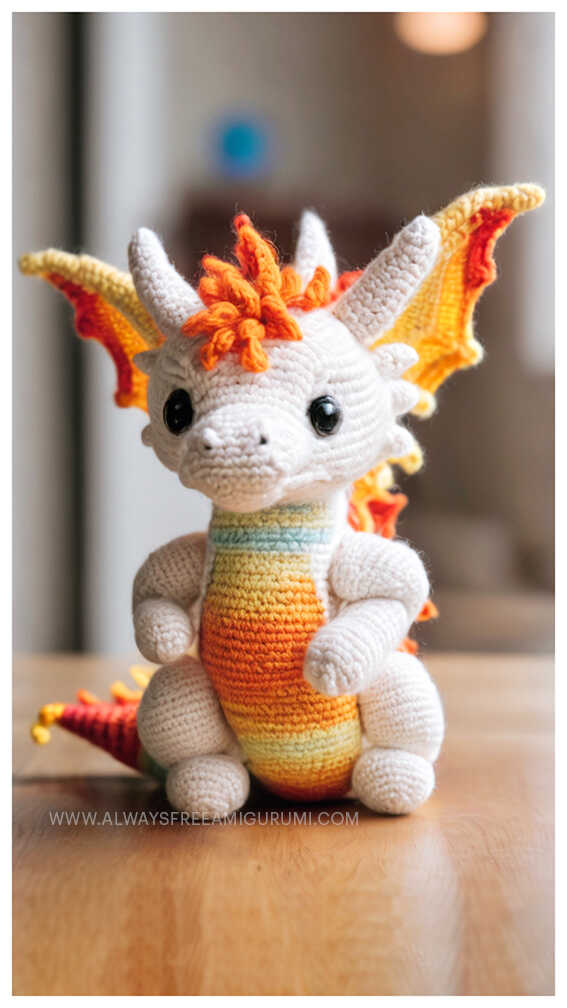
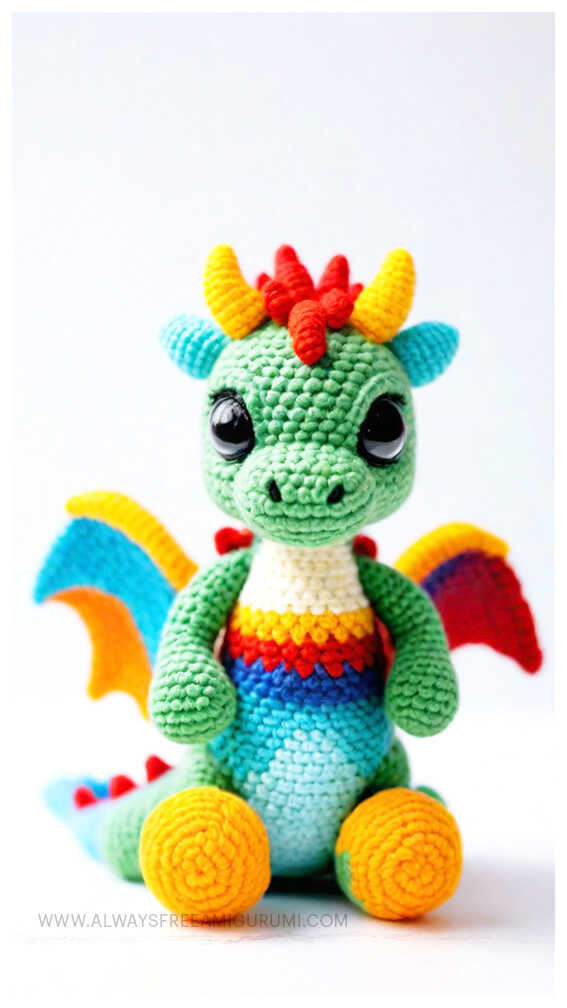
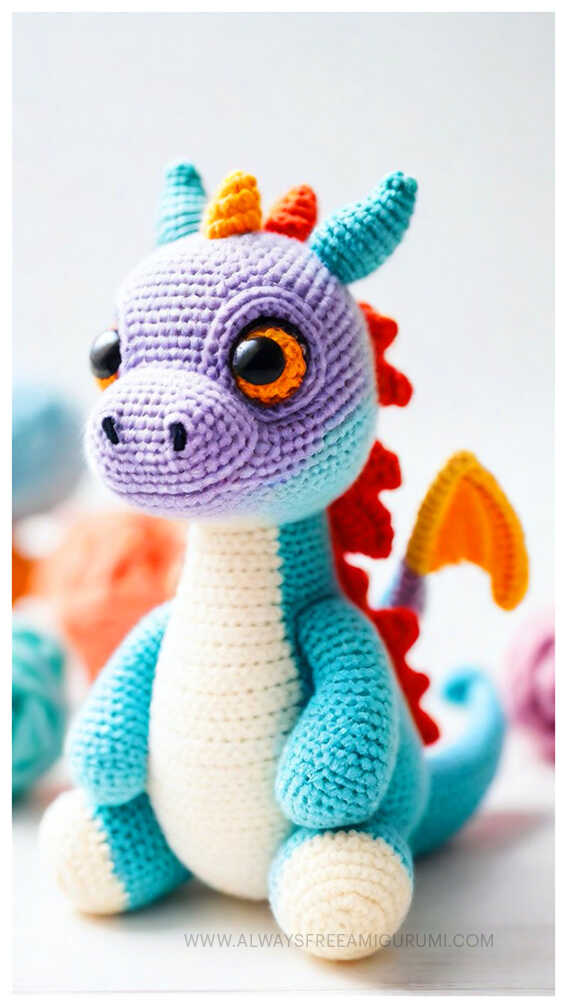
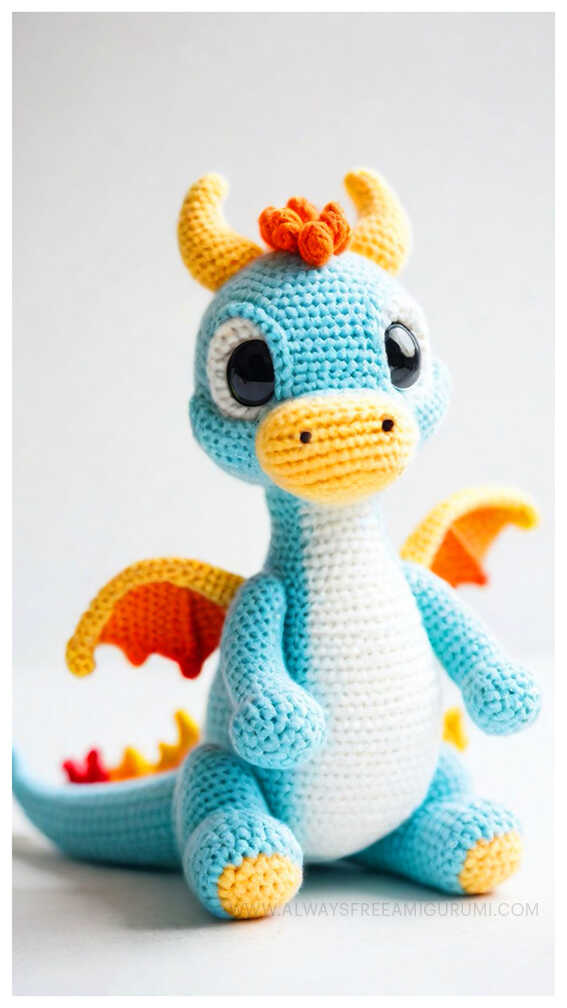
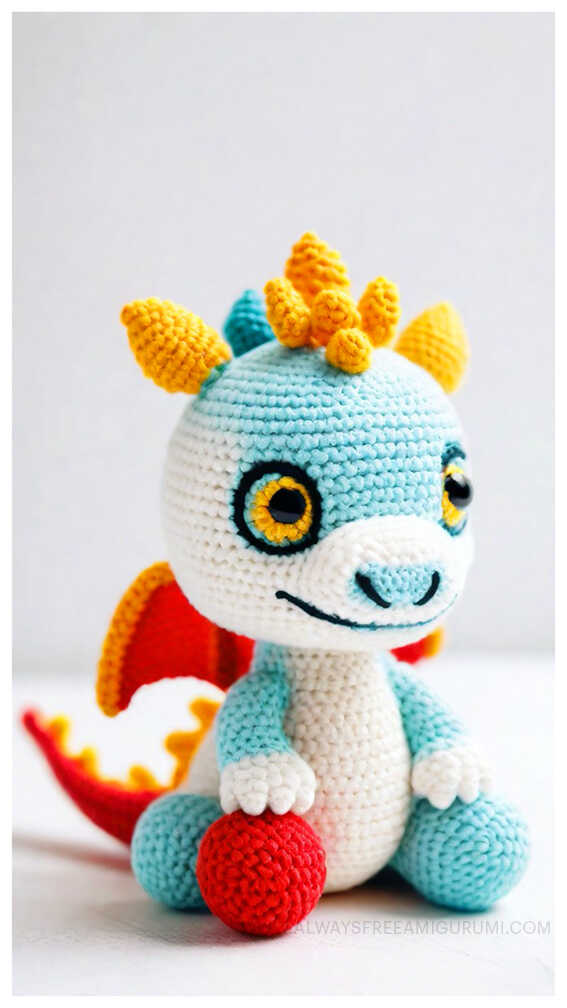
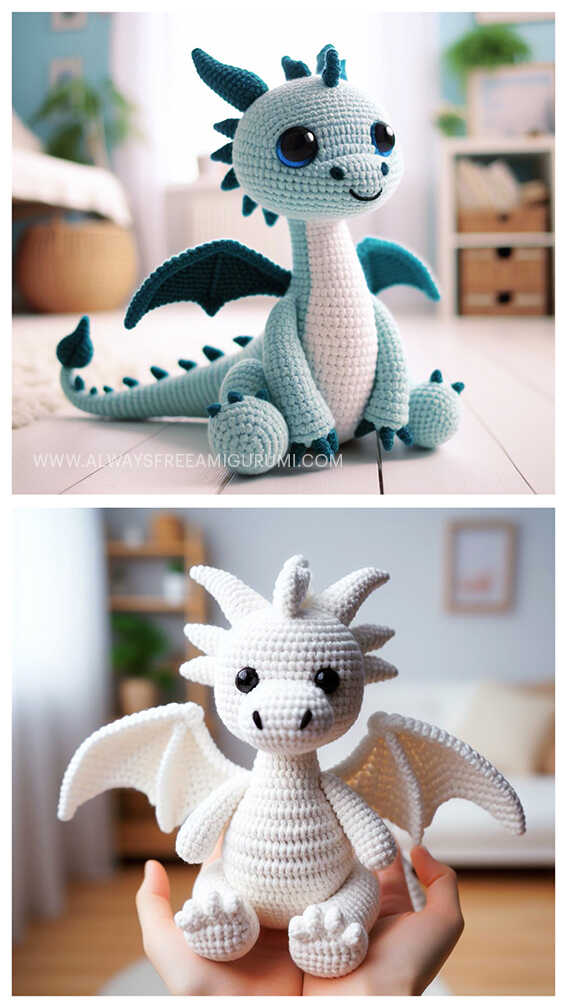
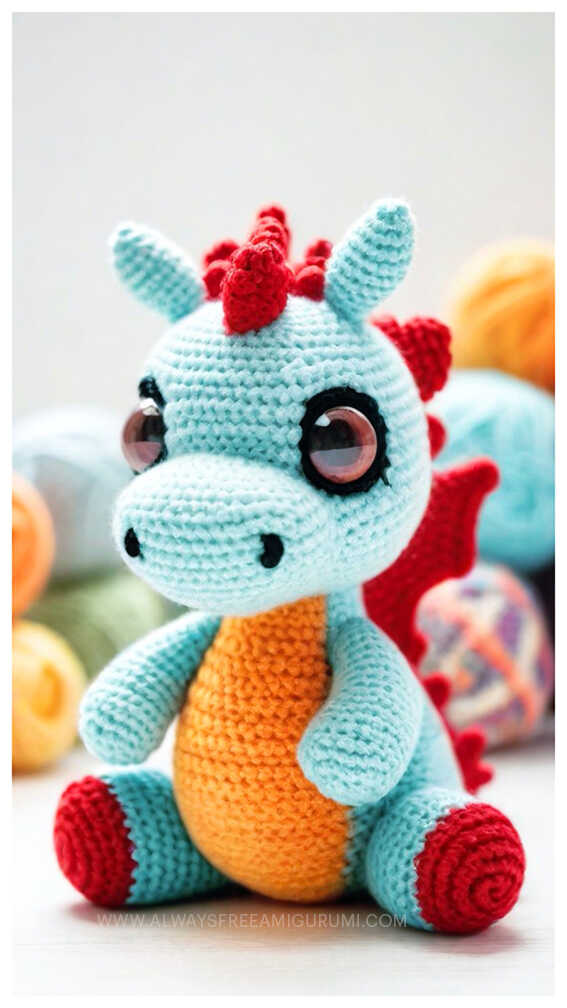
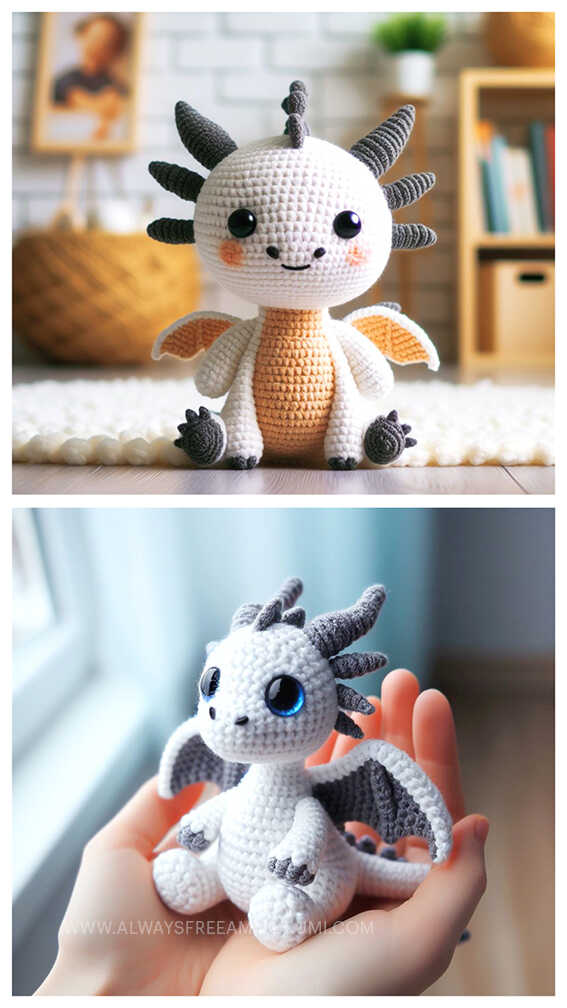
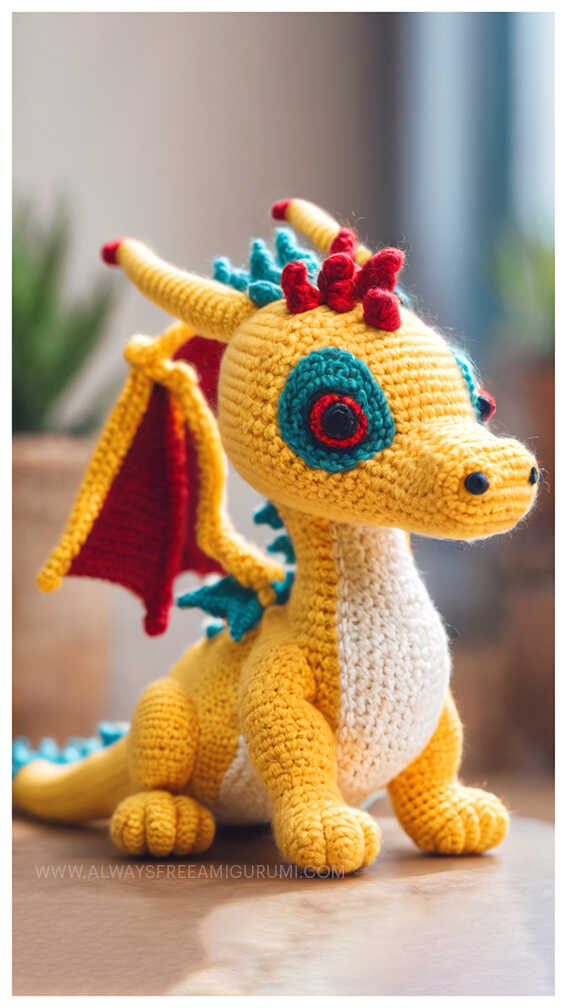
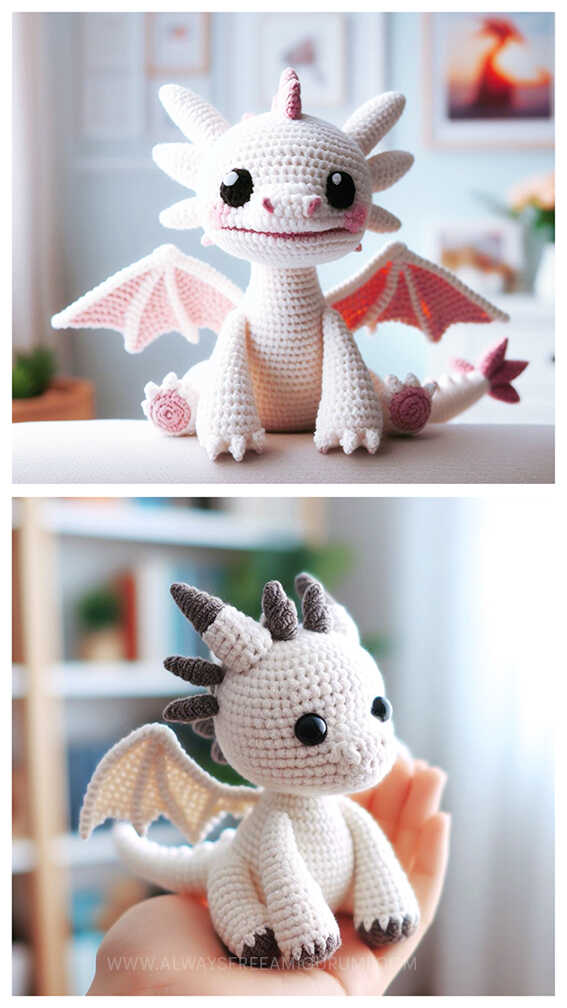
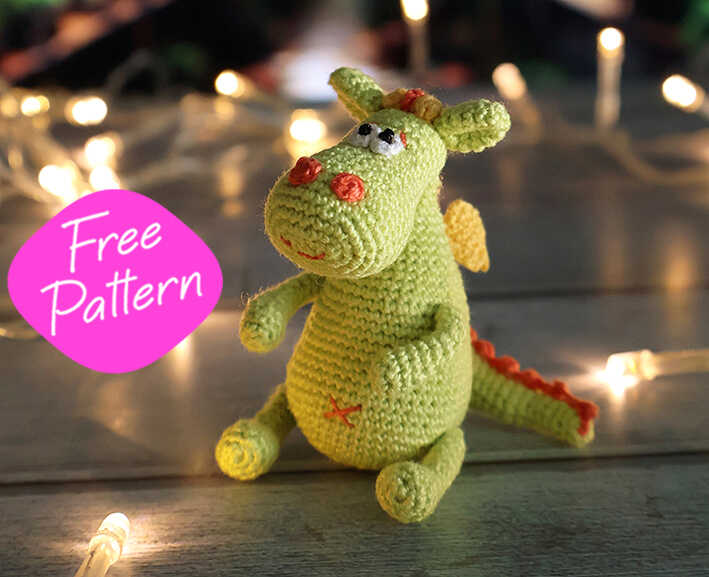
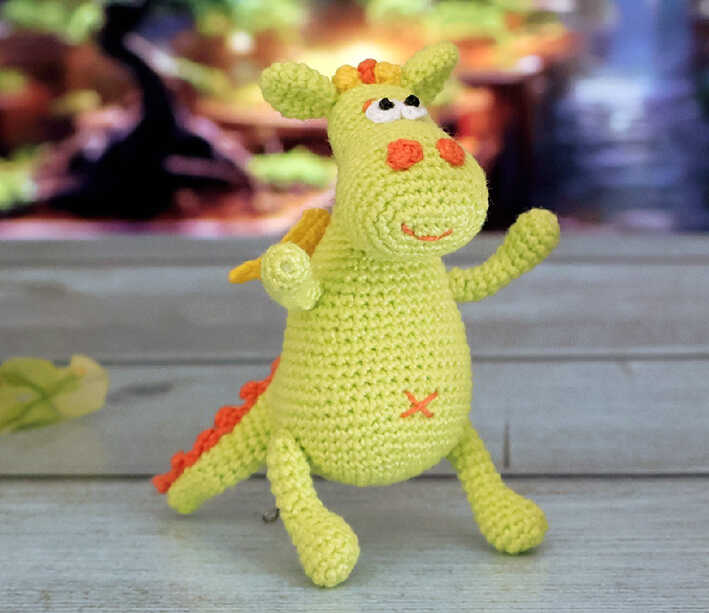
One of the free amigurumi crochet patterns we will share today is the amigurumi dragon, whose photos and design belong to Fairytechlab. You can learn how to crochet these dragon using the free amigurumi pattern. Thanks to Fairytechlab for this cute dragon.
Amigurumi cats, amigurumi dolls, amigurumi dogs, amigurumi unicorns, amigurumi lambs, amigurumi dinosaurs, amigurumi foxes, amigurumi bears, amigurumi giraffes, amigurumi pigs, amigurumi birds, amigurumi penguins, amigurumi panda, amigurumi llama, amigurumi bunny, amigurumi clowns, amigurumi elephants, amigurumi hippos, amigurumi monkeys will not be difficult for you…
Materials:
– Figurine. Iris threads, 3 colors you like.
– I used green as the main color of the figure, yellow for the horns and wings, and red for the comb and face design.
– Eyes. I used regular black beads, since the figure turns out to be quite miniature. If you use a fluffier thread and a larger hook, a bead size of 3mm is suitable. For white halos around the eyes, you will need a white iris thread.
– Monofilament thread for sewing parts (optional, I like to use it because it is “invisible” and the stitches will never be noticeable)
– Hook 0.7
– Wire for the frame and the ability to give the dragon different poses.
– Sintepon for stuffing.
– Good mood 🙂
Abbreviation:
• MR: Magic ring.
• Rnd: Round.
• Sc: Singer crochet.
• Inc: Singer crochet increase (2 sc in one stitch).
• Dec: Singer crochet decrease (make 2 stitches in one stitch).
• Sts: Stitches.
• BLO: Back loop only.
• Hdc: Half double crochet.
Slst: Slip stitch.
AMIGURUMI DRAGON FREE PATTERN
Body
1. 6 sc in MR
2. 6 inc (12)
3. (1 sc, inc)*6 (18)
4. (2 sc, inc)*6 (24)
5. (3 sc, inc)*6 (30)
6. (4 sc, inc)*6 (36)
7. (5 sc, inc)*6 (42)
8. (6 sc, inc)*6 (48)
9-13. 48 sc
14. 14 sc, dec, 6 sc, dec, 6 sc, dec, 16 sc (45)
15. 45 sc
16. (13 sc, dec)*3 (42)
17. (12 sc, dec)*3 (39)
18-19. 39 sc
20. (11 sc, dec)*3 (36)
21-22. 36 sc
23. 10 sc, dec, 4 sc, dec, 4 sc, dec, 12 sc (33)
24. (9 sc, dec)*3 (30)
25. 8 sc, dec, 3 sc, dec, 3 sc, dec 10 sc (27)
26. (7 sc, dec)*3 (24)
Stuff the toy tightly and evenly with padding polyester.
27. (6 sc, dec)*3 (21)
28. (5 sc, dec)*3 (18)
29. (4 sc, dec)*3 (15)
30. (3 sc, dec)*3 (12)
31-35. 12 sc
There is no need to close or tighten the hole. If necessary, add more stuffing to the belly for density and stability of the dragon. There is no need to stuff the neck tightly, we will still have wire here and in general the neck should be able to bend.
Head
1. We cast on 6 ch, from the second loop from the hook we knit 4 sc, 3 sc in 1 loop, turn the knitting, on the second side of the chain 3 sc, increase. There should be a total of 12 stitches on the row.
2. inc, 3 sc, 3 inc, 3 sc, 2 inc (18)
3. 1 sc, inc, 3 sc, (1 sc, inc)*3, 3 sc, (1 sc, inc)*2 (24)
4. 2 sc, inc, 3 sc, (2 sc, inc)*3, 3 sc, (2 sc, inc)*2 (30)
5-9. 30 sc
10. 3 sc, dec, 3 sc, dec, 20 sc (28)
11. 28 sc
12. 1 sc, (8 sc, dec)*3 (25)
13. 1 sc, (8 sc, dec)*3 (22)
14. 22 sc
15. 6 sc, inc, 10 sc, dec, 3 sc (22)
16. 6 sc, inc, 10 sc, dec, 3 sc (22)
17. (10 sc, inc)*2 (24)
18-22. 24 sc
23. (2 sc, dec)*6 (18)
24. (1 sc, dec)*6 (12)
25. 6 dec (6)
We insert the wire into the place of attachment with the body.
Arms(2nd parts)
1. 6 sc in MR
2. (1 sc, inc)*3 (9)
3-4. 9 sc
5. dec, 7 sc (8) Add a drop of stuffing
6. dec, 6 sc (7)
7. dec, 5 sc (6)
8-11. 6 sc
Insert a piece of wire.
Legs (2nd parts)
1. 6 sc in MR
2. 6 inc (12)
3-5. 12 sc
6. dec, 10 sc (11)
7. dec, 9 sc (10) We fill the legs.
8. dec, 8 sc (9)
9. dec, 7 sc (8)
10-14. 8 sc
Insert the wire and bend the free end to the side. Through the wire, passing one loop, we knit the closing row with decreases (1sc, dec) * 3, tighten the hole.
Ears (2nd parts)
1. 6 sc in MR
2. (1 sc, inc)*3 (9)
3. (2 sc, inc)*3 (12)
4-5. 12 sc
6. (2 sc, dec)*3 (9)
7. (1 sc, dec)*3 (6)
No need to stuff ears.
Tail
1. 6 sc in MR
2-4. 6 sc
5. inc, 5 sc (7)
6-7. 7 sc
8. 2 inc, 5 sc (9)
9-13. 9 sc
14. 2inc, 7 sc (11)
15. 11 sc
16. (1 sc, inc)*2, 7 sc (13)
17. (1 sc, inc)*2, 9 sc (15)
18. 3 sc, (1 sc, inc)*3, 6 sc (18)
19. 18 sc
20. (5 sc, inc)*3 (21)
We stuff the part tightly and insert the wire.
Wings (2nd parts)
1. We cast on 10 ch, from the second loop from the hook we knit 9 sc
2. 1 ch, turn the knitting, 7 sc in the opposite direction
3. 1 ch, turn, 7 sc
4. 1 ch, turn, 5 sc
5. 1 ch, turn, 5 sc
Mane
We knit the mane for the dragon with small spiked triangles according to the pattern:
4 ch, ch the second loop from the hook 2 sc, then again 4 ch, ch the second loop from the hook 2 sc and so on.
You should end up with a chain of spikes like this:
The length of the chain depends on how voluminous your figure and tail are.
Therefore, attach the ponytail to the body, you can pin it or sew it on straight away (don’t forget to insert the wire into the ponytail before sewing it on!) and try on the mane as you knit it.
I got 15 spikes.
Eyes and nostrils
6 sc in MR
Assembly tips
-When assembling, it is better to first try on the parts on a pin fastening to understand how the figure looks.
-The use of pins also greatly facilitates the procedure of sewing on the mane – it will not slip away or curl anywhere. I recommend sewing on monofilament thread so that the seams are completely invisible and you don’t have to pick them up.
-On the contrary, it is better to sew the eyes with dark thread in several layers so that the hole in the bead is not visible.
-As you sew on the parts, do not forget to slightly shape the figure with your fingers, as if it were made of plasticine. This way the stuffing inside won’t crumple into one corner and the figurine will retain its symmetrical, neat shape.
– Do not rush to give a play pose and bend the paws at the time of assembly. It is much easier to sew on the arms and legs in the T-pose of the figure.
More amigurumi dragon ideas:
