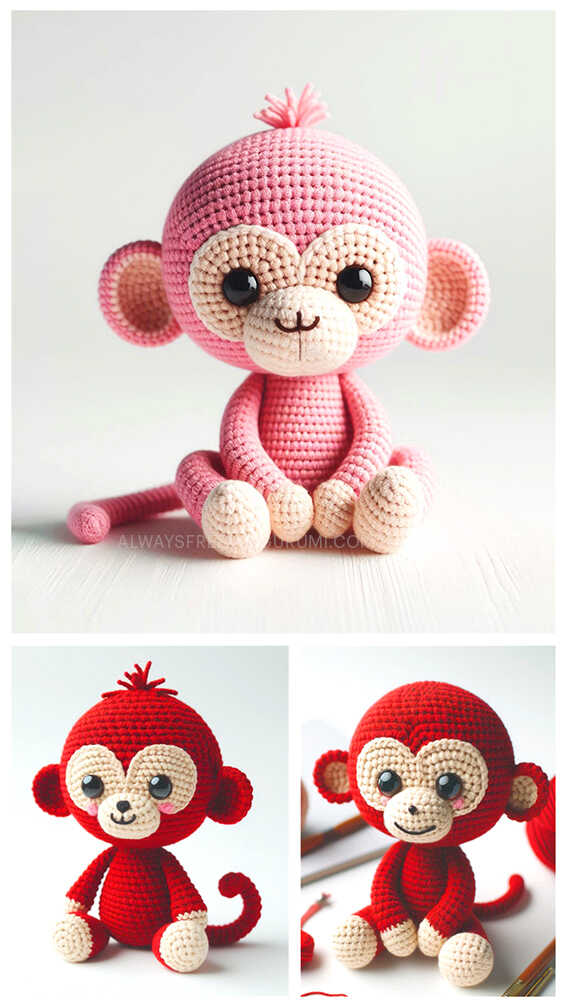
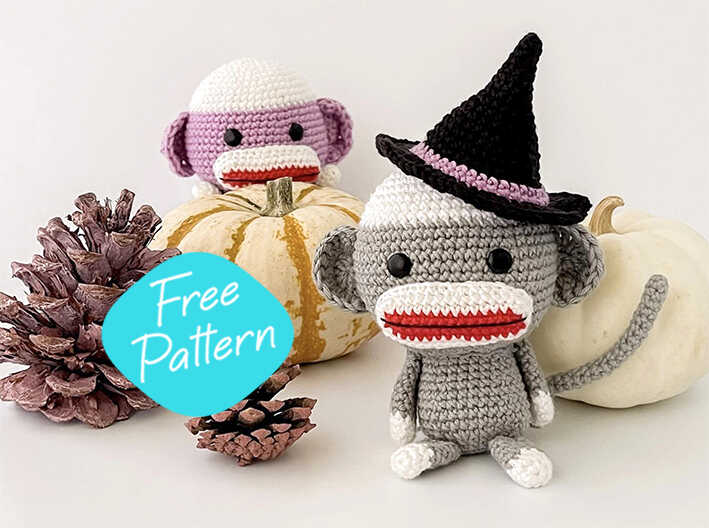
Cute Monkey Amigurumi Free Pattern
Designer: Yarn Ami Crochet
Instagram: @yarn.ami
Etsy Shop: YarnAmiCrochet
Hello Amigurumi Lovers…
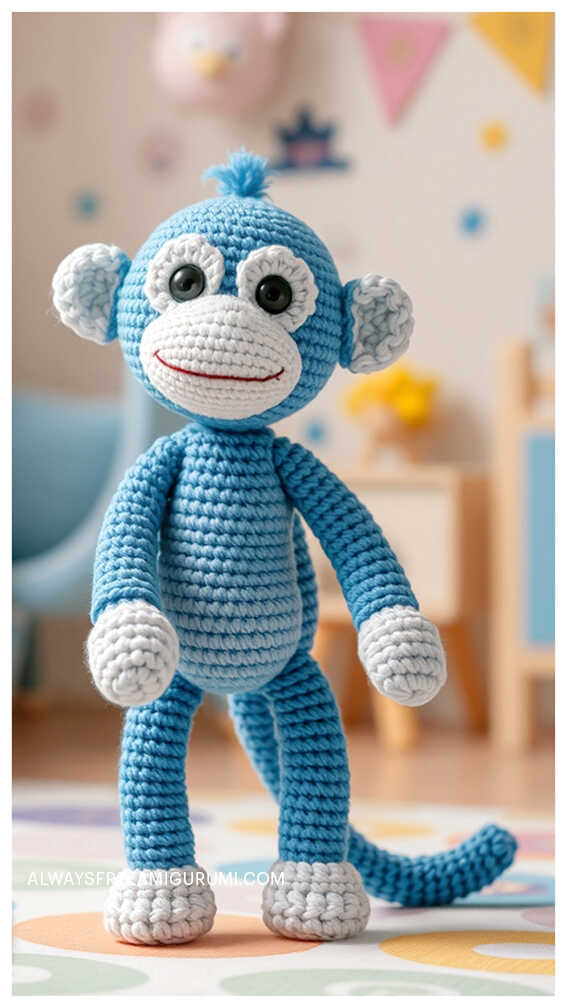
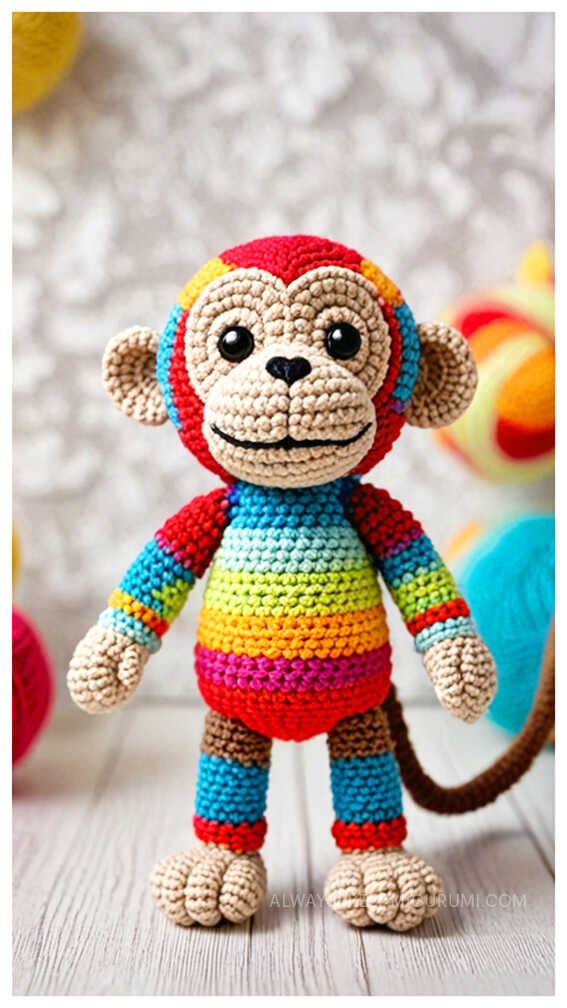
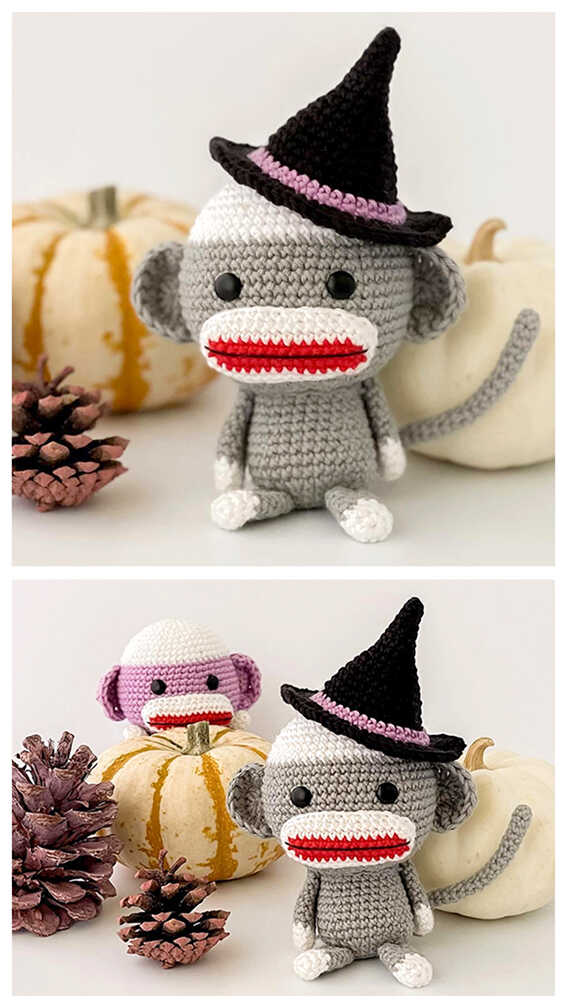
One of the free amigurumi crochet patterns we will share today is the amigurumi monkey, whose photos and design belong to Yarn Ami Crochet. You can learn how to crochet these monkey using the free amigurumi pattern. Thanks to dear Mi Pham for this cute monkey.
Amigurumi cats, amigurumi dolls, amigurumi dogs, amigurumi unicorns, amigurumi lambs, amigurumi dinosaurs, amigurumi foxes, amigurumi bears, amigurumi giraffes, amigurumi pigs, amigurumi birds, amigurumi penguins, amigurumi panda, amigurumi llama, amigurumi bunny, amigurumi clowns, amigurumi elephants, amigurumi hippos, amigurumi monkeys… All the amigurumi toys pattern step by step tutorials and ideas you are looking for are here… Don’t forget to visit our YouTube channel…
Materials
Hooks (variation of any small and larger hook) – I used:
2.25mm – I recommend Clover crochet hook
2.75mm – I recommend Clover crochet hook
Yarn: Fingering Weight 1 – I recommend Hobbii Rainbow Cotton 8/4
Yarn colors:
White (W)
Gray (G)
Red (R)
Embroidery floss (black)
8mm eyes (2)
Stitch marker
Polyester stuffing (you can also use washer or beads to add weight to the body if you prefer)
Sewing/all-purpose
scissors Sewing needle
Pins
Fabric glue (optional)
Abbreviation
AM- Magic ring
chain- chain
st- stitch sc-
single crochet
dc- double crochet
inc- increase (2 sc in 1 stitch)
dec- decrease dimrease (2 sc together)
SBS- Special crochet bobble stitch
sl st- slip stitch
BLO- Through the back loop
(…) x repeat pattern in parentheses number of times indicated
[…] number of stitches in the round
AMIGURUMI MONKEY FREE PATTERN
Head
Note: Use larger hook (2.75mm)
with color W;
Row 1. sc 6 in AM (6)
Row 2. (inc) x 6 [12]
Row 3. (sc 1, inc) x 6 [18]
Row 4. (sc 1, inc, sc 1) x 6 [24]
Row 5. (sc 3, inc) x 6 [30]
Row 6. (sc 2, inc, sc 2) x 6 [36]
Row 7. sc 5, inc) x 6 [42]
Row 8. (sc 3, inc, sc 3) x 6 [48]
Row 9. (sc 11, inc) x 4 [52]
Row 10. sc around [52]
Row 11. sc around [52]
Row 12. Change to color G; sc around [52]
Row 13. sc around [52]
Row 14. (sc 12, inc) x 4 [56]
Row 15-22. sc around (8 rows) [56]
Row 23. (sc 5, dec) x 8 [48]
Row 24. (sc 2, dec, sc 2) x 8 [40]
Attach eyes between Rows 15 and 16 – about 8 stitches apart
Row 25. (sc 2, dec) x 10 [30]
Row 26. (sc 1, dec) x 10 [20]
Stuff with fiberfill
Row 27. (sc 2, dec) x 5 [15]
Finish and close, leave a long tail for sewing
Body
Note: Use larger hook (2.75mm)
With color G;
Row 1. Ch 5 (For this first chain, we will be working across the back of the chain instead of the usual BLO of “V” stitches. This allows the yarn to be stitched tighter to avoid gaps). From the 2nd chain (back hump) from the hook; inc, sc 2, inc 2. Continue across the chain; sc 2, inc [12]
Row 2. Continue working in a spiral; inc 2, sc 2, inc 4, sc 2, inc 2 [20]
Row 3. sc 2, (inc, sc 4) 0] Row 7. sc around [30] Row 8. sc 5, dec, sc 6, dec, sc 15 [
28 ] Row 9. sc around [28] Row 10. sc 5, dec, sc 4, dec, sc 15 [26] Row 11. sc around [26] Row 12. (sc 4, dec, sc 5, dec) x 2 [22] The protruding side with increases in round 5 is the front belly of the monkey Finish and close, leave long tail for sewing later
Muzzle
Note: Use larger hook (2.75 mm)
With color R;
Row 1. ch 15. From the 2nd chain on the hook; sc 3 in one chain, sc 12 across, sc 3 in the last chain. Continuing on the other side of the chain; sc 12 [30]
Row 2. Change to color W and continue working in a spiral; (inc 3, sc 12) x 2 [36]
Row 3. sc 2, inc 2, sc 16, inc 2, sc 14 [40]
Row 4. (dec, sc 4, dec, sc 5, dec, sc 5) x 2 [34]
Finish and fasten, leave a long tail for sewing later.
Ears (x 2)
Note: Use larger hook (2.75mm)
*For the ears, we will use the Special Crochet Bobble Stitch (SBS).
*Special SBS crochet bobble stitch
: (yo, pull up a loop, yo and pull up 2 loops) x 2. To finish the SBS, yo and pull through all 3 loops on the hook.
With color G;
Row 1. sc 3 in MR (work as a half ring instead of a full circle) [3]
Row 2. ch 1, turn. 2 dc in first st, 4 dc in next st, 2 dc in last st [8]
Row 3. ch 1, turn. BLO; *SBS in next 8 st [8]
sl st and pull tight to close the row
. Cut the yarn and leave the long tail for sewing later.
Weave in the end of the side of the last SBS until it comes out of the top of Row 2. We will use this tail to sew onto the head later
Tail
Note: Use smaller hook (2.25 mm)
With color G;
Row 1. sc 5 in MR [5]
Row 2-25. sc around [5]
(You can add or subtract as many rows as you want, depending on the desired length)
Finish and close, leave a long tail to sew later
Arms (make 2)
Note: Use larger hook (2.75 mm)
With color W;
Row 1. sc 6 in MR [6]
Row 2. (sc 1, inc) x 3 [9]
Row 3. sc around [9]
Row 4. Change to color G; sc around [9]
Row 5-9. sc around [9]
Row 10. dec, sc 7 [8]
Finish and fasten, leave long tail for sewing later
Legs (make 2)
Note: Use larger hook (2.75 mm)
With color W;
Row 1. sc 8 in MR [8]
Row 2. (sc 3, inc) x 2 [10]
Row 3. sc around [10]
Row 4. Change to color G; sc around [10]
Row 5-8. sc around [10]
Row 9. dec, sc 8 [9]
Finish and fasten, leave long tail for sewing later
Assembly
1. Align and pin the head to the body and sew
2. Sew the arms to both sides of the body
3. Sew the legs to the bottom of the body on row 3.
4. Sew the tail on row 5 of the body
5. Pin and align the ears to both sides of the head below row 13
6. To make the mouth: Using black embroidery floss, sew a straight horizontal line across the snout in the middle of the first round
7. Pin and align the snout/mouth one round below the eyes and sew. Lightly stuff the snout as you sew. It should be 5 rounds tall.
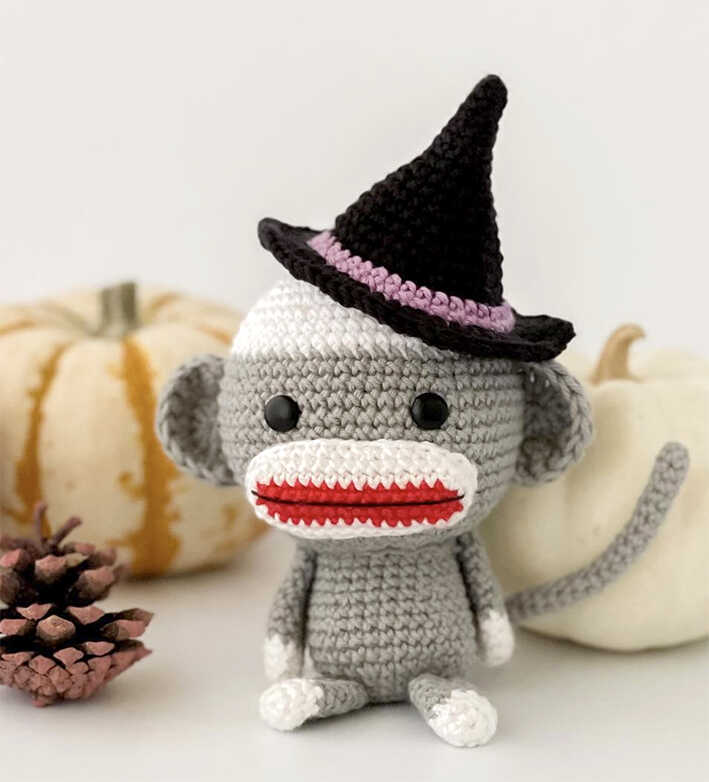
Congratulations, you have completed the amigurumi pattern.
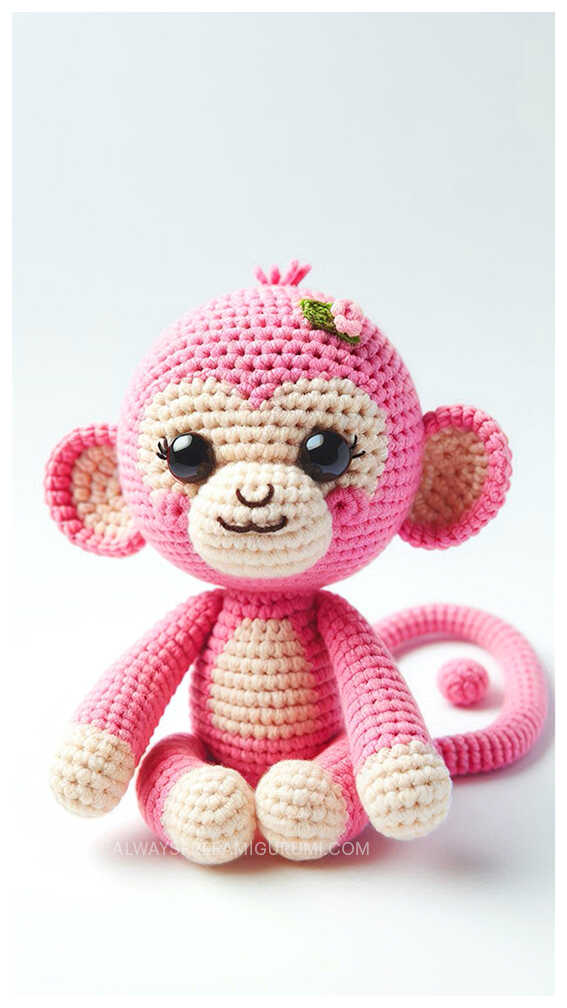
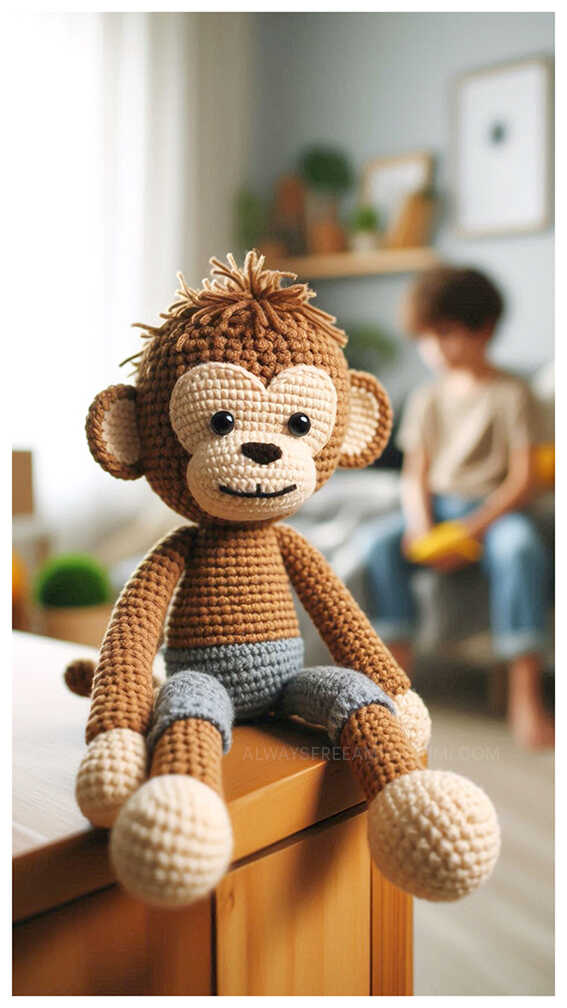
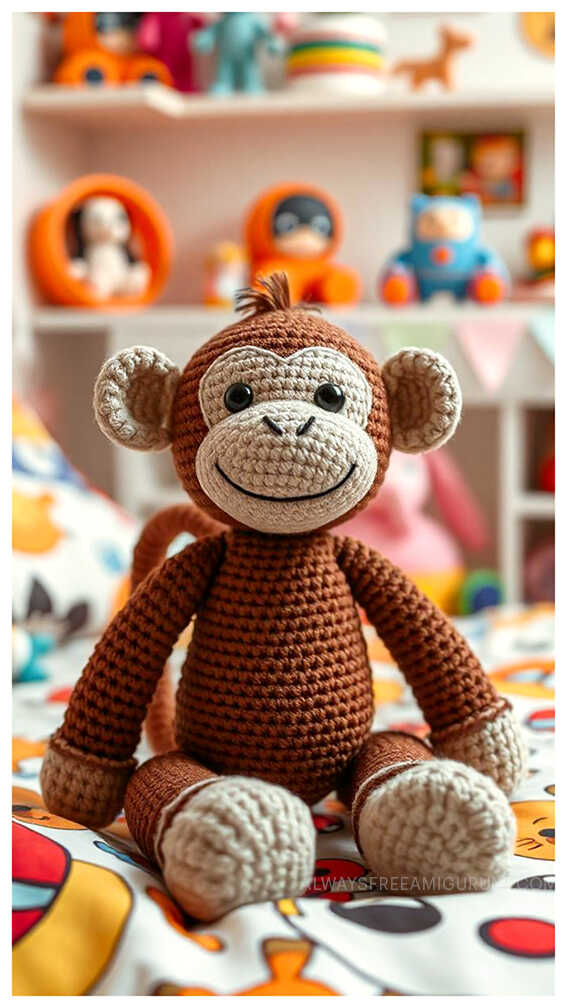
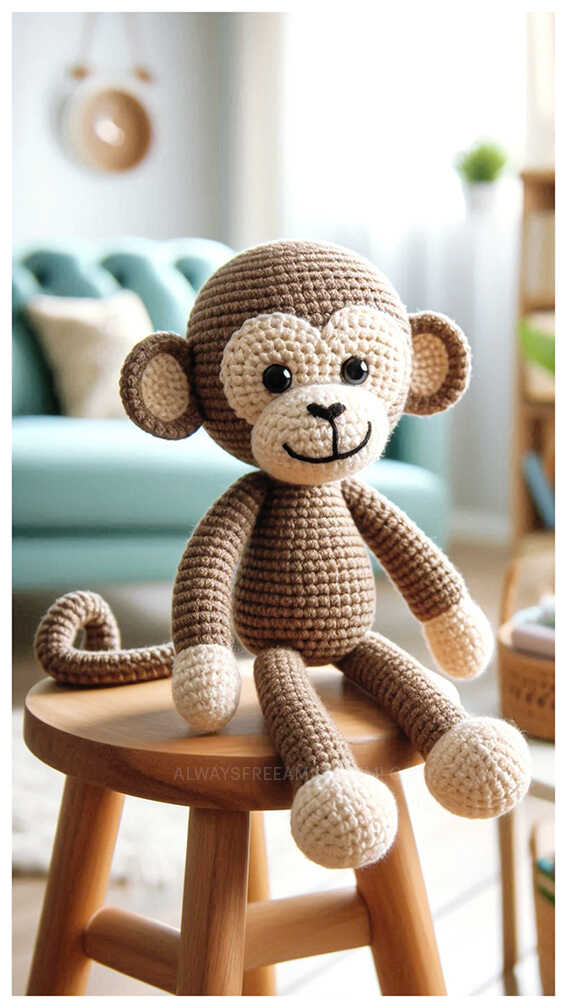
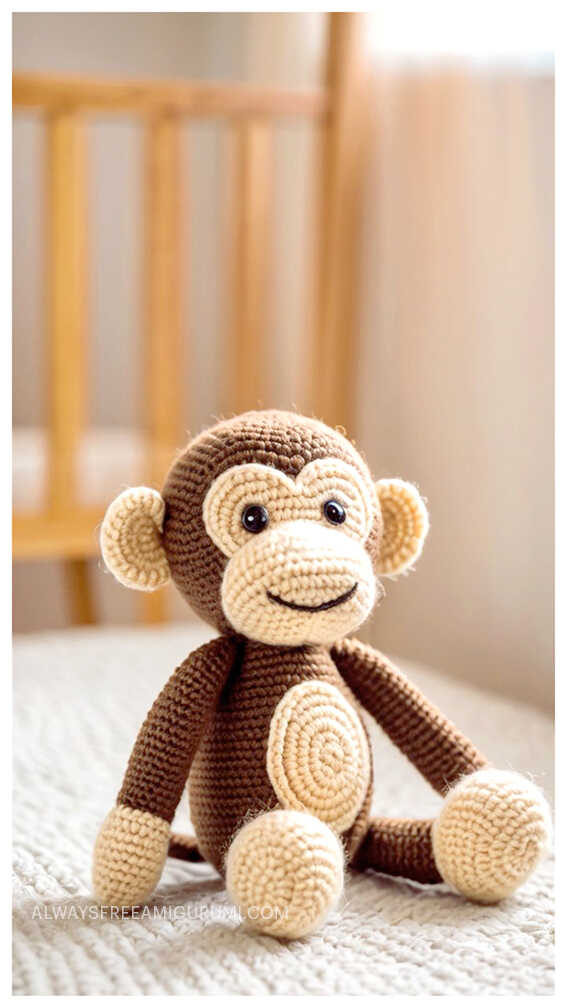
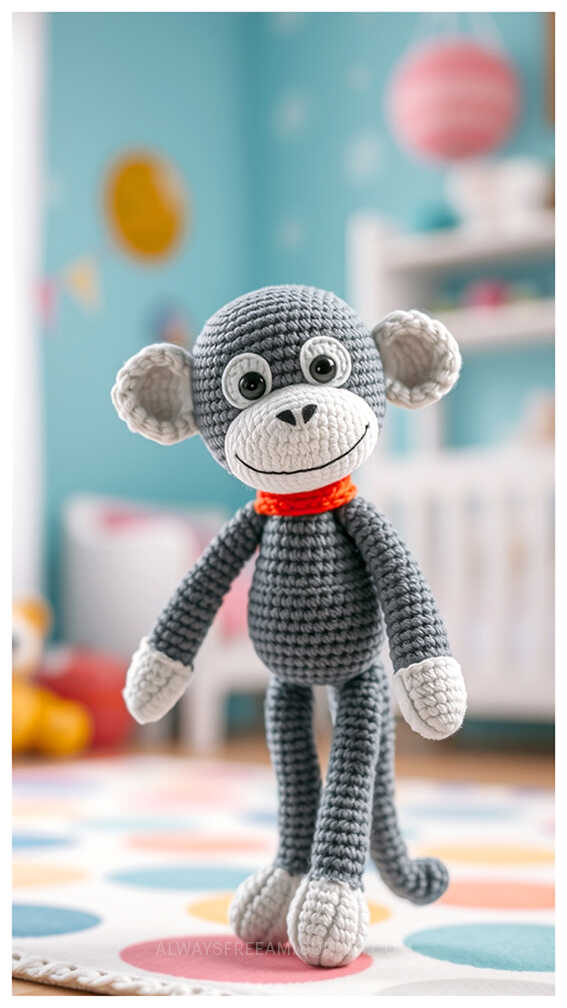
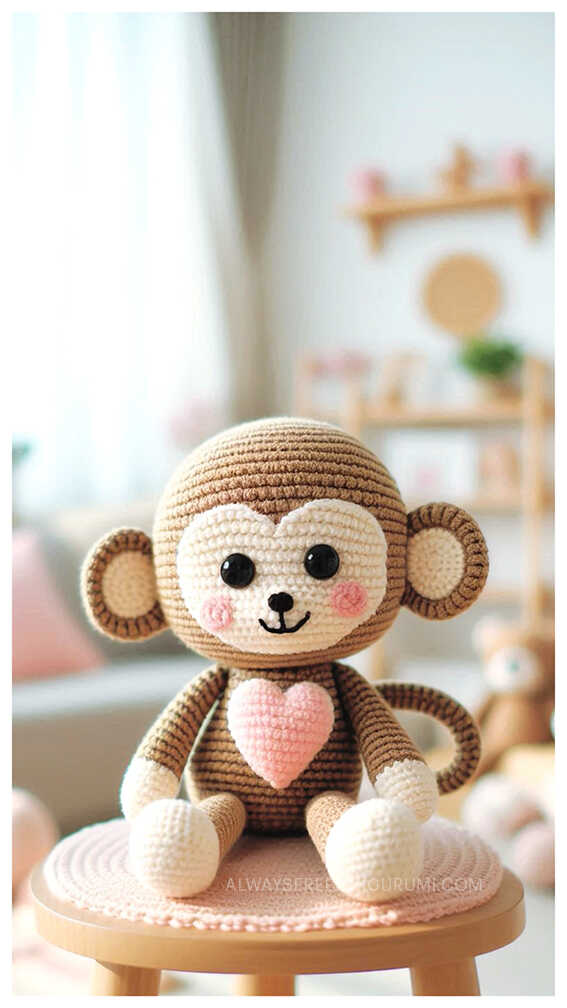
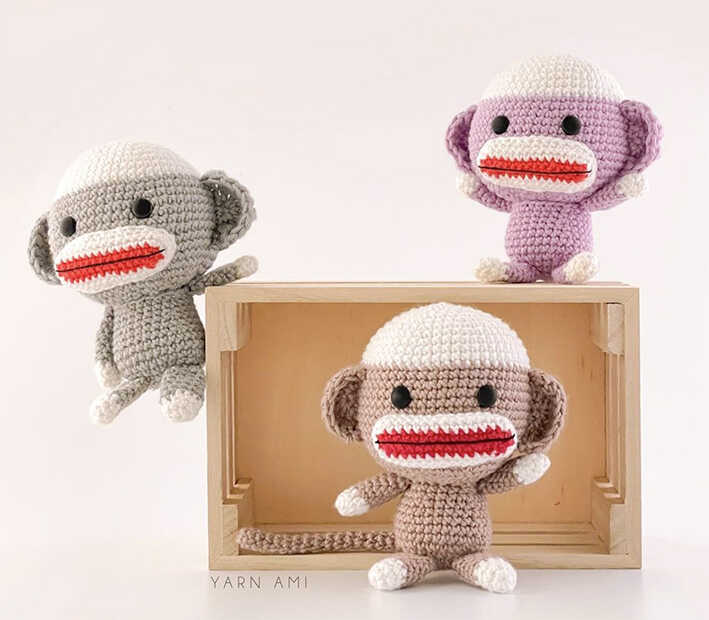
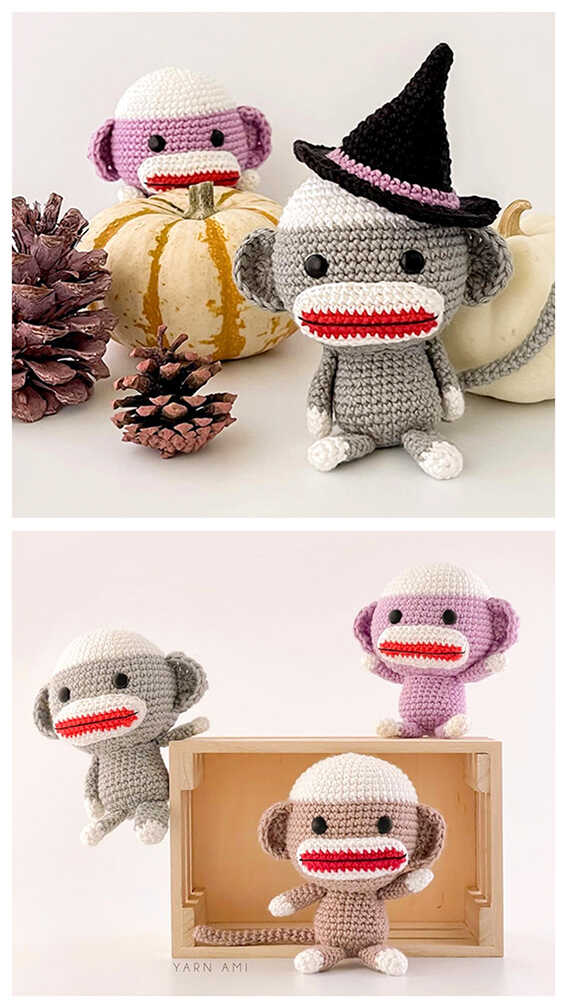
More amigurumi monkey ideas: