Designer: Pontinha Da Agulha
Instagram: @pontinhadaagulha
Hello Amigurumi Lovers…
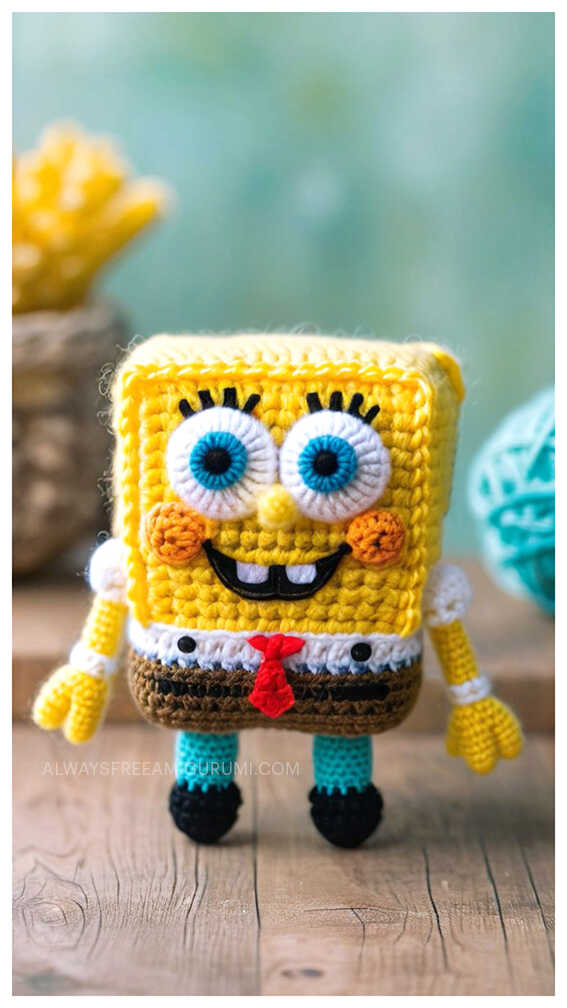
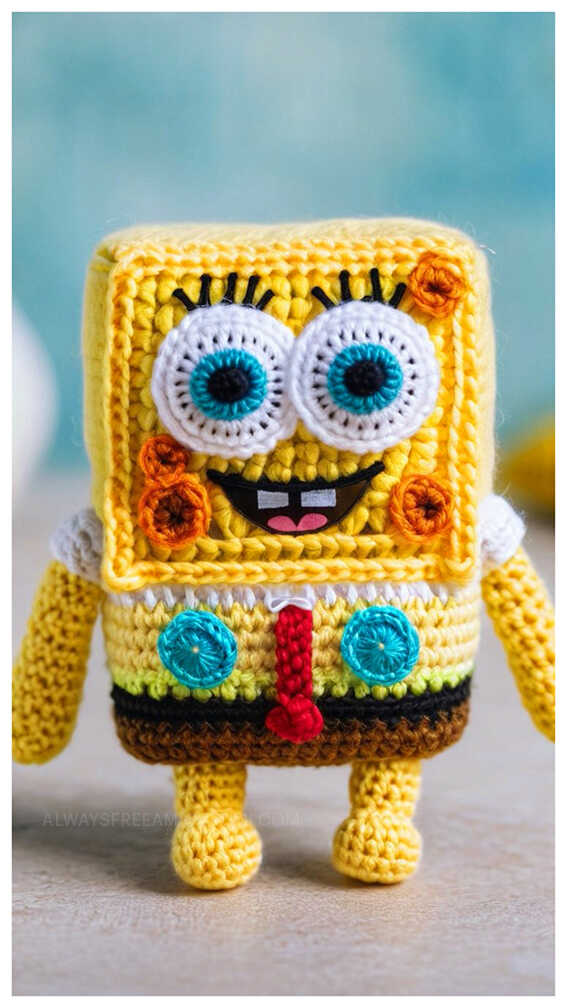
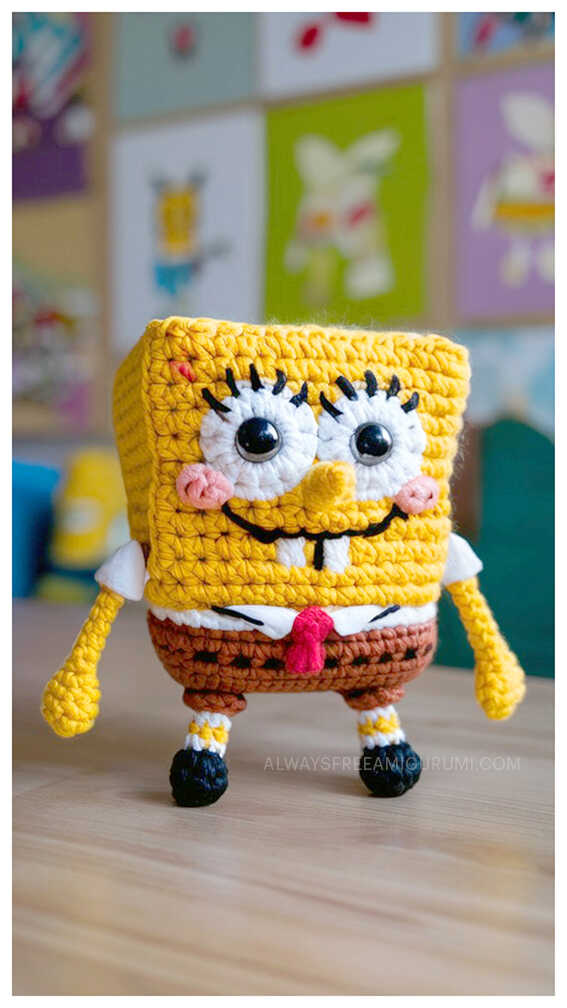
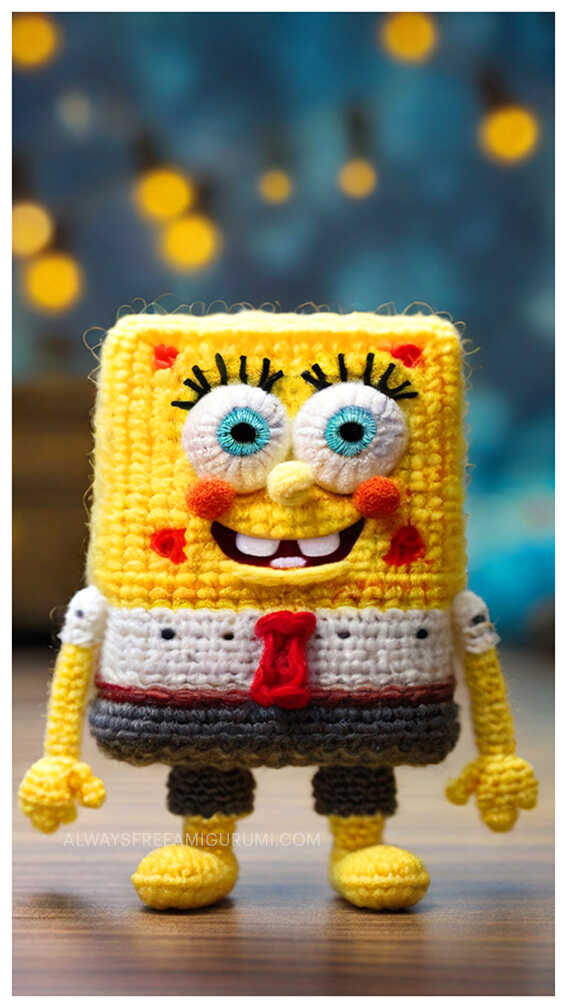
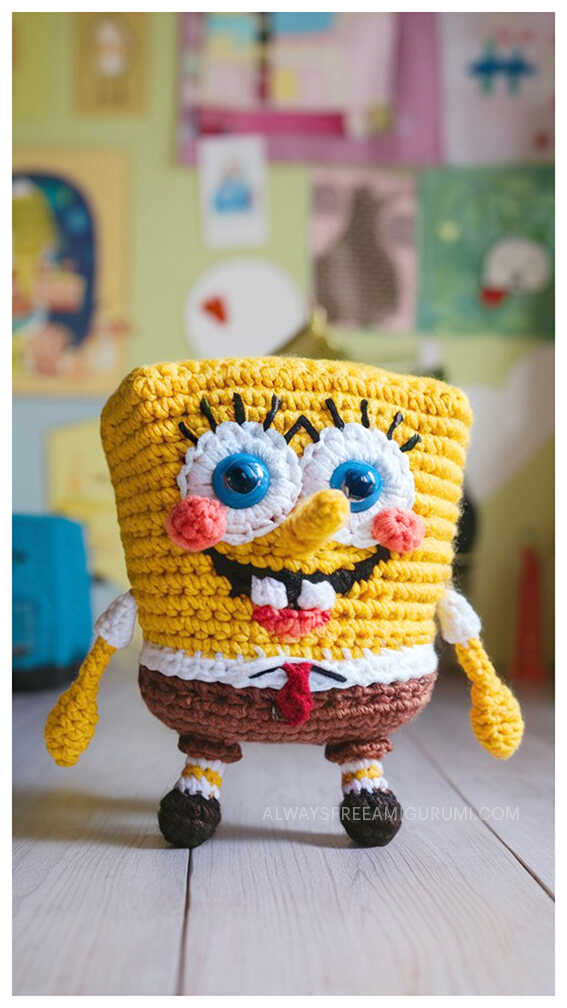
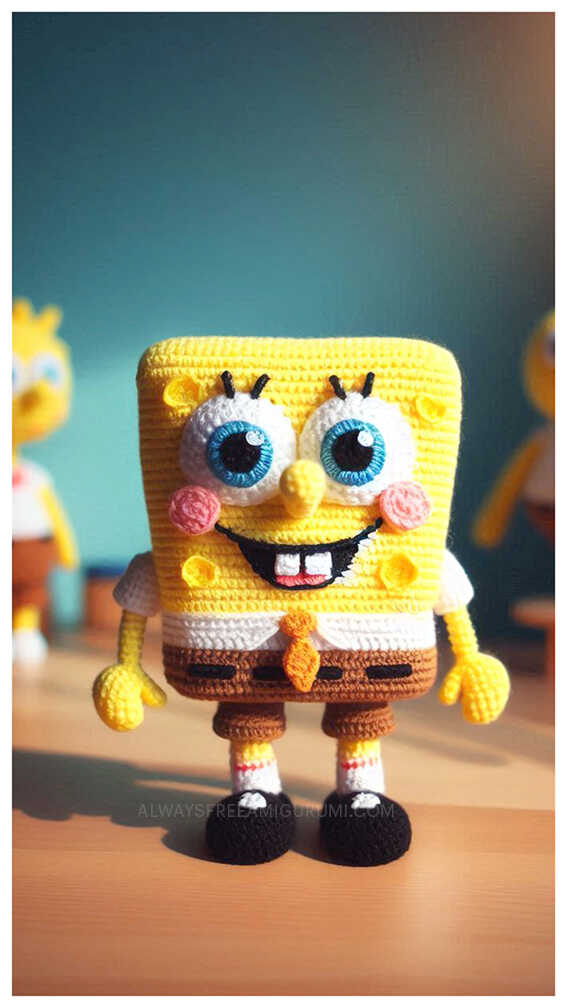
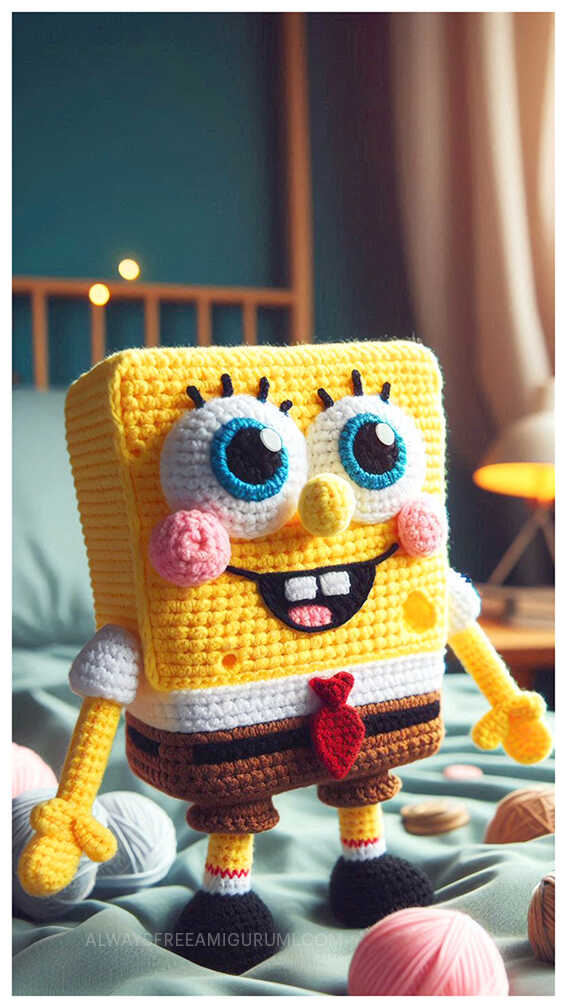
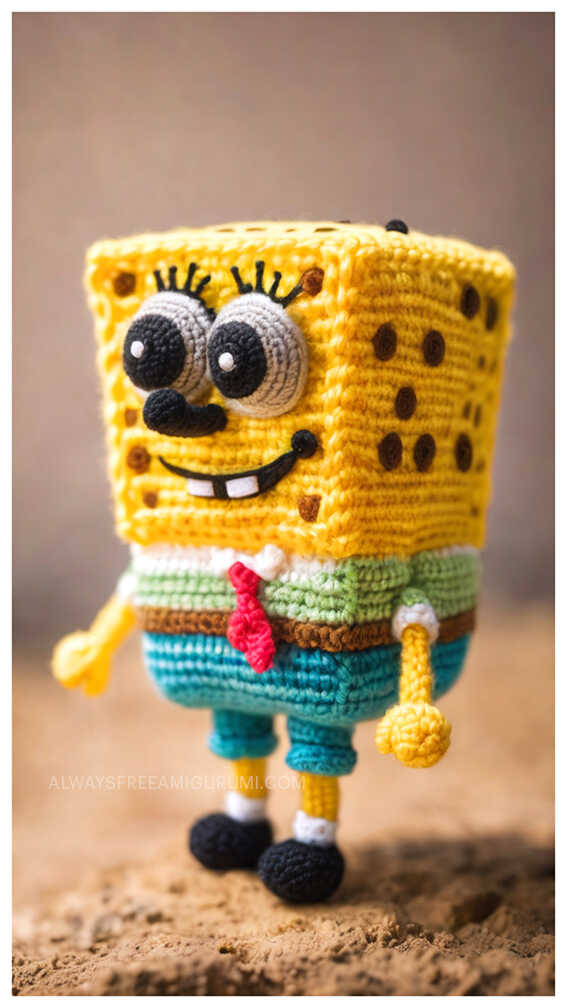
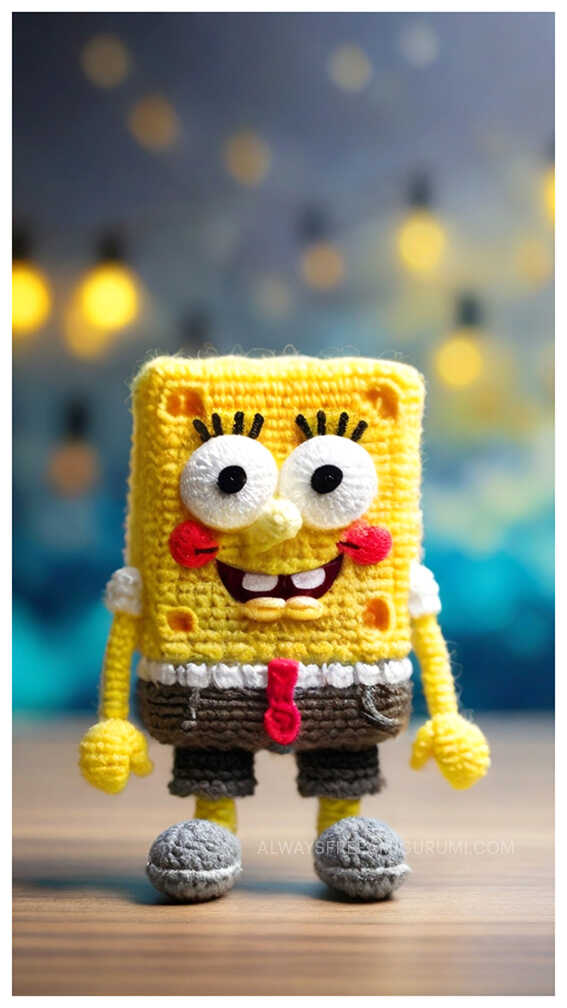
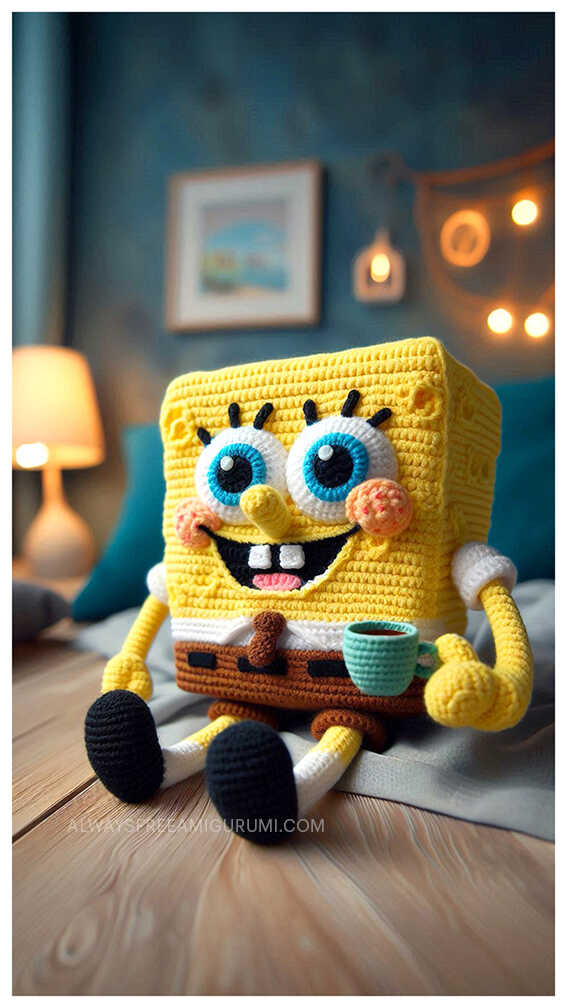
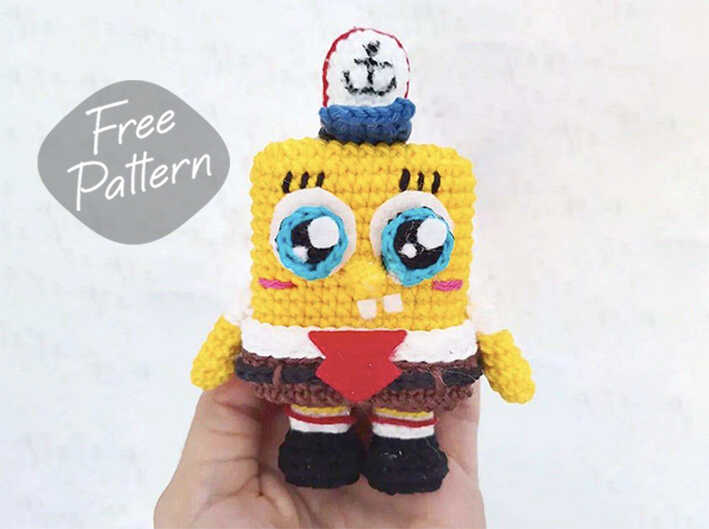
One of the free amigurumi crochet patterns we will share today is the amigurumi Spongebob Square Pants, whose photos and design belong to Pontinha Da Agulha. You can learn how to crochet these Spongebob using the free amigurumi pattern. Thanks to dear Danny for this cute Spongebob.
Amigurumi cats, amigurumi dolls, amigurumi dogs, amigurumi unicorns, amigurumi lambs, amigurumi dinosaurs, amigurumi foxes, amigurumi bears, amigurumi giraffes, amigurumi pigs, amigurumi birds, amigurumi penguins, amigurumi panda, amigurumi llama, amigurumi bunny, amigurumi clowns, amigurumi elephants, amigurumi hippos, amigurumi monkeys… All the amigurumi toys pattern step by step tutorials and ideas you are looking for are here… Don’t forget to visit our YouTube channel…
Abbreviations
MR: Magic ring
Sc: Single crochet
Inc: Increase
Dec: Decrease
BLO: Back loop only
Ch: Chain
Slst: Slip stitch
Tinc: Triple increase
Crochet hook size: 2 mm
Stuff it little by little. Be careful not to lose the rectangular shape
AMIGURUMI SPONGEBOB SQUARE PANTS FREE PATTERN
Body
Using yellow
Make 8ch and start the 1st round in the 2nd ch from the hook
1 inc, 5sc, triple inc, 6sc (16)
2. sc, triple inc, 5sc, triple inc, sc, triple inc, 5sc, triple inc (24)
3. 2sc, triple inc, 7sc, triple inc, 3sc, triple inc, 7sc, triple inc, sc (32)
4. 3sc, triple inc, 9sc, triple inc, 5sc, triplo inc, 9sc, triple inc, 2sc (40)
To help maintain the rectangular shape, glue a piece of acetate to the left side
5-14 (10 rounds). 40sc (40)
Cut the yarn and fasten off
Pants + Shirt
Using brown
Make 9ch and start the 1st round in the 2nd ch from the hook
1 inc, 6sc, triple inc, 7sc (18)
2. sc, triple inc, 6sc, triple inc, sc, triple inc, 6sc, triple inc, (26)
3. 2sc, triple inc, 8sc, triple inc, 3sc, triple inc, 8sc, triple inc, sc (34)
4. 3sc, triple inc, 10sc, triple inc, 5sc, triple inc, 10sc, triple inc, 2sc (42)
5-7.42sc (42)
Change to white
8. 42slst BLO (42)
9. 42sc BLO (42)
Cut the yarn and fasten off
Glue the body inside this Pants + Blouse piece
Legs
Using black
1 8sc in MR (8)
2. 8inc (16)
Glue acetate, or something similar, to the back of this piece
3. 16sc BLO (16)
4. 16sc (16)
5. 2sc, (dec, sc)*3, dec, 3sc (12)
Change to white
6. 12slst BLO (12)
7. 12sc BLO (12)
Change to yellow
8. 12slst BLO (12)
9. 12slst BLO (12)
Cut the yarn and fasten off
Embroider the red detail on the sock.
Make two identical pieces
Glue below the body (Picture 1)
Arms
Using yellow
1 7sc in MR (7)
2-5. 7sc (7)
Change to white
6. 7slst BLO (7)
7. 7sc BLO (7)
Cut the yarn and fasten off
Make two identical pieces
Glue to the sides of the body, aligning the first white round on the arm with the last white round on the Blouse
Belt
Using black, but choose a thinner yarn.
Make 49ch
Cut the yarn and fasten off
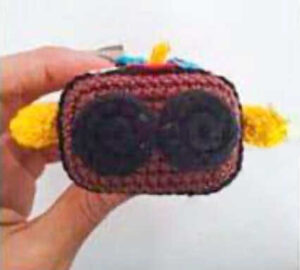
Glue it on the pants
With the color brown, embroider the details of the belt (Picture 2)
Eye
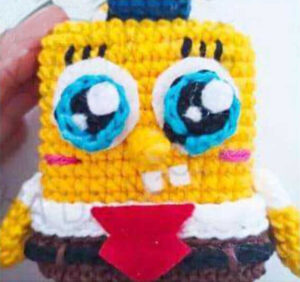
Cut 2 circles of white felt, approximately 2cm in diameter each.
Glue it to the head, according to Picture 2
Using the same black yarn that you used for the belt
Make 8sc in MR
Using the same yarn as above, but in TURQUOISE color
Make 8slst BLO
Cut the yarn and fasten off
Cut small circular pieces of white felt and glue it to the eye (Picture 2). If you prefer, embroider instead of using felt.
Embroider the eyelashes and cheeks, according to Picture 2
Teeth
Use White Felt to make two little teeth, approximately 0.4cm wide each. Glue them on the face according to Picture 2
Nose
Using yellow
Make 4ch and start the 2st round in the 2nd ch from the hook
1 3slst (3). Make 1ch and turn
2. 3slst BLO (3).
Cut the yarn and fasten off Glue between the eyes, according to Picture 2
Tie and Collar
Use red felt for the tie, and white for the collar (Picture 2)
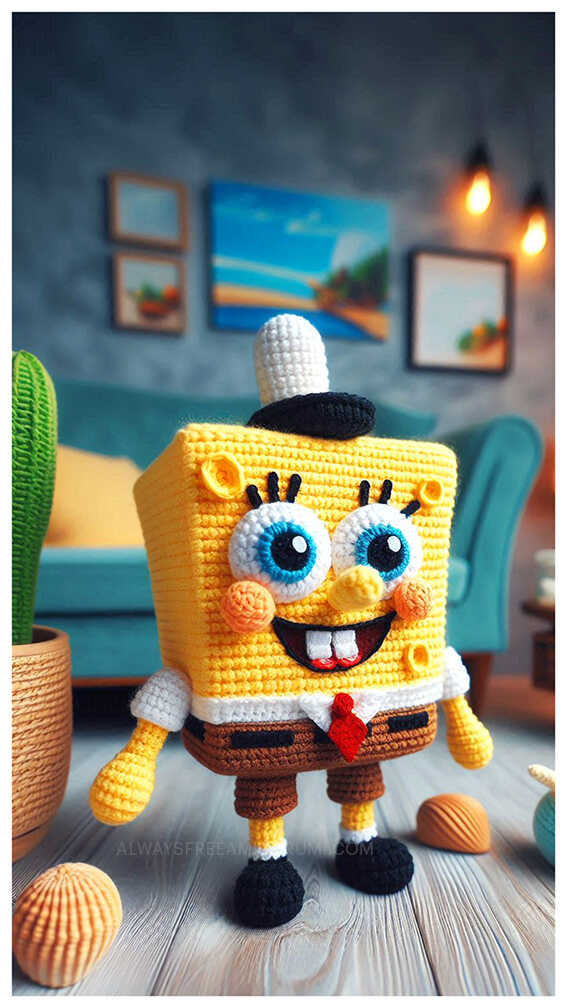
Hat
Using white.
1. 6 sc in MR (6)
2. 6 inc (12)
3. (3sc,inc)*3 (15)
4-6. (3 rounds). 15 sc (15)
Change to black.
7. 15 slst BLO (15)
8. 15 slst BLO (15)
Change to blue.
9. 5 sc FLO (5). Make 1 ch and turn.
10. 5 sc (5). Make 1 ch and turn.
11. 5 sc (5). Make 1 ch and turn.
Cut the yarn and fasten off.
Embroider or paint the red lines.
Embroider or paint the anchor.
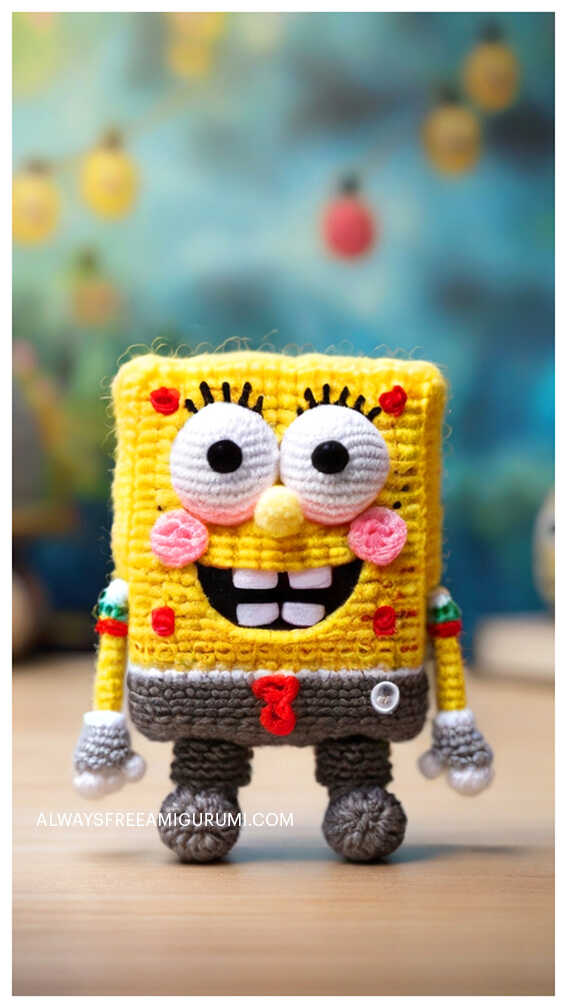
More amigurumi Spongebob ideas:
