Hi there...
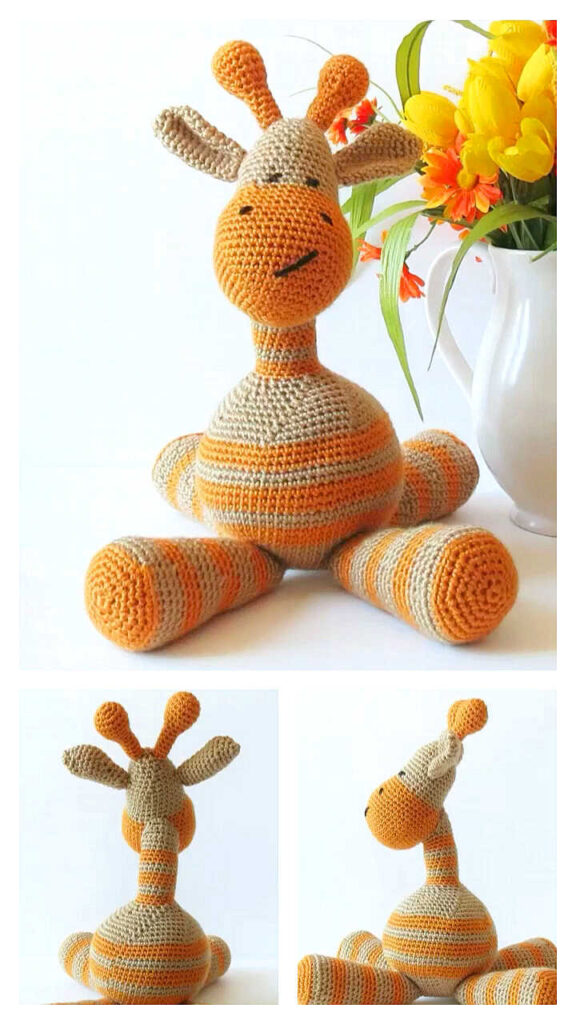
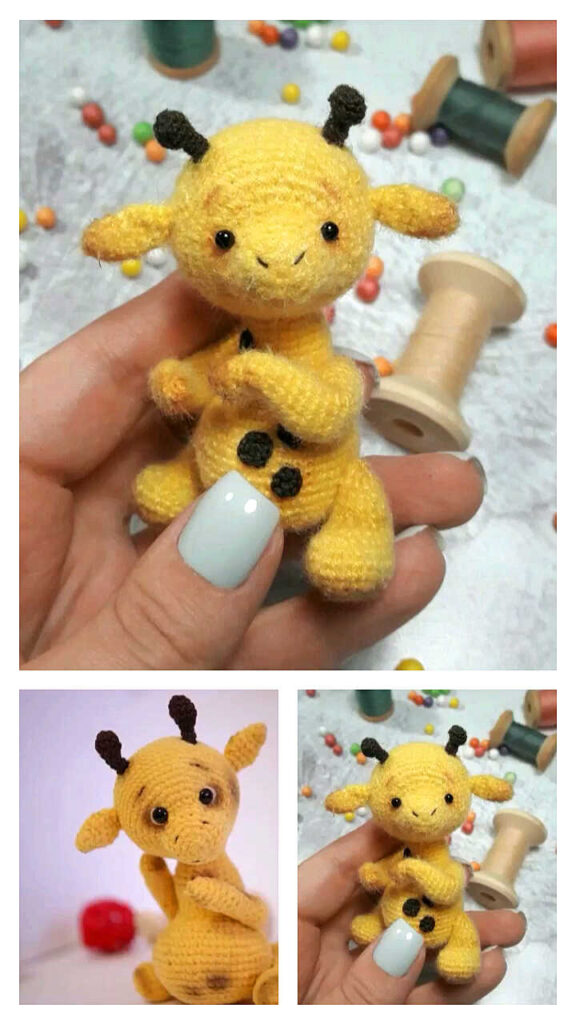
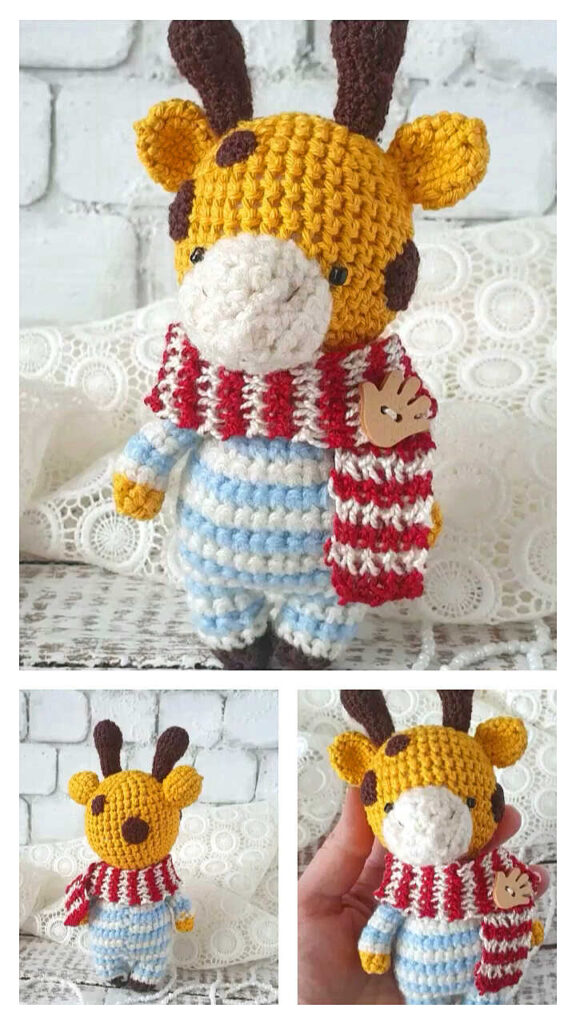
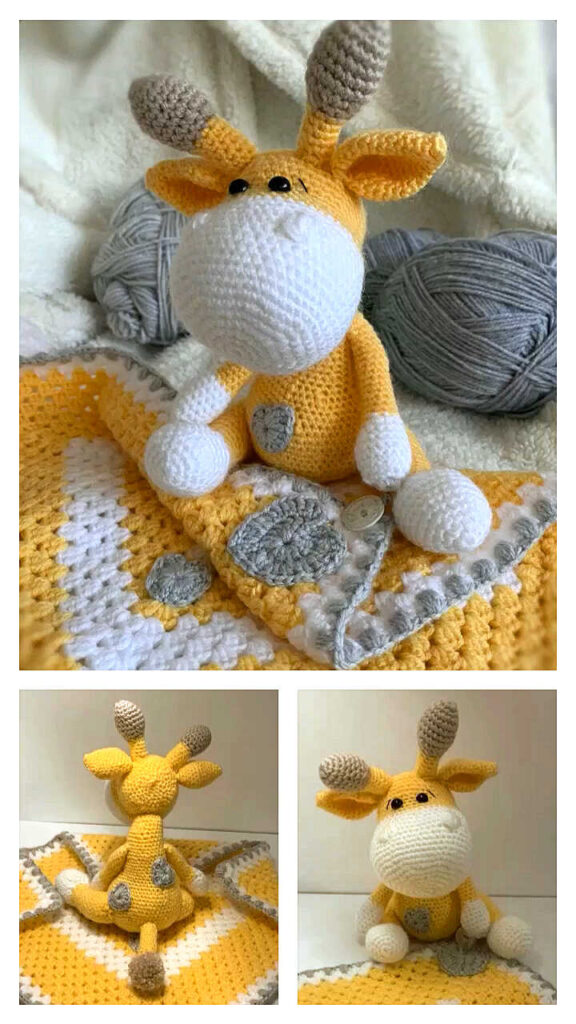
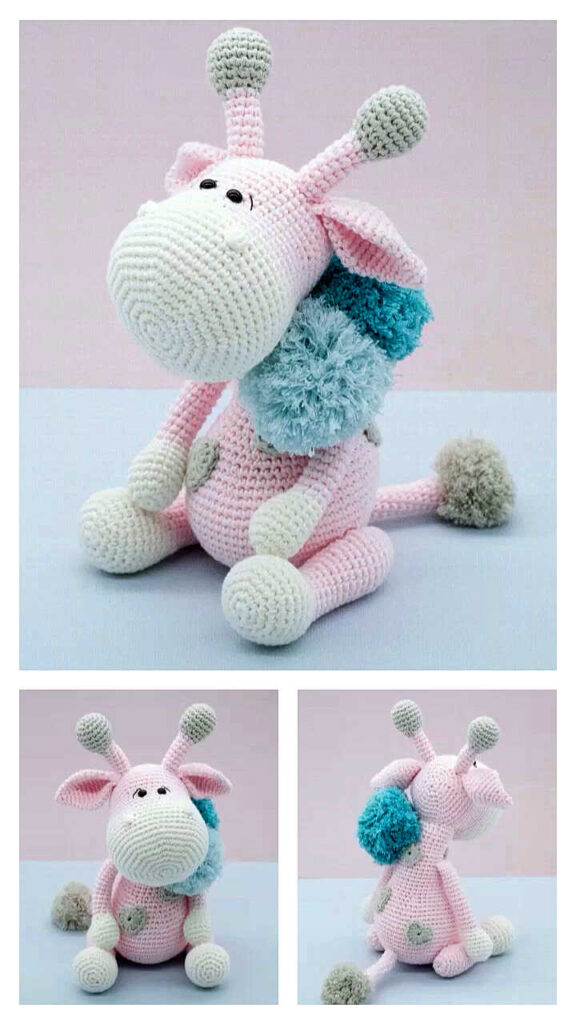
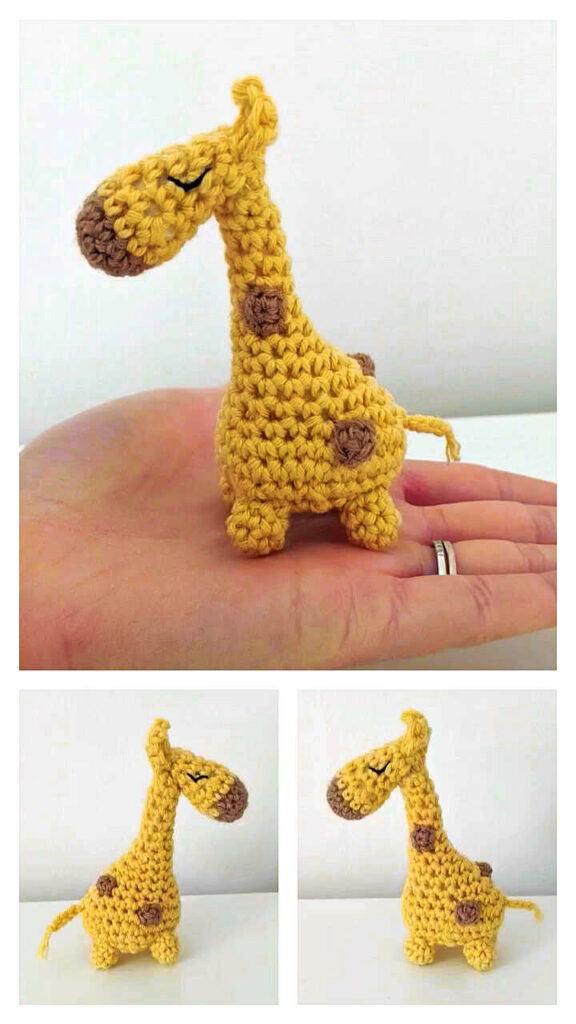
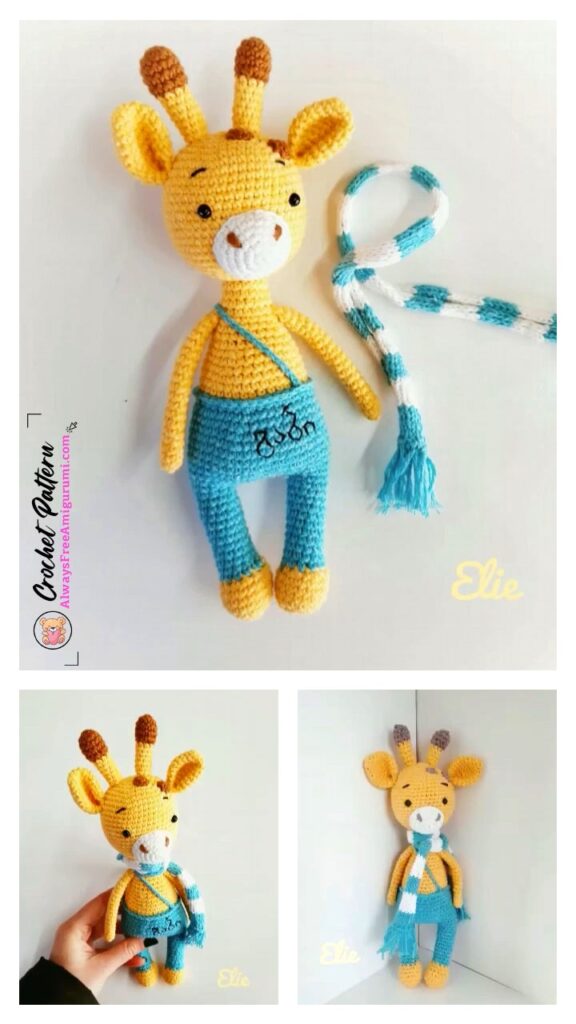
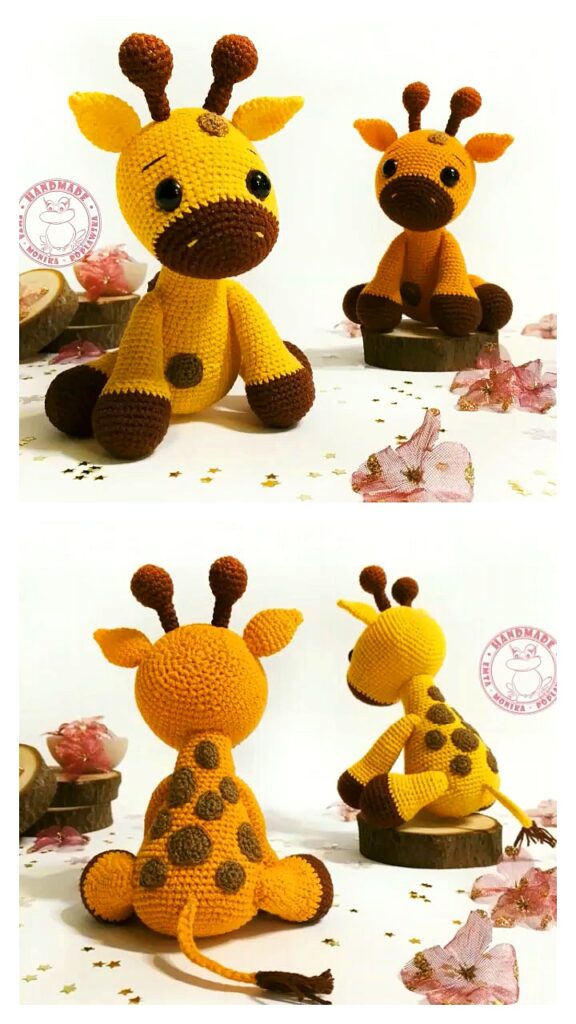
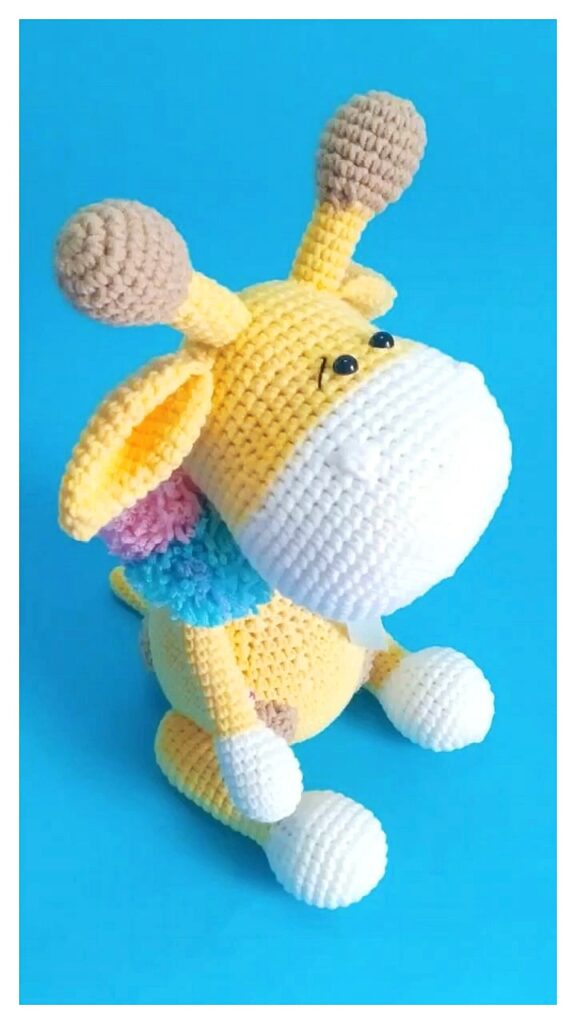
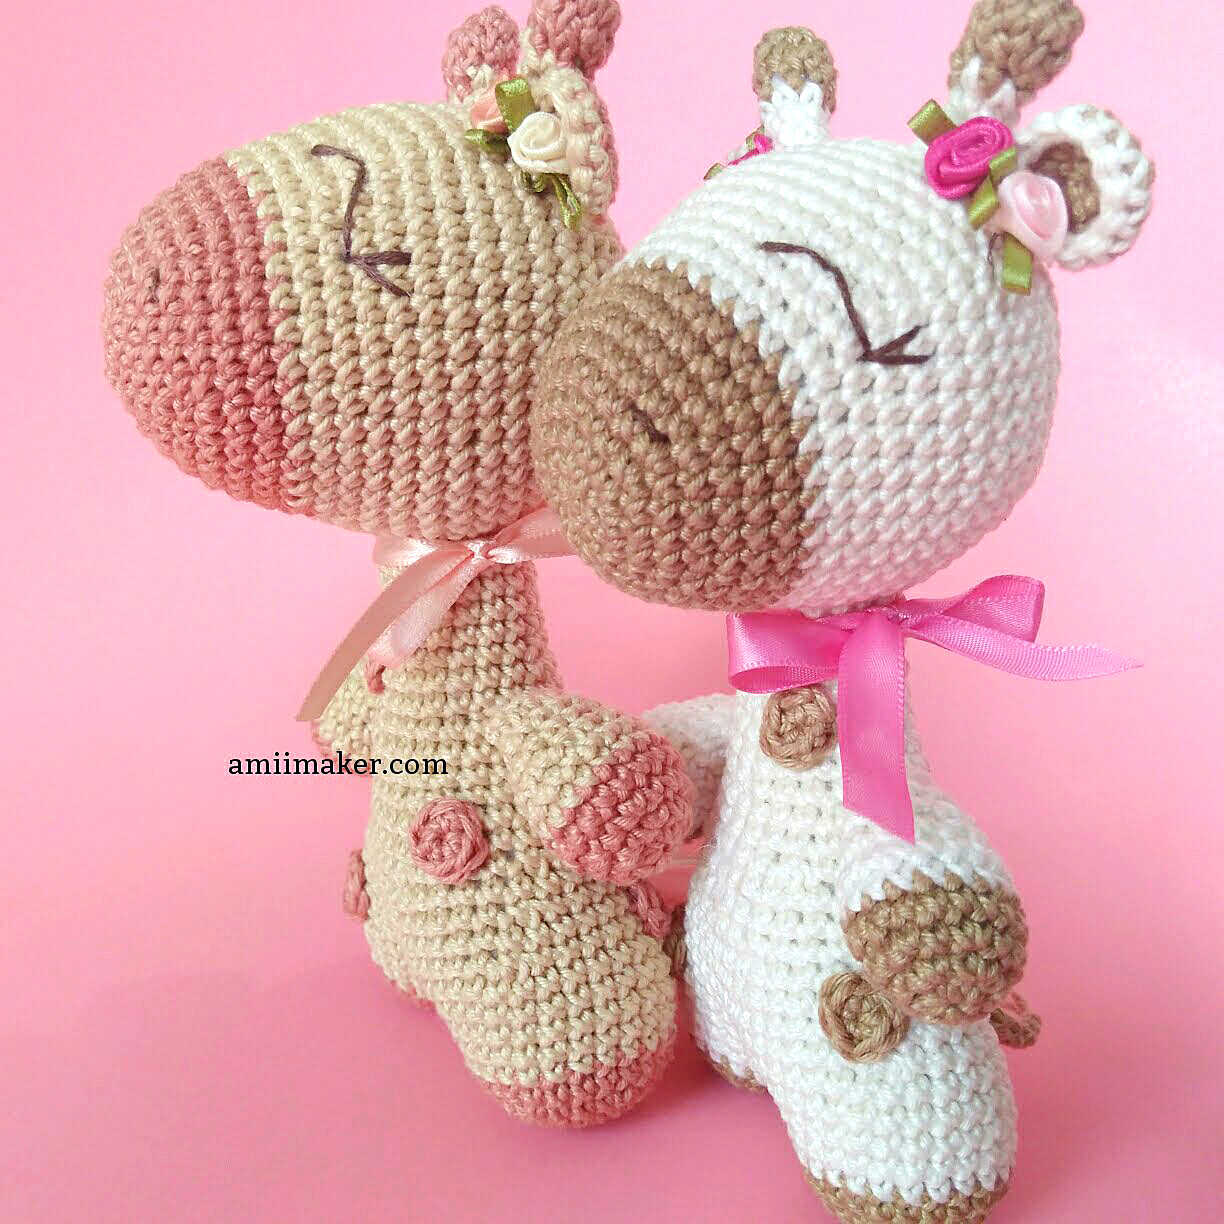
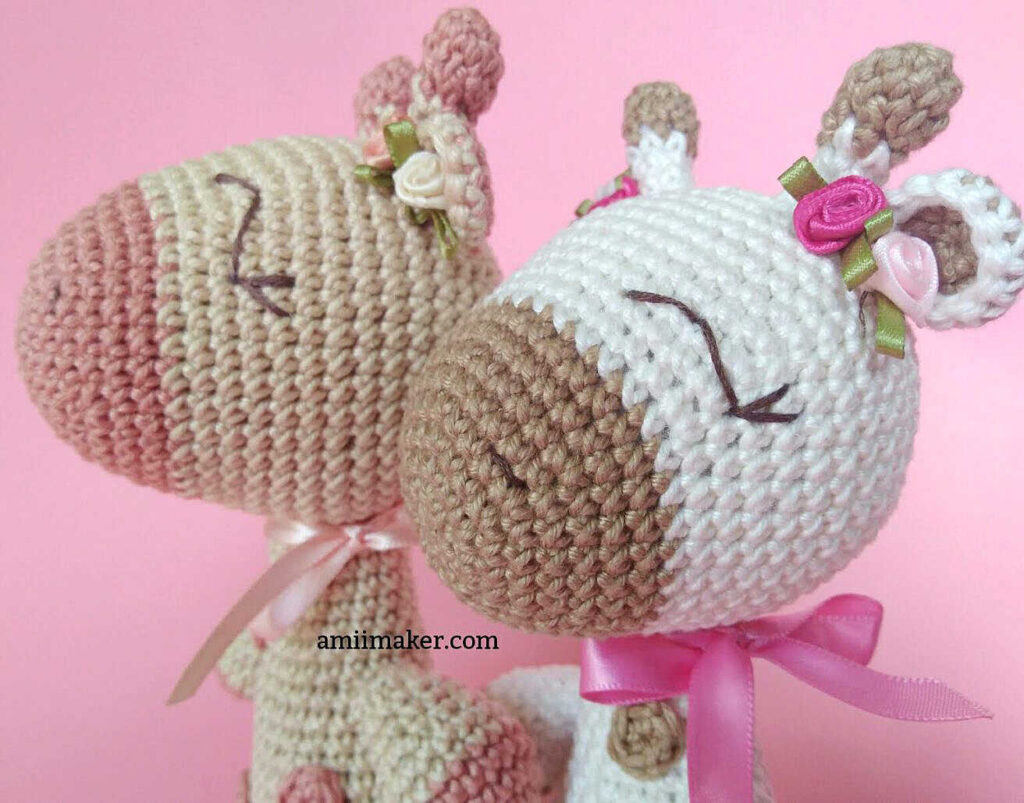
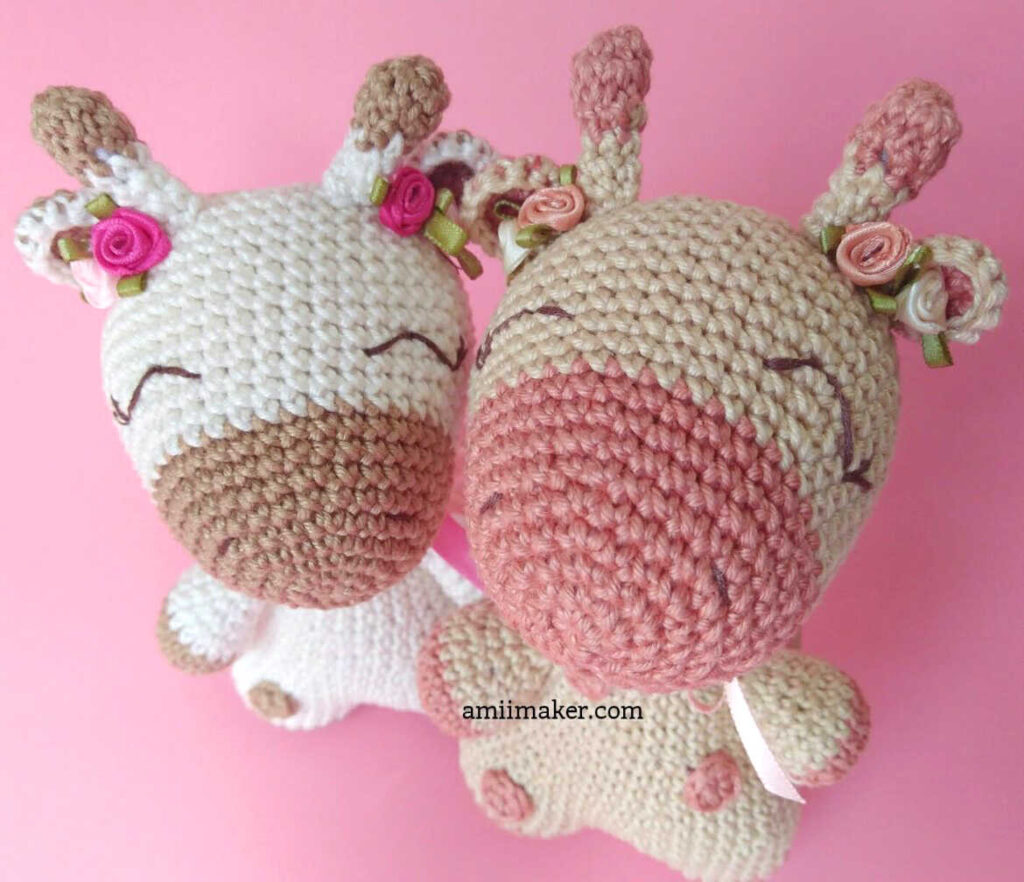
One of the free amigurumi crochet patterns we will share today is the amigurumi Amelie The Giraffe, whose photos and design belong to Marina Dessotti (etsy). You can learn how to crochet these giraffe using the free amigurumi pattern. Thanks to Marina Dessotti (@amiimaker) for this cute giraffe.
Below you will find some information about this pattern. Remember, you can ask for help by sharing your problem with amigurumi in our Facebook group. Have fun…
If you don’t know how to often crochet and needles, read our shares. Start your knitting according to the rate you have according to the shape you will make. Shape your toy by increasing and decreasing the point. Once you weave the shape you want to fill the inside of your toy and look at the pictures to decorate. Follow us on Facebook and Pinterest to be aware of the amigurumi crochet patterns we share everyday.
Amigurumi cats, amigurumi dolls, amigurumi dogs, amigurumi unicorns, amigurumi lambs, amigurumi dinosaurs, amigurumi foxes, amigurumi bears, amigurumi giraffes, amigurumi pigs, amigurumi birds, amigurumi penguins, amigurumi panda, amigurumi llama, amigurumi bunny, amigurumi clowns, amigurumi elephants, amigurumi hippos, amigurumi monkeys will not be difficult for you…
Materials:
• 100% cotton yarn in two colors (main color for body and another color for nose, feet, hands, etc);
• crochet hook according to the yarn weight you are using (I used a 3,5 mm);
• stitch makers;
• polyester fiber;
• scissors;
• tapestry needle;
• embroidery floss.;
• fabric flowers for the head;
• ribbon to make a tie for the neck.
Abbreviations:
inc – increase
dec – invisible decrease
ch – chain
sl st – slip stitch
sc – single crochet
[ ] total number of stitches at the end of each round
Giraffe size:
With the materials I used, my giraffe was approximately 7.5”/20 cm (horn to foot).
Note: Always remember to crochet in rounds. Use a stitch marker at the end of each round.
AMIGURUMI GIRAFFE FREE PATTERN
Nose/Head:
Begin with the nose color.
Round 1) 6 sc in the magic ring [6]
Round 2) 6 inc [12]
Round 3) 1 sc, 1 inc – repeat 6 times [18]
Round 4) 2 sc, 1 inc – repeat 6 times [24]
Round 5) 3 sc, 1 inc – repeat 6 times [30]
Round 6) 1 sc in each one of the 30 stitches [30] Round 7) 4 sc, 1 inc – repeat 6 times [36]
Round 8 and 9) 1 sc in each one of the 36 stitches [36]
Change the yarn color (to the main color) by the end of round 9. Keeping crocheting using the new color:
Round 10) 1 sc in each one of the 36 stitches [36] Round 11) 11 sc, 1 inc – repeat 3 times [39]
Round 12) 12 sc, 1 inc – repeat 3 times [42]
Round 13) 13 sc, 1 inc – repeat 3 times [45]
Round 14) 14 sc, 1 inc – repeat 3 times [48]
Round 15 – 20) 1 sc in each one of the 48 stitches [48] Round 21) 6 sc, 1 dec – repeat 6 times [42]
Round 22) 5 sc, 1 dec – repeat 6 times [36]
Round 23) 4 sc, 1 dec – repeat 6 times [30]
Round 24) 3 sc, 1 dec – repeat 6 times [24]
Start stuffing the head using polyester fiber. Continue stuffing while crocheting until the end. Round 25) 2 sc, 1 dec – repeat 6 times [18]
Round 26) 1 sc, 1 dec – repeat 6 times [12] Round 27) 6 dec [6]
Fasten off closing the hole in the head.
Legs/body:
Start with the first leg. Use the nose color.
Round 1) 6 sc in the magic ring [6]
Round 2) 6 inc [12]
Round 3) 1 sc, 1 inc – repeat 6 times [18]
Round 4) 2 sc, 1 inc – repeat 6 times [24]
Round 5) 1 sc in each one of the 24 stitches [24]
Change the yarn color (to the main color) by the end of round 5. Keeping crocheting using the new color:
Round 6 and 7) 1 sc in each one of the 24 stitches [24]
Fasten off leaving a long tail for sewing.
Repeat rounds 1 to 7 for the second leg. Do not fasten off this time.
Join both legs with a sc in the stitch immediately to the left of the last stitch made in the first leg. This is going to be considered the first sc in the new round (round 8).
Now you have 48 stitches (24 in each leg). Continue crocheting in both legs.
Rounds 8 – 10) 1 sc in each one of the 48 stitches [48]
Close the small hole that was created between both legs using that long tail of yarn left at the end of the first leg. Make a few stitches using the tapestry needle. Stuff the legs.
Round 11) 6 sc, 1 dec – repeat 6 times [42]
Round 12) 1 sc in each one of the 42 stitches [42]
Round 13) 5 sc, 1 dec – repeat 6 times [36]
Round 14) 1 sc in each one of the 36 stitches [36]
Round 15) 4 sc, 1 dec – repeat 6 times [30]
Rounds 16 and 17) 1 sc in each one of the 30 stitches [30]
Round 18) 3 sc, 1 dec – repeat 6 times [24]
Rounds 19 and 20) 1 sc in each one of the 24 stitches [24]
Start stuffing the body using polyester fiber. Continue stuffing while crocheting until the end. Round 21) 6 sc, 1 dec – repeat 3 times [21]
Rounds 22 and 23) 1 sc in each one of the 21 stitches [21]
Round 24) 5 sc, 1 dec – repeat 3 times [18]
Rounds 25 – 28) 1 sc in each one of the 18 stitches [18]
Fasten off leaving a long tail for sewing.
Arms:
Make two. Use the nose color.
Round 1) 6 sc in the magic ring [6]
Round 2) 6 inc [12]
Round 3) 1 sc, 1 inc – repeat 6 times [18]
Round 4) 1 sc in each one of the 18 stitches [18]
Change the yarn color (to the main color) by the end of round 4. Continue crocheting using the new color:
Rounds 5 and 6) sc in each one of the 18 stitches [18] Slightly stuff the tip of the arms (hands).
Round 7) 1 sc, 1 dec – repeat 6 times [12]
Rounds 8 and 9) in each one of the 12 stitches [12] Round 10) 6 dec [6]
Fasten off leaving a long tail for sewing. Close the arms sewing a few stitches using the tapestry needle.
Ears:
Make two. Use the nose color.
Round 1) 6 sc no magic ring [6]
Round 2) 6 inc [12]
Change the yarn color (to the main color) by the end of round 4. Continue crocheting using the new color:
Round 3) 1 sc in each one of the 12 stitches [12] Fasten off leaving a long tail for sewing.
Horns:
Make two. Use the nose color.
Round 1) 6 sc in the magic ring [6]
Round 2) 6 inc [12]
Round 3) 6 dec [6]
Change the yarn color (to the main color) by the end of round
4. Continue crocheting using the new color:
Rounds 4 – 6) 1 sc in each one of the 6 stitches [6]
Fasten off leaving a long strand of yarn.
Spots:
Make as many as you wish.
Round 1) 6 sc in the magic ring [6]
When you finish the spot, make a sl st into the next stitch. Then cut the yarn, leaving a long tail for sewing. Using the tapestry needle, pull this tail to the next stitch, so your spot will be completely round.
Tail:
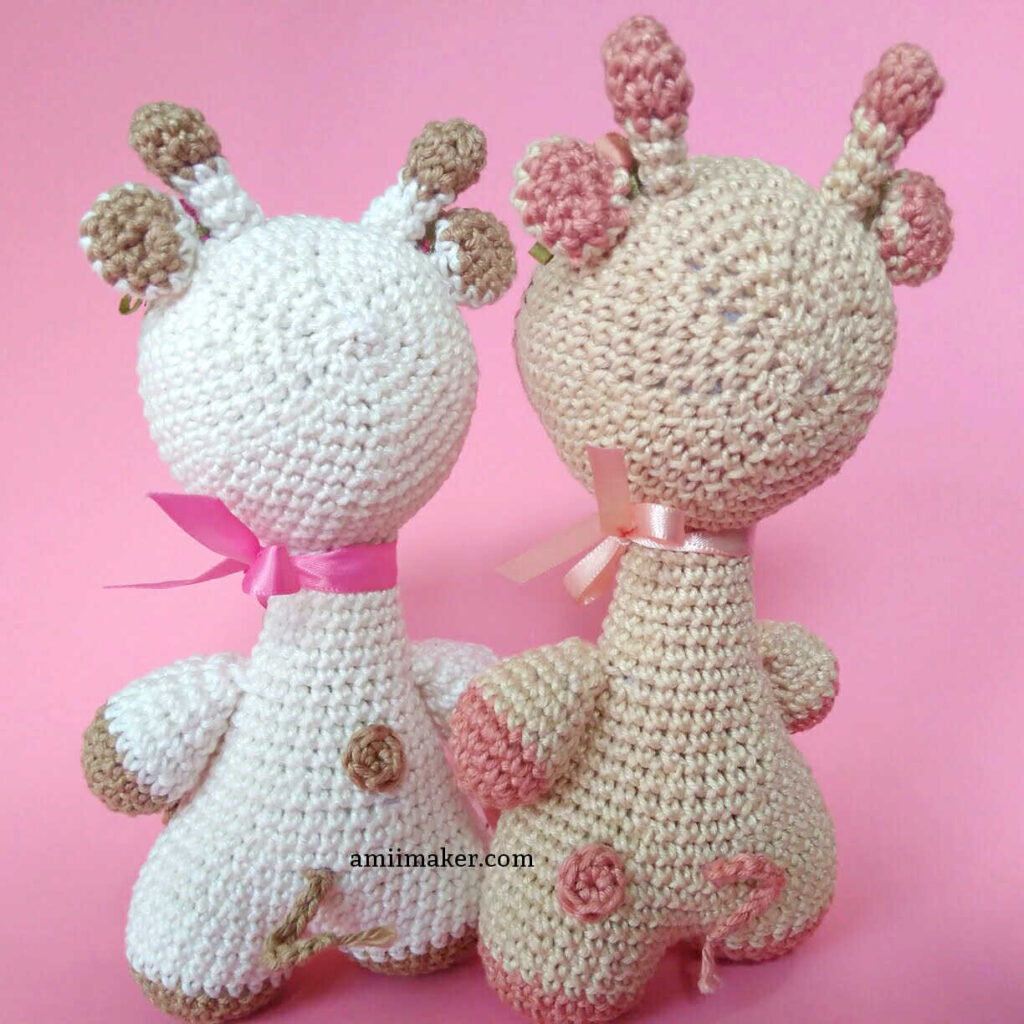
Use the nose color. Join the yarn with a sl st between rounds 12 and 13 in the back of the giraffe’s body. Ch 10. Pull on the yarn end tightly and trim short. Using your fingers, start ruffling the end to give the effect of hairs at the tip of the tail.
Eyes, eyelashes and nose:
Embroider the eyes at round 13 leaving 6 stitches between them. Embroider the eyelashes. Embroider two nostrils at the nose between rounds 5 and 6, leaving 7 stitches between them.
Assembly:
Use the tapestry needle and the long tails left at the end of each part. Sew the body to the head between rounds 13 and 17. Sew the horns in the head between rounds 19 and 21, leaving 8 stitches between them. Sew the ears immediately after the horns, between rounds 19 and 20. Sew the arms to the body between rounds 21 and 22. Sew the spots to the body. Sew the fabric flowers to help keep the ears and horns at their place. Make a tie using the ribbon around the neck to give your Amelie some charm.
Your Amelie is ready!
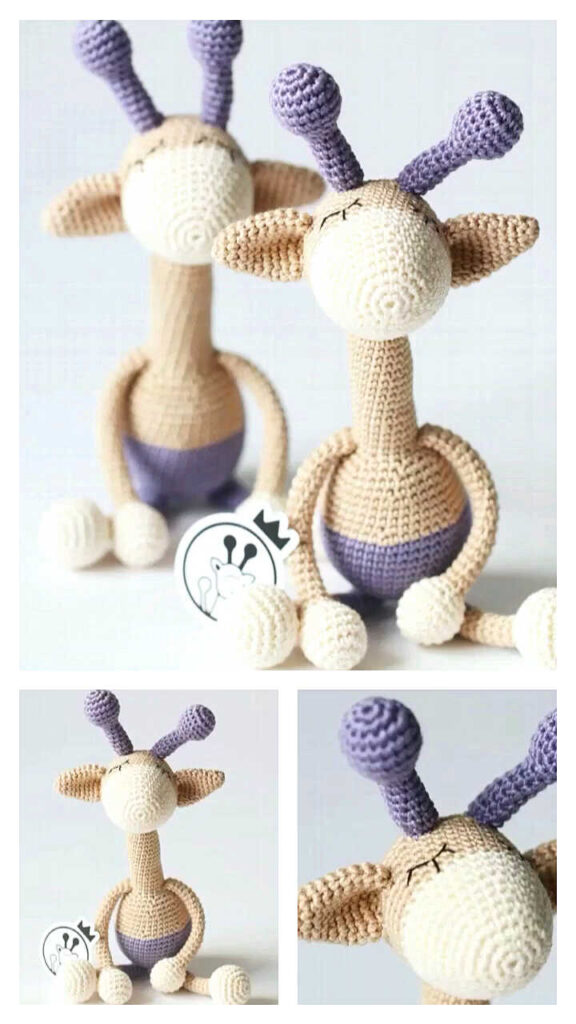
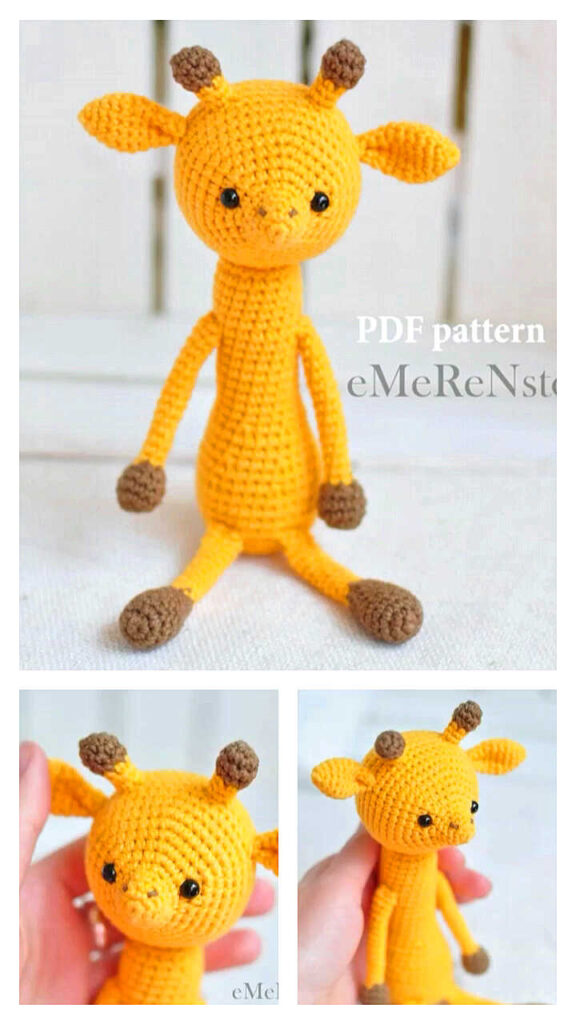
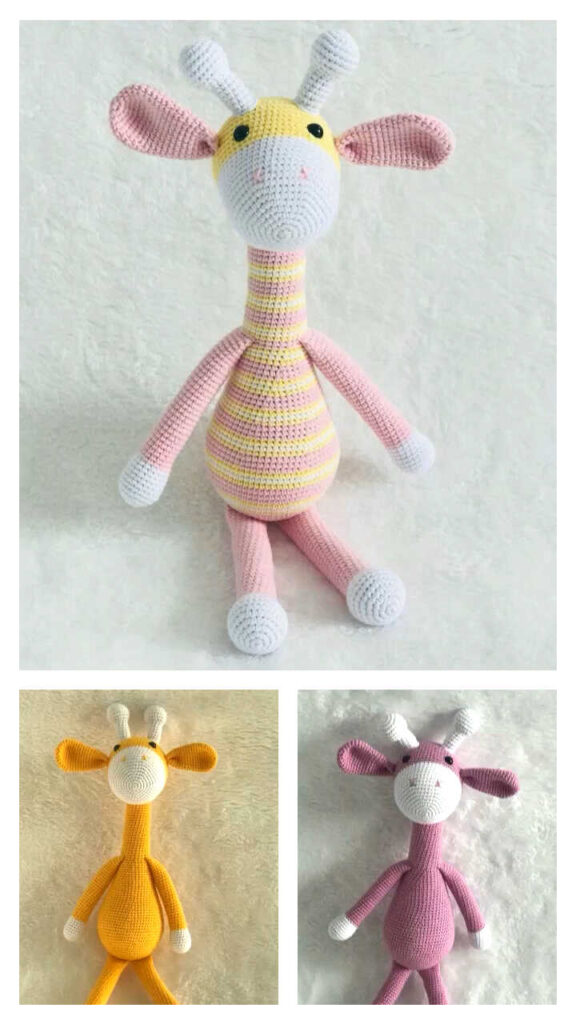
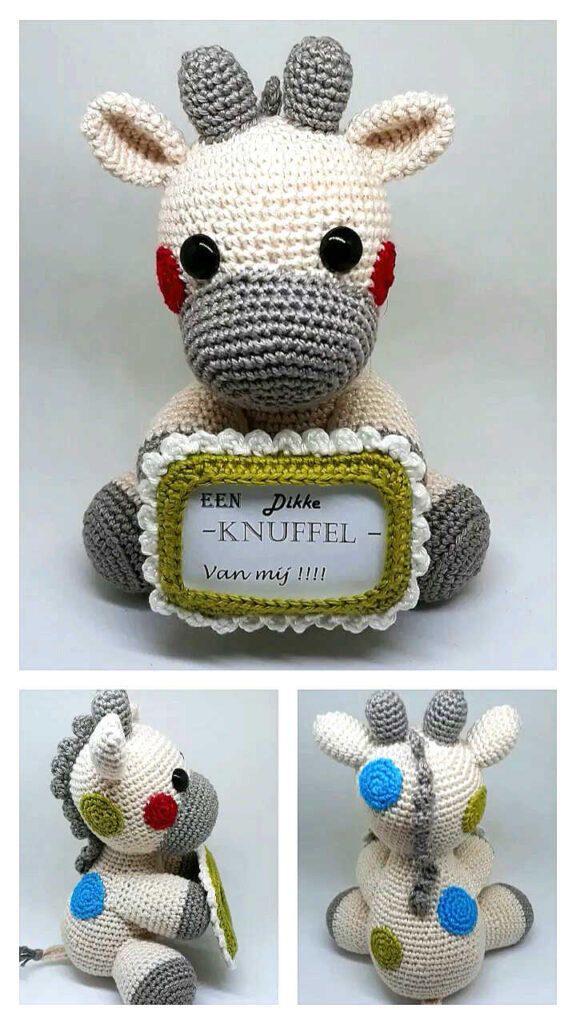
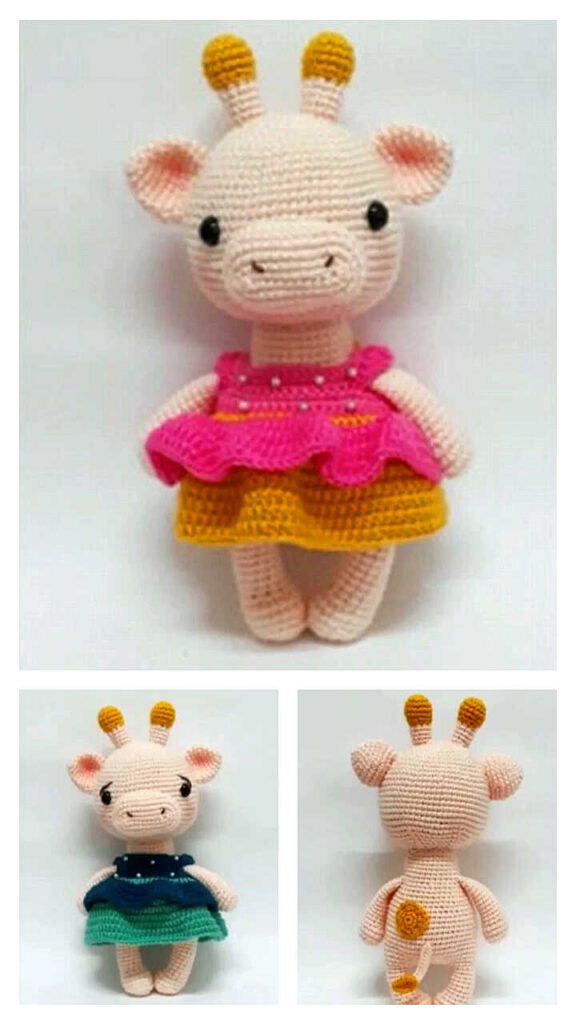
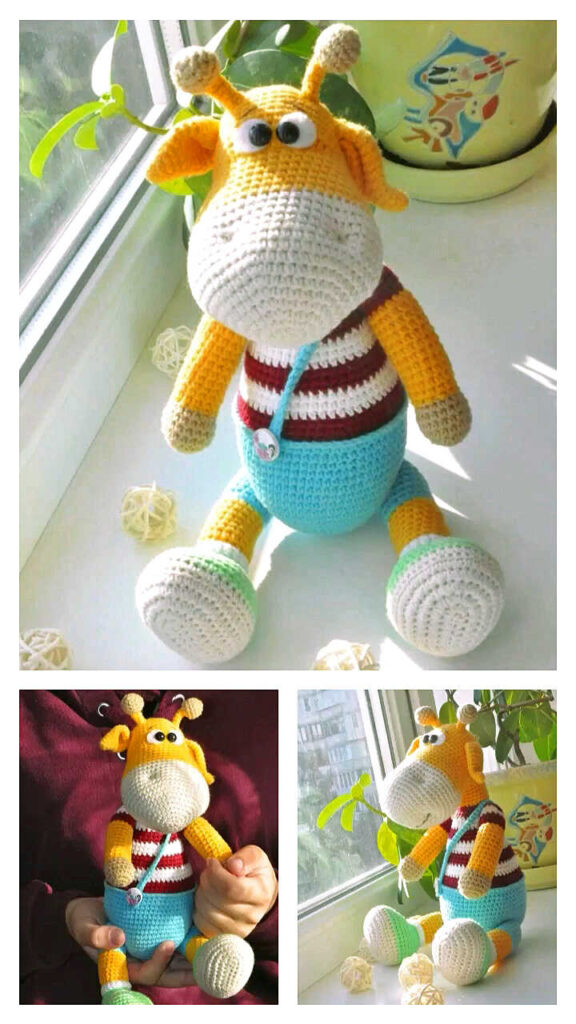
More amigurumi giraffe ideas:
