Tiny Amigurumi Owl: Step By Step Free Crochet Guide
Designer: Irina Vasilchenko
VK: @irina_vasilchenko_iv
Difficulty Level: Easy
These tiny forest friends are perfect for your next project — let’s start crafting today…
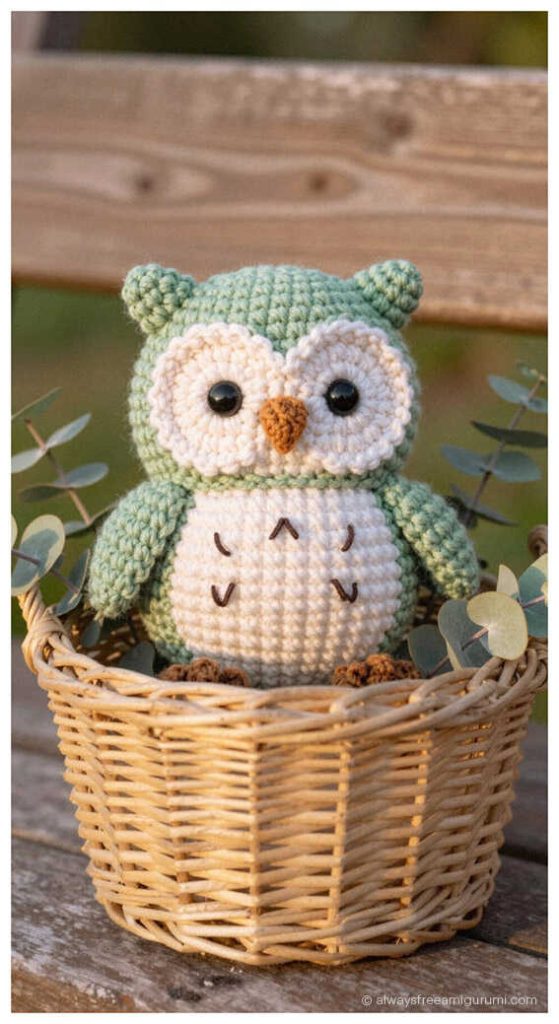
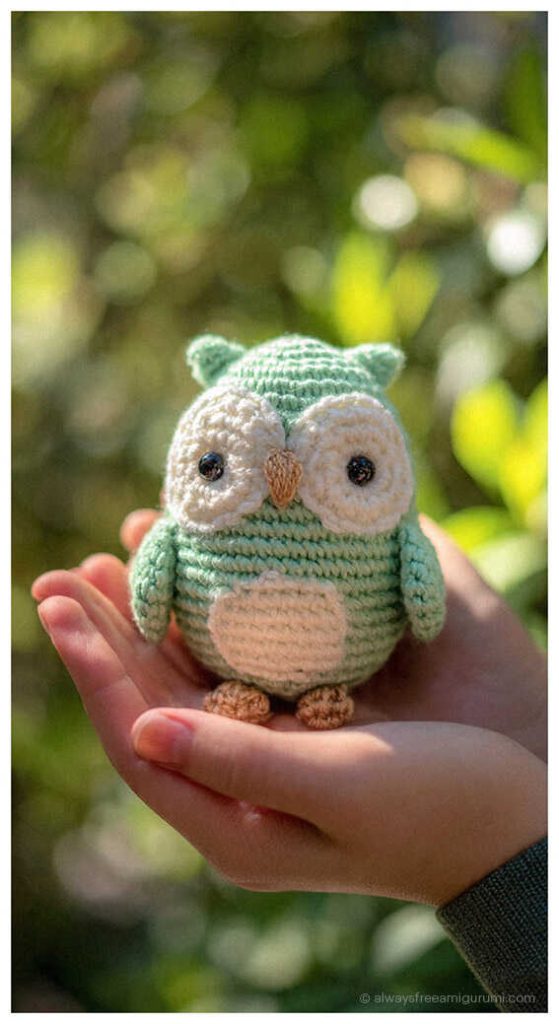
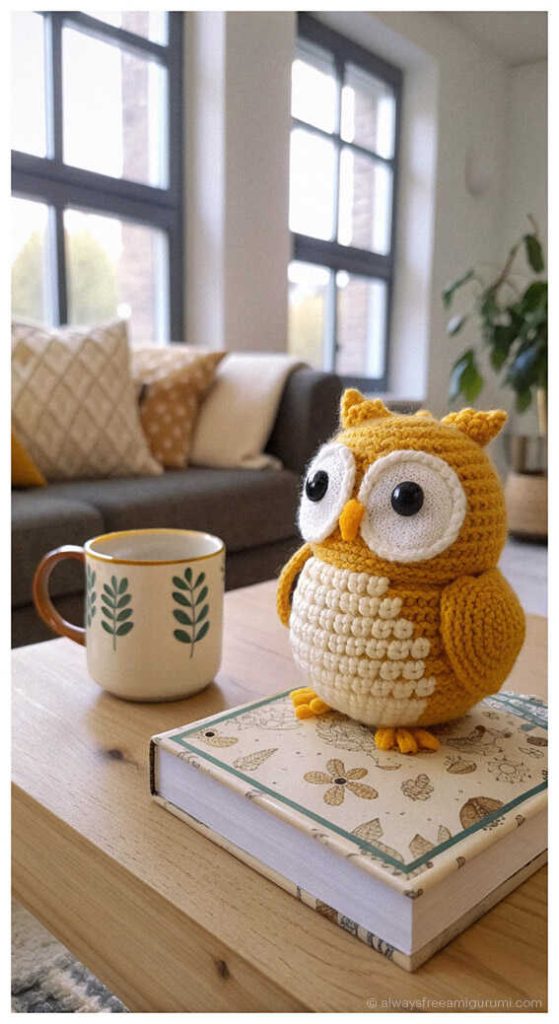
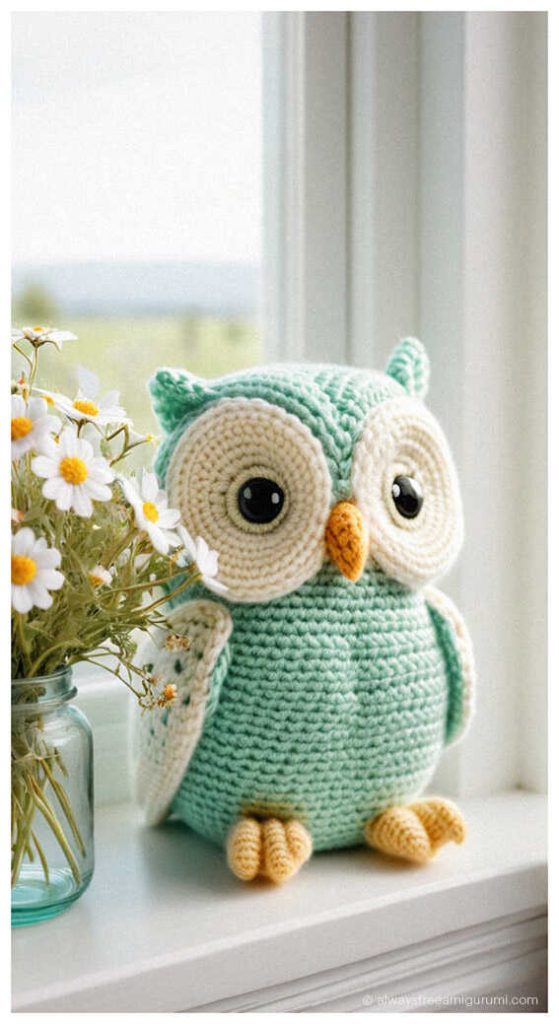
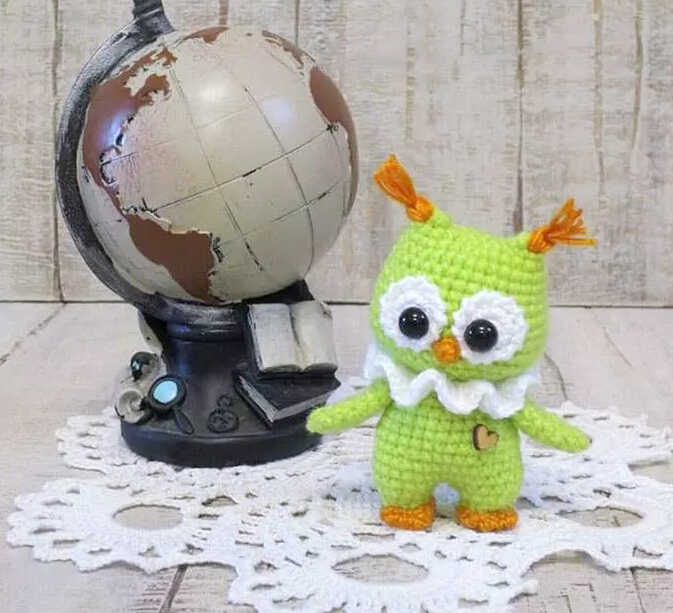
Baby owls bring a touch of woodland magic to your shelf. Therefore, they offer the ultimate inspiration for your next DIY Crochet Gift Ideas. This design stands out among Easy Crochet Projects because it features a charming decorative collar. Moreover, many crafters choose Low Sew Amigurumi Patterns to save time. We offer our sincere thanks to the talented Irina Vasilchenko for sharing this lovely Free Pattern with us. At the end of this post, you will also discover a gallery of stunning amigurumi owl fikirleri to inspire your creativity. If you want a soulful miniature bird that stays simple, this tutorial is a perfect place to start.
This Beginner amigurumi owl pattern helps you master how to crochet amigurumi quickly. The construction remains beginner-friendly because you work with basic shapes. Consequently, it serves as a Quick to Make Amigurumi for last-minute gifts. While we used Semenovskaya Karolina cotton for a crisp finish, you can also use Velvet Yarn. However, remember that plush yarn will make the owl much larger. This versatility allows you to create either a tiny charm or a huggable plushie easily.
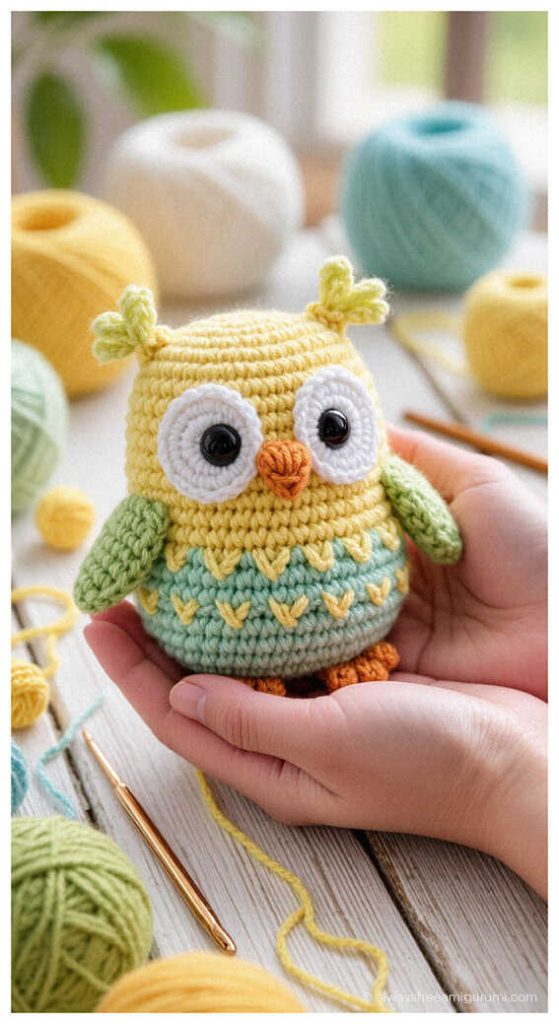
To bring this forest trend to life, prepare your crochet hook and safety eyes. First, use light green, orange, and white cotton to define the features. Next, follow this step by step guide to assemble the body and the cute collar. Then, use a needle and wire to add structure to the project. Don’t forget to visit the Amigurumi Penguin Free Pattern for more beginner friendly projects. Finally, use your scissors to trim the details and enjoy your new companion. Scroll down and let’s start stitching!
Materials
•Yarn:
– Semyonovskaya Karolina (100 g / 438 m, light green)
– Coco Vita Cotton (50 g / 240 m, orange and white)
• Crochet hook (suitable for yarn)
• Safety eyes
• Fiberfill
• Wire
• Tapestry needle
• Scissors
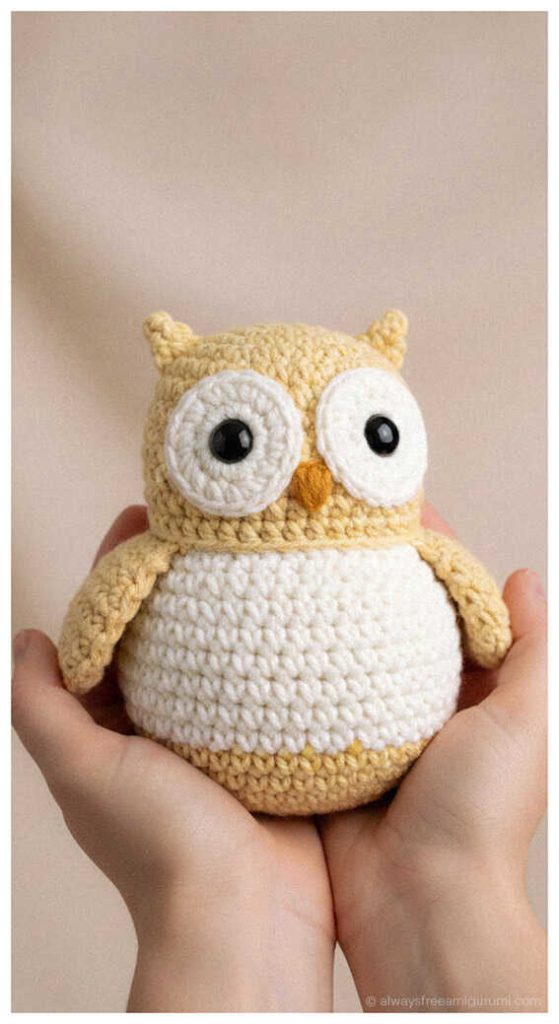
Finished toy size is approximately 7.5 cm (3 in).
Abbreviations
MR – magic ring
ch – chain
sl st – slip stitch
sc – single crochet
dc – double crochet
inc – increase
dec – decrease
(…) x n – repeat instructions in parentheses n times
The toy is crocheted using the “cross stitch” method. When crocheting with “V stitches”, additional shift stitches may be required.
Head
Place the marker at the center of the back.
R1. 6 sc in MR, 8 ch, 6 sc starting from the 2nd ch from hook
R2. (6 sc along the chain, 6 sc along the ear) x 2 (24)
R3. (3 sc, inc) x 6 (30)
R4–R6. 30 sc (3 rounds)
R7. (4 sc, inc) x 6 (36)
R8–R9. 36 sc (2 rounds)
R10. (5 sc, inc) x 6 (42)
R11–R12. 42 sc (2 rounds)
R13. (5 sc, dec) x 6 (36)
R14. (4 sc, dec) x 6 (30)
R15. (3 sc, dec) x 6 (24)
R16. (2 sc, dec) x 6 (18)
R17. (1 sc, dec) x 6 (12)
R18. 6 dec (6)
Eyes (Make 2)
R1. 6 sc in MR
R2. 6 inc (12)
R3. 12 sc in crab stitch
Fasten off, leave a long tail for sewing.
Feet (Make 2)
Place marker on the side.
R1. 4 ch, starting from 2nd ch from hook: inc, 1 sc, 4 sc in one stitch, 1 sc, inc (10), 1 shift sc
R2. (4 sc, inc) x 2 (12)
R3–R4. 12 sc (2 rounds)
R5. (2 sc, dec) x 3 (9)
R6. (1 sc, dec) x 3 (6)
Pull the opening closed, fasten off, hide the yarn.
Beak
6 sc in MR, 6 sl st
Fasten off, leave a long tail for sewing.
Legs and Body
Work 10 sc evenly around the foot.
R1. (inc, 4 sc) x 2 (12)
For the first leg, fasten off and cut the yarn.
For the second leg, continue crocheting.
R2. (3 sc, inc) x 3 along the first leg, 2 sc along the chain,
(3 sc, inc) x 3 along the second leg, 2 sc along the chain (34)
R3. 15 sc, 2 inc, 17 sc (36)
R4. 36 sc
R5. 7 sc, dec, 17 sc, dec, 8 sc (34)
R6. 12 sc, dec, 6 sc, dec, 12 sc (32)
R7. 32 sc
R8. 7 sc, dec, 14 sc, dec, 7 sc (30)
R9. (3 sc, dec) x 3 (24)
R10. (6 sc, dec) x 3 (21)
R11. (5 sc, dec) x 3 (18)
Fasten off, leave a long tail for sewing.
Wings (Make 2)
R1. 6 sc in MR
R2. (1 sc, inc) x 3 (9)
R3. (2 sc, inc) x 3 (12)
R4. (3 sc, inc) x 3 (15)
R5–R6. dec, 5 sc, 2 inc, 4 sc, dec (2 rounds)
R7. dec, 5 sc, dec, 4 sc, dec (12)
R8. dec, 3 sc, dec, 3 sc, dec (8)
R9. (dec, 1 sc) x 3 (6)
Pull the opening closed, leave a long tail for sewing.
Collar
Ch 20, join into a ring.
R1. 20 inc sc (40)
R2. (1 dc, inc dc) x 20 (60)
The collar can be crocheted directly onto the finished owl by closing the chain of 20 stitches around the neck of the fully assembled toy.
Assembly
Sew the eyes in place.
Attach the beak.
Sew the wings to the body.
Attach the head to the body.
Insert wire if desired.
Finish all details neatly.
Copyright & Credits
This crochet pattern is the original work of Irina Vasilchenko.
The pattern may not be reproduced, redistributed, or published elsewhere without the designer’s permission.
This translation is provided for informational purposes only, with full credit to the original author.
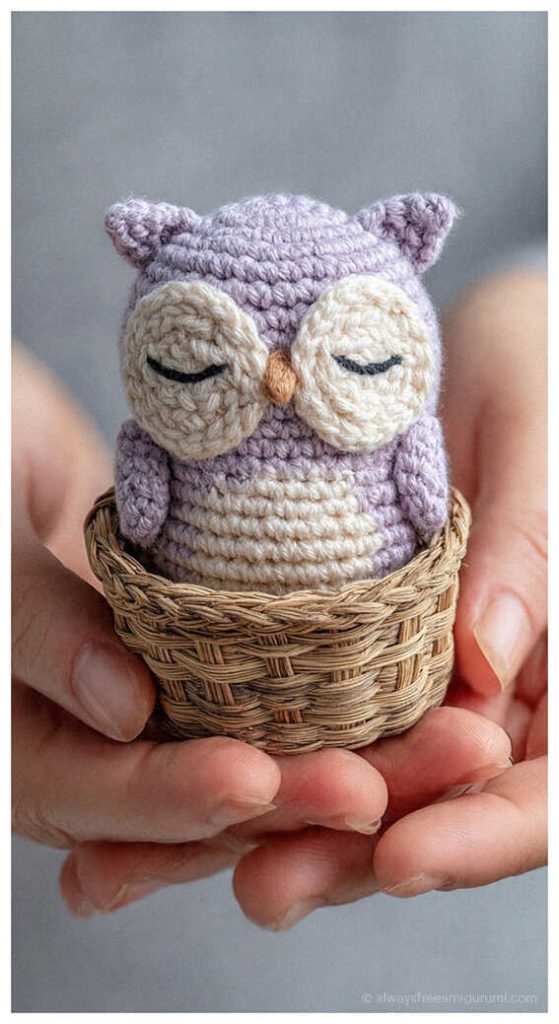
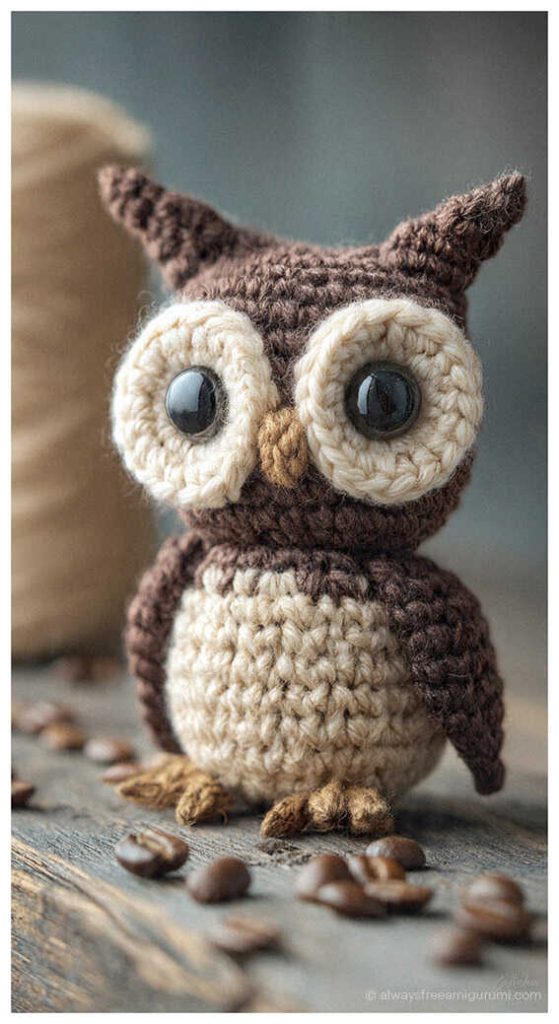
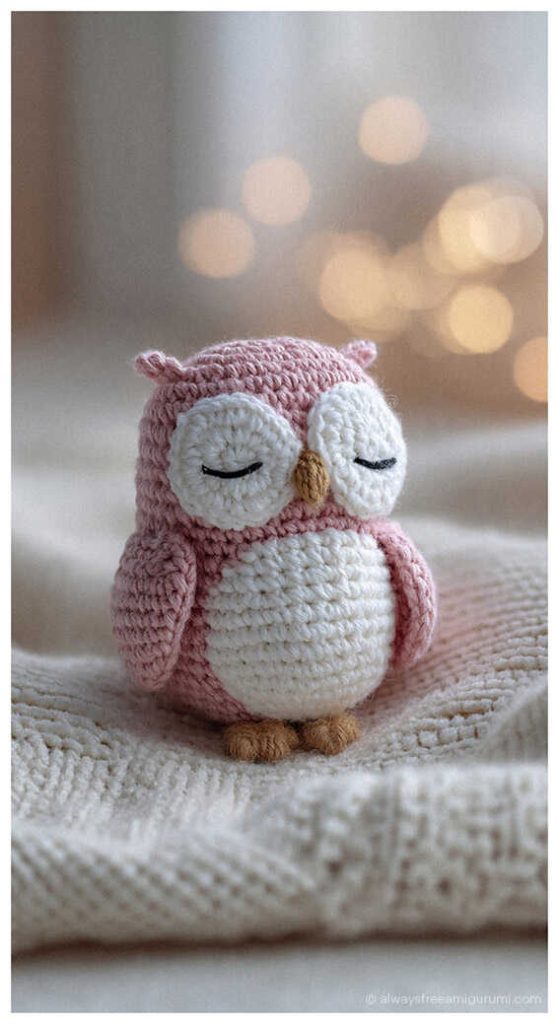
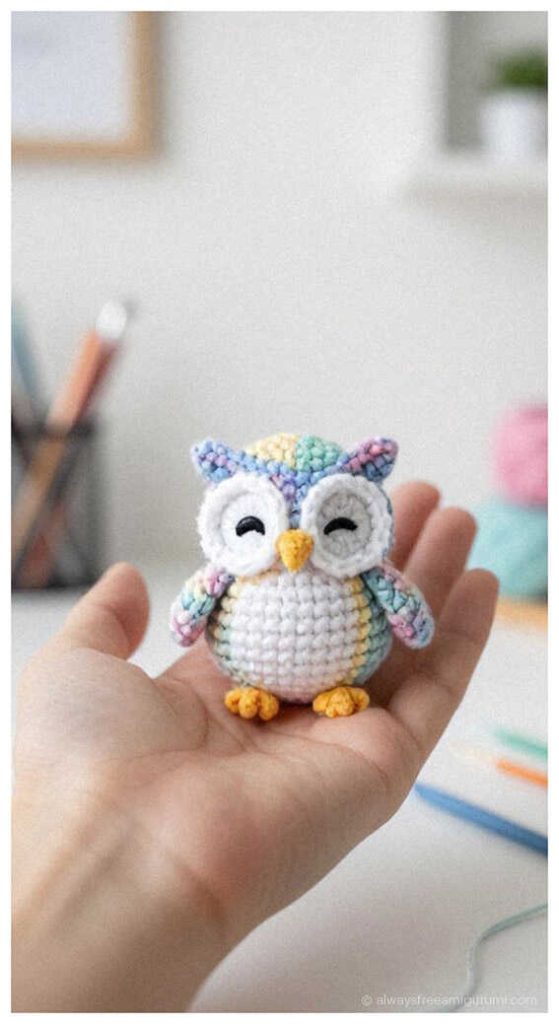
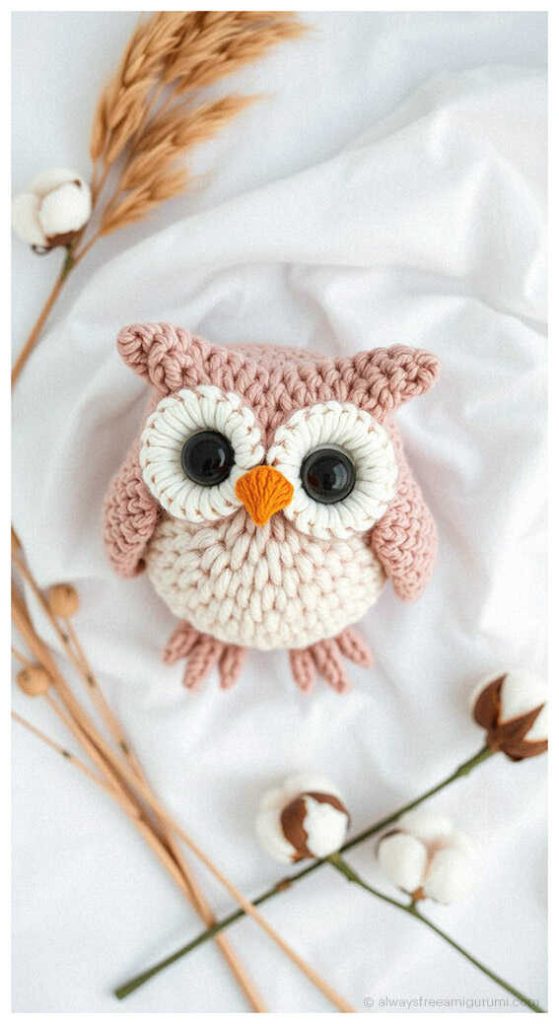
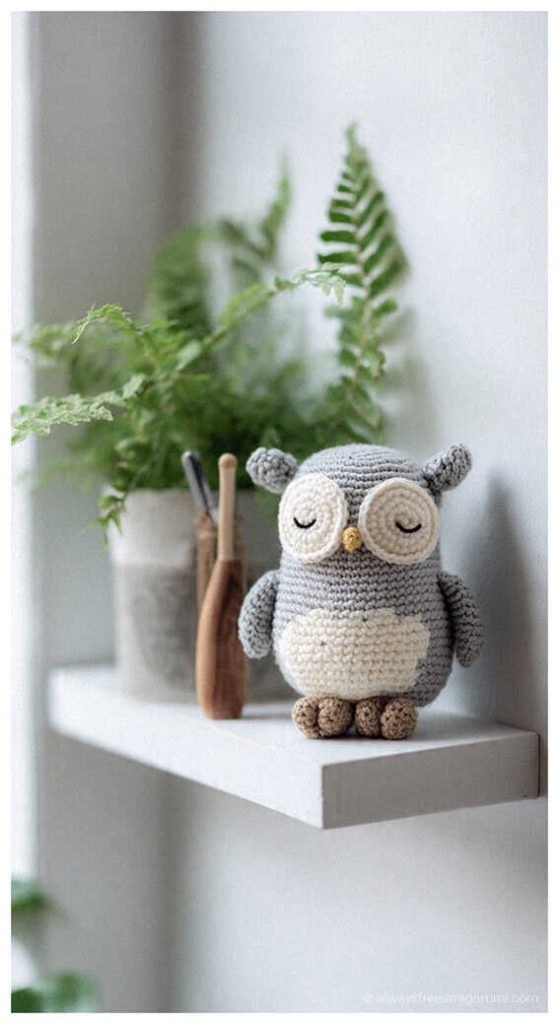
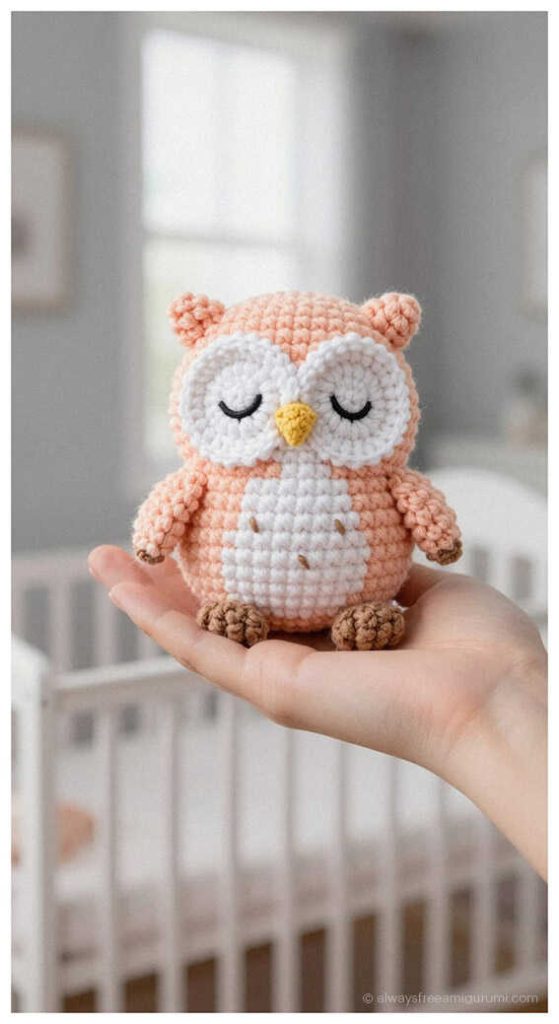
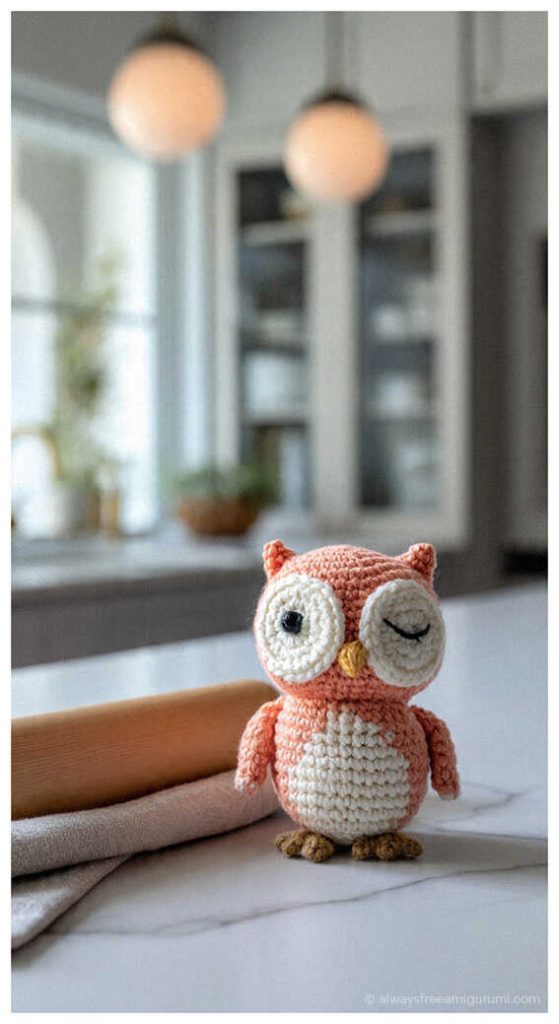
Imaginative amigurumi owl ideas: