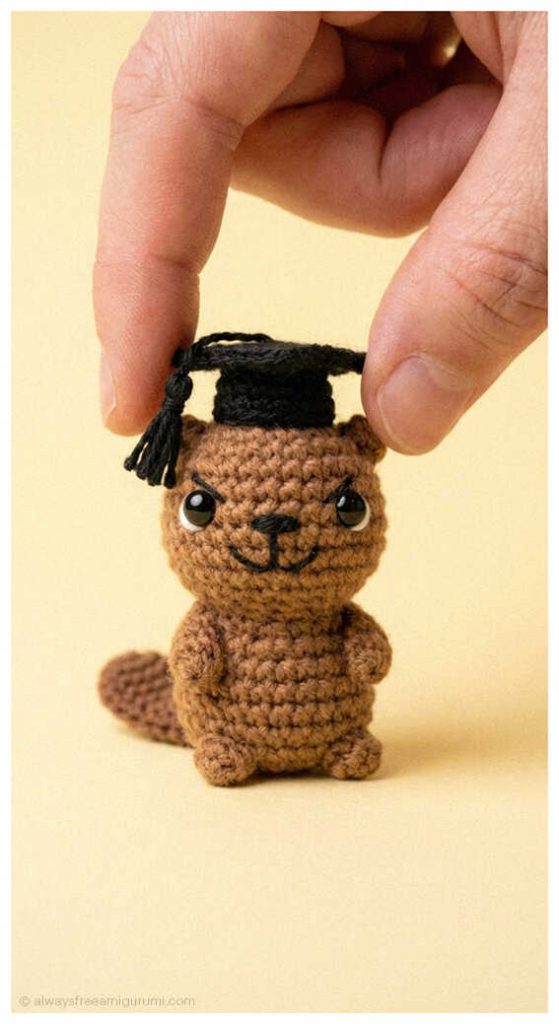
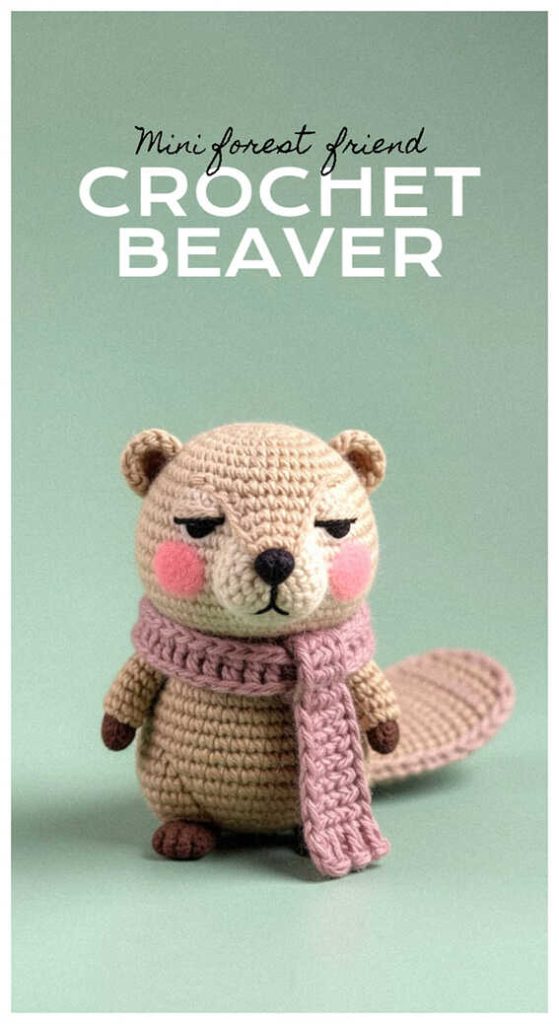
Easy Beaver Amigurumi Free Crochet Pattern
Designer: Crochet from Mars
Instagram: @Crochetfrommars
Difficulty Level: Easy
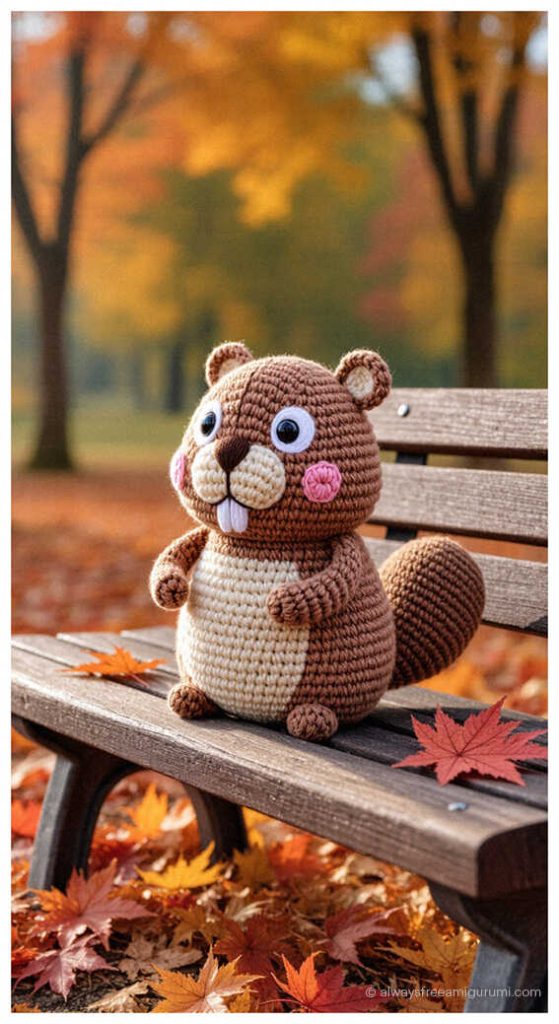
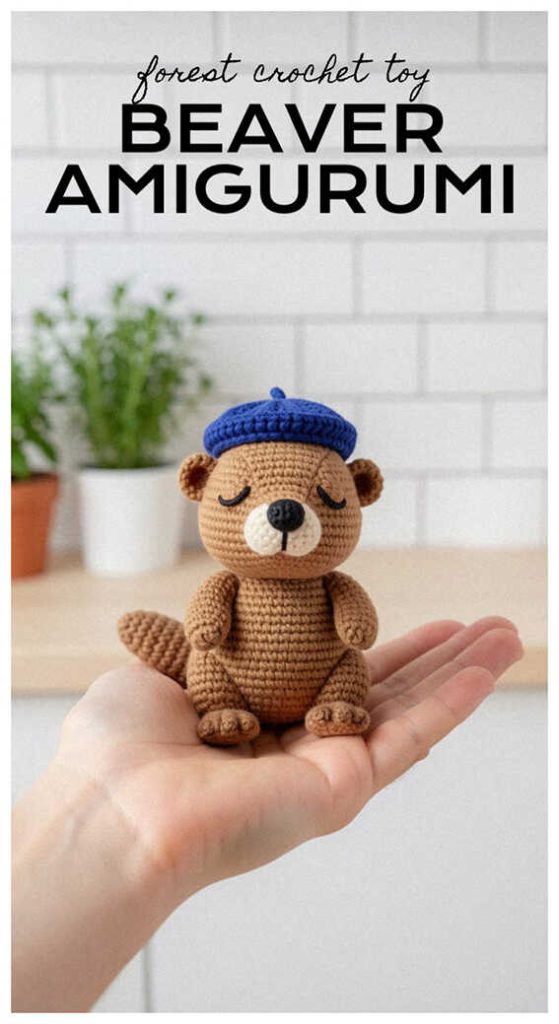
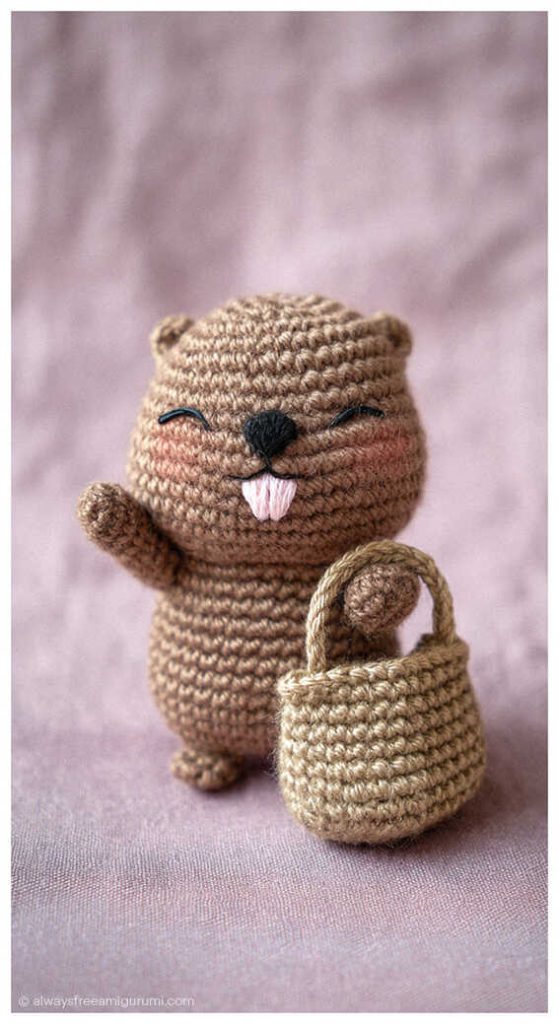
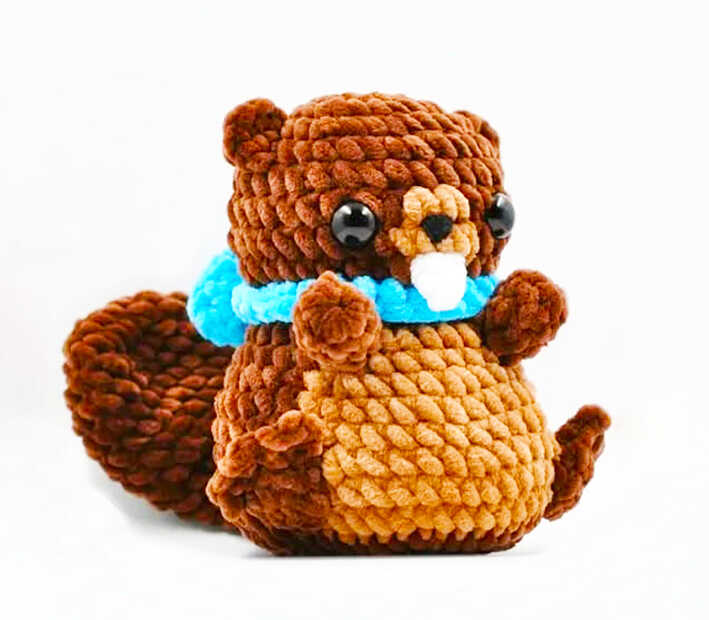
A soft woodland amigurumi designed to bring cozy handmade charm to your crochet time.
Designed by a talented creator, this adorable beaver captures the gentle spirit of forest animals with its rounded body and sweet expression. It makes a lovely choice for DIY Crochet Gift Ideas, nursery decor, or comforting handmade toys for children. As a free amigurumi beaver pattern, it combines warmth and simplicity, and you will also find inspiring amigurumi beaver ideas shared at the end of the pattern. We sincerely thank the designer for generously sharing this beautiful woodland design with the crochet community.
Built using basic stitches only, the pattern follows an easy amigurumi structure that suits crocheters with beginner to basic experience. Difficulty Level: Easy, and it also works well as a Quick to Make Amigurumi project. If you enjoy forest-themed toys, you may also like our amigurumi squirrel pattern.
Cotton yarn gives this design a clean and well-defined finish, while velvet yarn can create a larger plush version. You only need yarn, a suitable crochet hook, fiberfill stuffing, and basic tools to complete it. For another charming woodland idea, explore our Koala Stefanie amigurumi pattern. For more detailed instructions and updates, you can also visit the designer’s Instagram page @crochetfrommars.
Materials
• Crochet hook in 4mm
• Chenille yarn in weight 6 (I used Wollans Baby Bunny) in 3 colors:
1. Main color – dark brown
2. Belly and nose – light brown
3. Bow-blue
• Fiber fill
• Tapestry needle
• Cotton (or any type of thin but resistant thread) to sew the pieces together
• A pair of scissors
• 16 mm safety eyes
• Black thread and white chenille to embroider the face and make the teeth
Abbreviations (US terminology)
Ch – chain
Dc – double crochet
Dec – invisible decrease
Inc – increase
Mr – magic ring
St/s – stitch(es)
Sc – single crochet
Tb – treble crochet
[X] – number of stitches at the end of the round
{x} – number of identical rounds to make in total
(X)*Y – repeat X by the number of Y
A: 1⁄2 inc; B: 1⁄2 inc – bicolor increase (first sc of the inc in a color and the second sc in another)
x) – number of the round
Disclaimer
I personally sew with thin thread rather than with the tails of the pieces I make, especially when working with chenille yarn. If it’s not your preference, consider leaving long tails to assemble your pieces together. Color changes are written in bold and color to be easily spotable.
CUTE PLUSH BEAVER AMIGURUMI – FREE CROCHET PATTERN

Head & Body – In dark and light browns
Start in dark brown.
1) 8 sc in a MR [8]
2) 8 inc [16]
3) (1 sc, 1 inc)*8 [24]
4) (2 sc, 1 inc)*8 [32]
5-6) 32 sc {2 rounds}
7) 15 sc; 2 inc; 15 sc [34]
8) 15 sc; 5 sc; 14 sc [34]
9) 16 sc; 2 dec; 14 sc [32]
10) (1 sc, I dec)*10, 1 dec [21]
11) (1 sc 1 inc)*10, 1 inc [32]
Depending on tension, you might have to adjust the color changes of the belly.
12) 15 sc; 8 sc; 9 sc [32]
Place the 16 mm eyes between the rounds 7 and 8, 1 visible st away from each sides of the nose. Start to stuff the head. Use this moment to push stuffing in the nose to shape it.
13) 14 sc; 10 sc; 8 sc [32]
14) (3 sc, 1 inc)*3, 2 sc; 1 sc, 1inc, (3 sc, inc)*2; (3 sc, 1 inc)*2 [40]
15-16) 17 sc; 14 sc; 9 sc [40]
17) (4 sc, 1 inc)*3, 2 sc; 2 sc, 1 inc, (4 sc, 1 inc) *2, 2 sc; 2 sc, 1 inc, 4 sc, 1 inc [48]
18-19) 20 sc; 18 sc; 10 sc [48]
Cut the light brown yarn. Stuff a bit more.
20) 48 sc [48]
21) (2 sc, 1 dec)*12 [36]
22) 18 dec [18]
23) 9 dec [9]
Finish stuffing, fasten off, close the hole and weave.
Ears Make two in dark brown
1) 7 sc in a MR [7]
Fasten off and weave.
Arms – Make two in dark brown
1) 6 sc in a MR [6]
2-4) 6 sc [6] {3 rounds}
Stuff, fasten off and weave.
Feet Make two in dark brown
1) 6 sc in a MR [6]
2) (1 sc, 1 inc)*3 [9]
3) 9 sc [9]
Press flat and make as follows across both sides:
4) (1 dc, ch2, 1 slst) in the same stitch *3 [9]
Fasten off and weave.
Tail – Make one in dark brown
1) 8 sc in a MR [8]
2) 8 inc [16]
3) (1 sc, 1 inc)*8 [24]
4-7) 24 sc [24] {4 rounds}
8) (4 sc, 1 dec)*4 [20]
9) 20 sc [20]
10) (3 sc, 1 dec)*4 [16]
11) (6 sc, 1 dec)*2 [14]
12-14) 14 sc [14] {3 rounds}
Fasten off and weave.
Teeth
Make one in white
Ch2. From the second ch from the hook make 1 inc. On the other side of the chain make 1 sc (don’t turn).
Fasten off and weave.
Bow – Make one in blue
You can adapt the length of the bow depending on how long you want the tails to be.
1) Ch91. From the second ch from the hook make 90 dc.
Fasten off and weave.
Assembly
• Sew the arms between rounds 11 and 13, on the side of the belly (5 visible sts apart).
• Sew the feet between rounds 17 and 19. Place them in a 45° angle so the toes are a bit angled outward. Don’t sew the toes to the body. In order for the feet to be symmetrical, the right foot should be placed a little more on top of the color change while the left one should be in the “corner” of the belly.
• Sew the tail in the back on the round 18, it should be centered.
• Sew the ears on top of the head between rounds 4 and 6.
• Sew the teeth exactly between rounds 8 and 9 and center them with the light brown markings.
Finishing touches
• Embroider a triangular nose exactly between rounds 7 and 8, in the middle.
• Wrap the bow around the neck of your beaver. Make sure it goes above the arms and under the teeth. Tie a big knot with two loops and let the tails hang. You might have to rearrange it to make it pretty.
That’s it! The toy is ready!
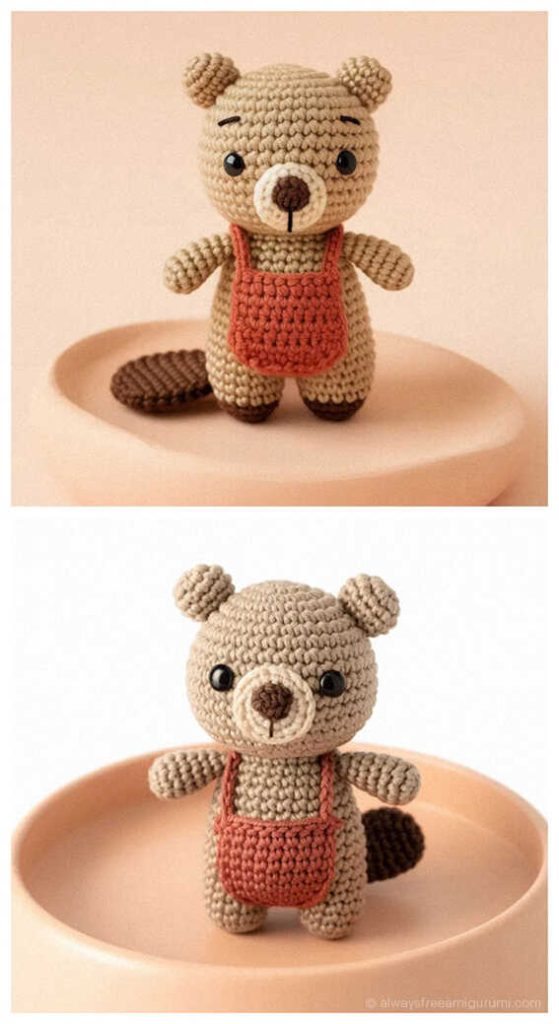
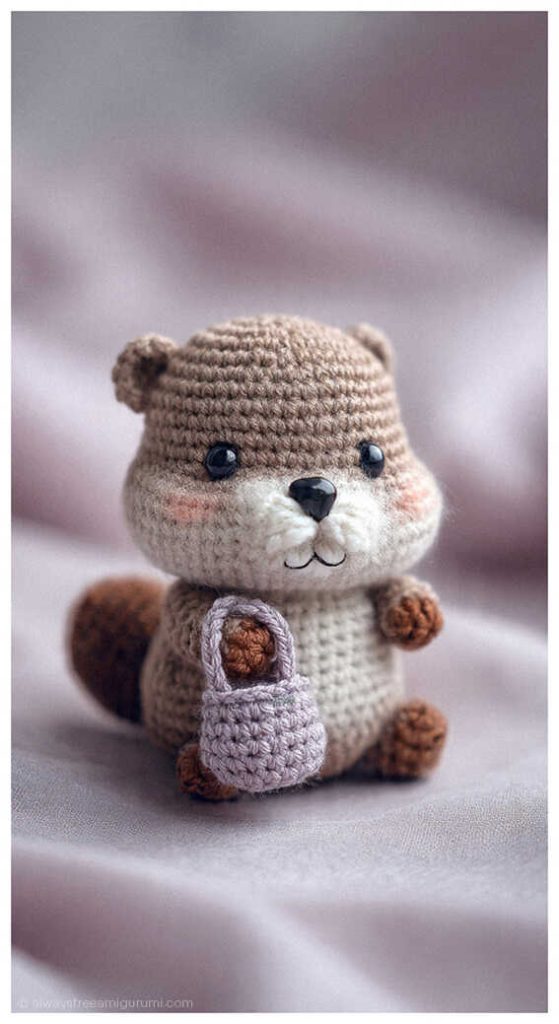
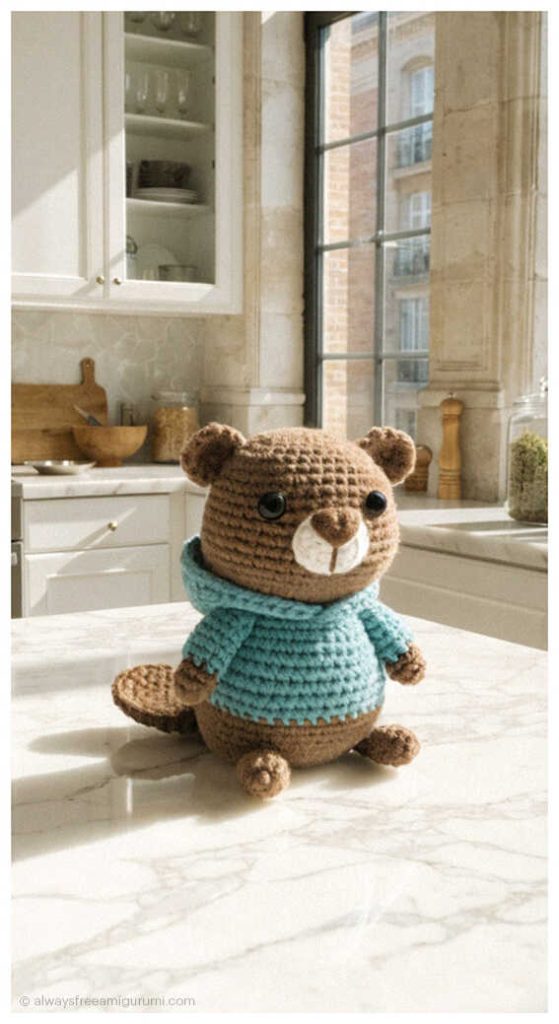
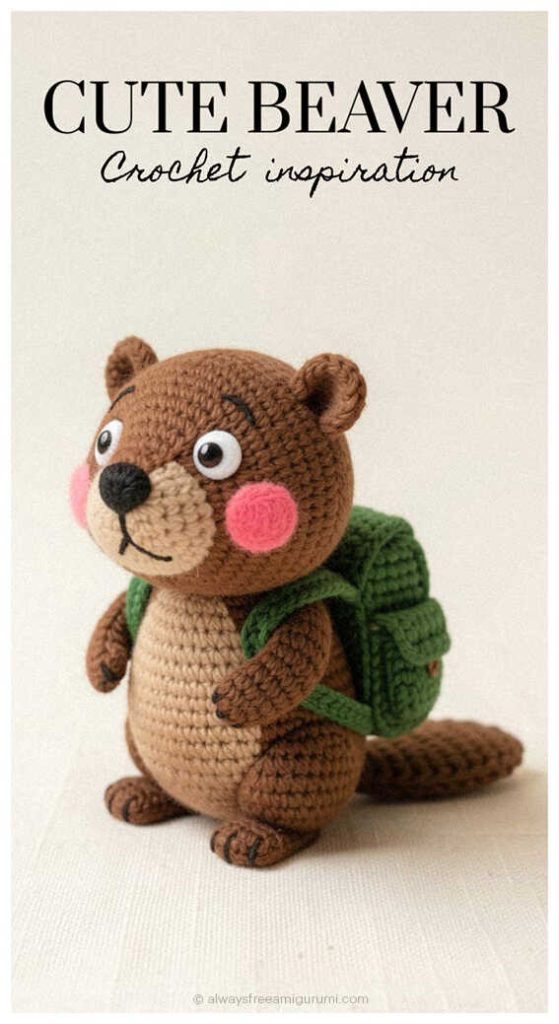
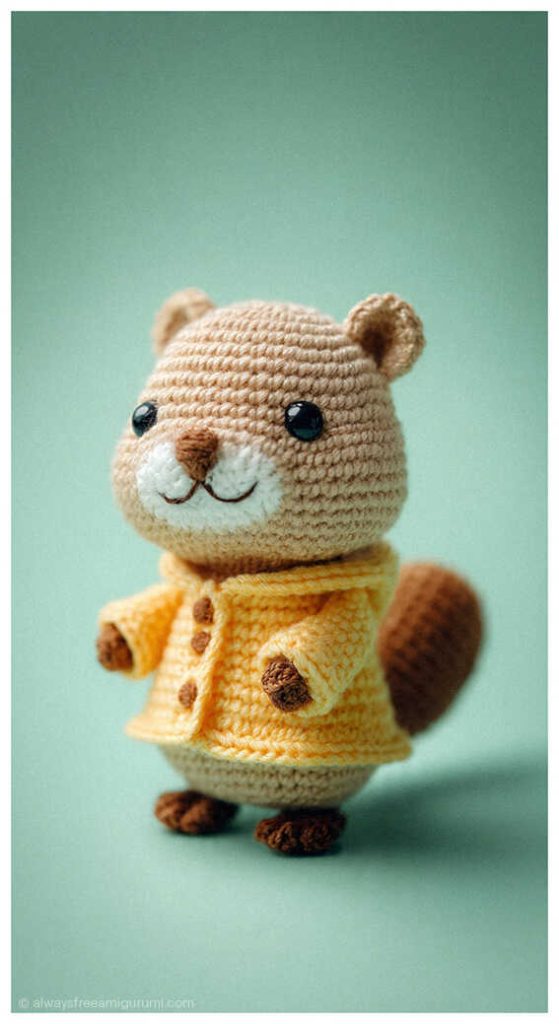
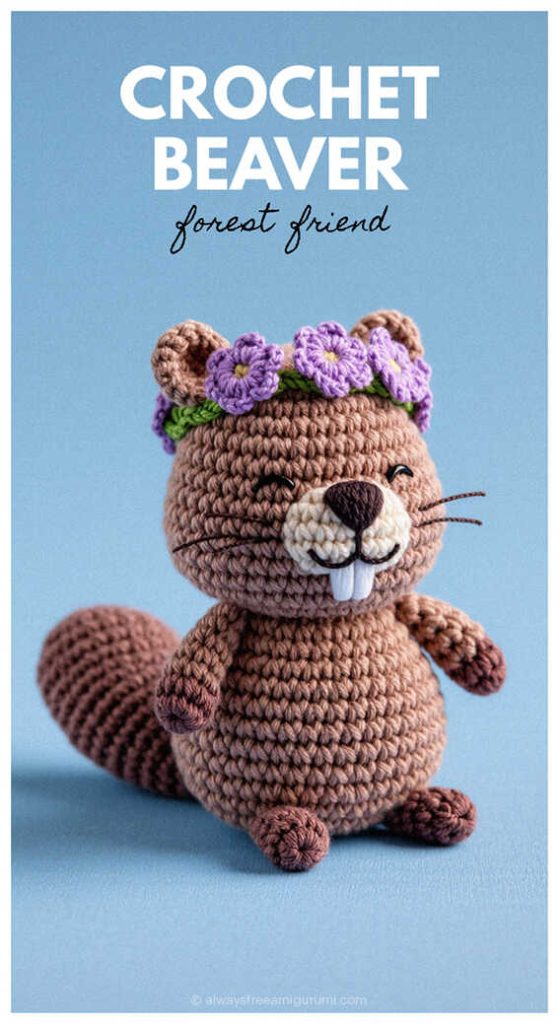
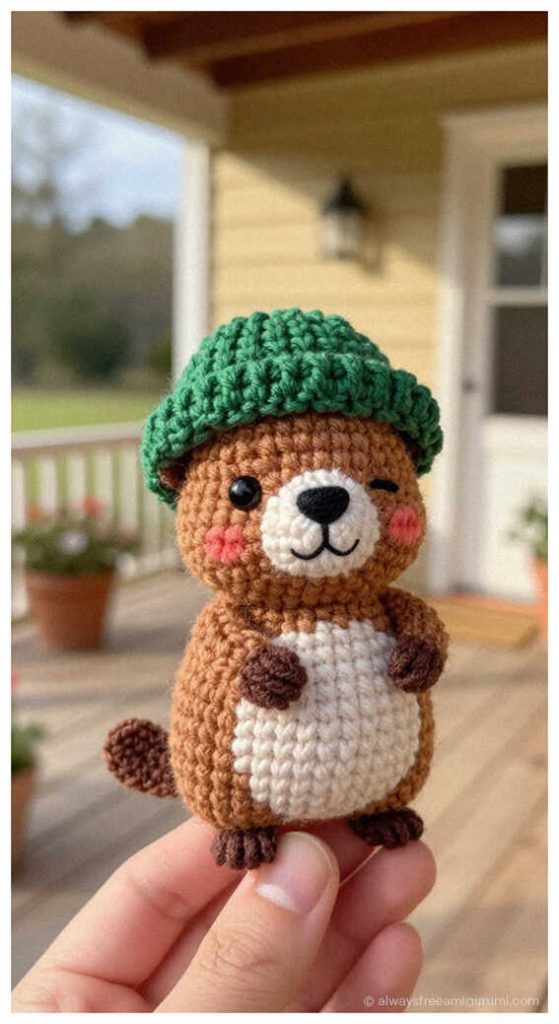
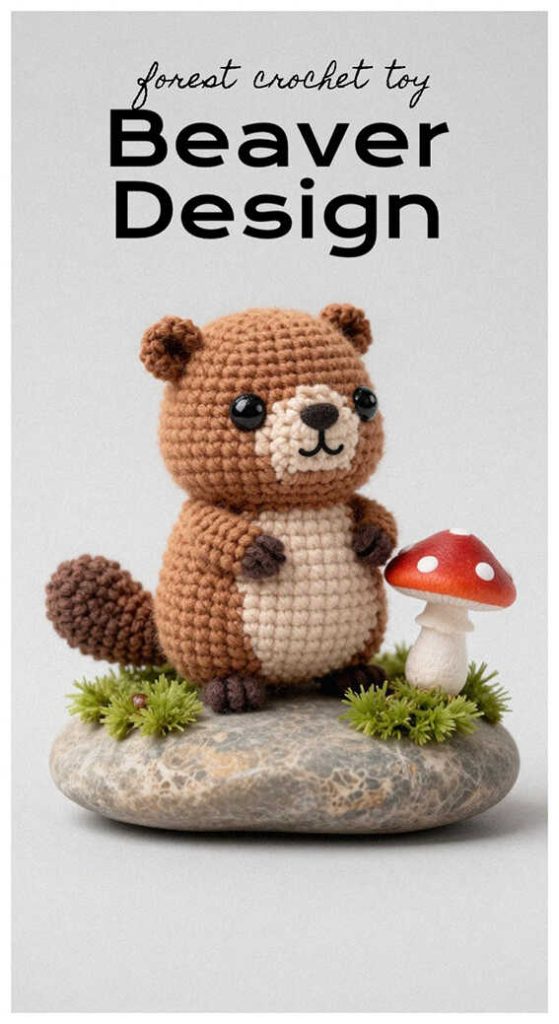
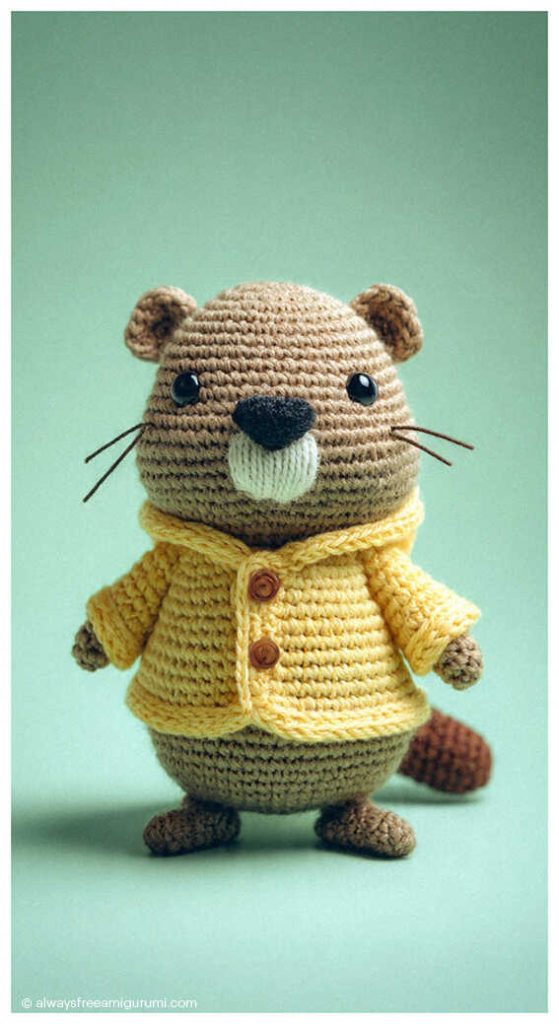
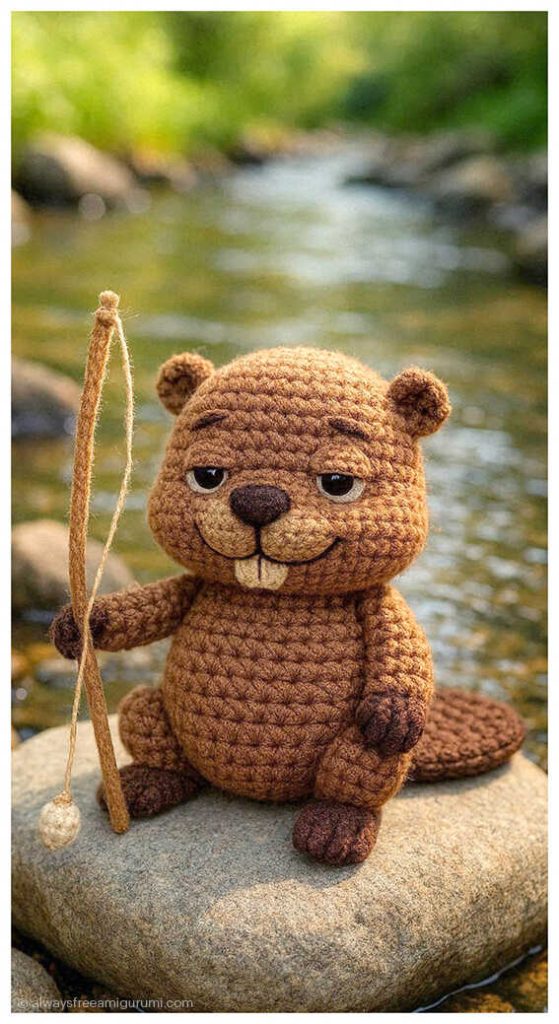
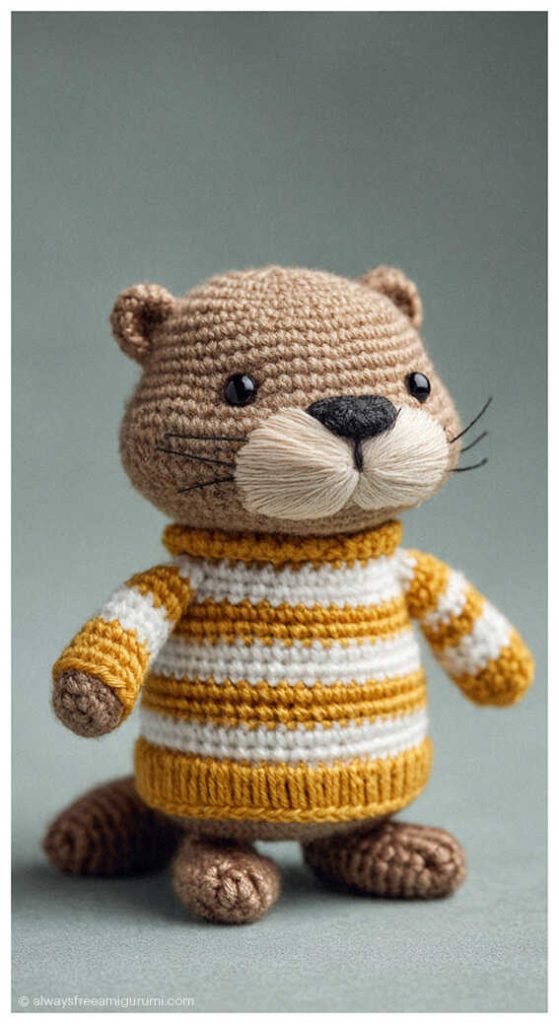
Cute Beaver Amigurumi Design Ideas