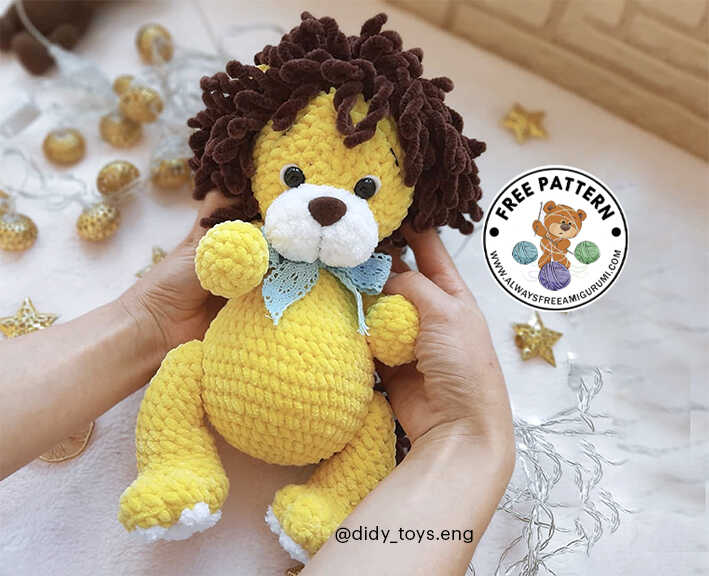
Crochet Lion Free Amigurumi Pattern
Designer: DidyToys
Instagram: @didy_toys.eng
Etsy Shop: DidyToys
Say hello to today’s handmade happiness!
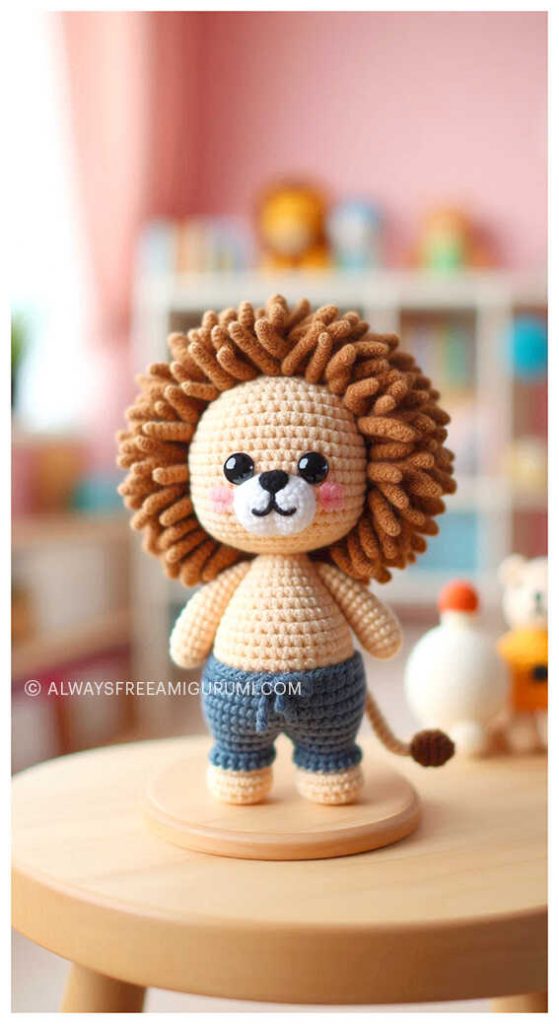
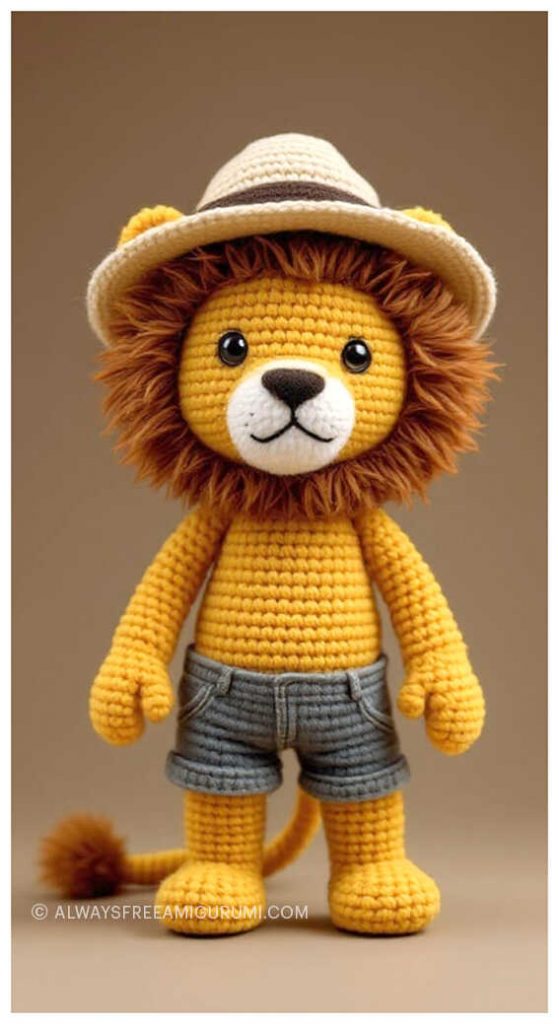
Meet your new favorite handmade jungle friend! This Crochet Lion Amigurumi Free Pattern, beautifully designed by DidyToys (Instagram: @didy_toys.eng), brings charm and character to your crochet collection. With its soft body, expressive face, and adorable mane, this little lion is perfect for gifting, decorating a nursery, or adding to your own amigurumi zoo.
Whether you’re a beginner looking for a fun project or an experienced crocheter seeking your next cute creation, this pattern is both enjoyable and rewarding to follow. Using basic stitches and simple techniques, you’ll bring this lovable lion to life in no time.
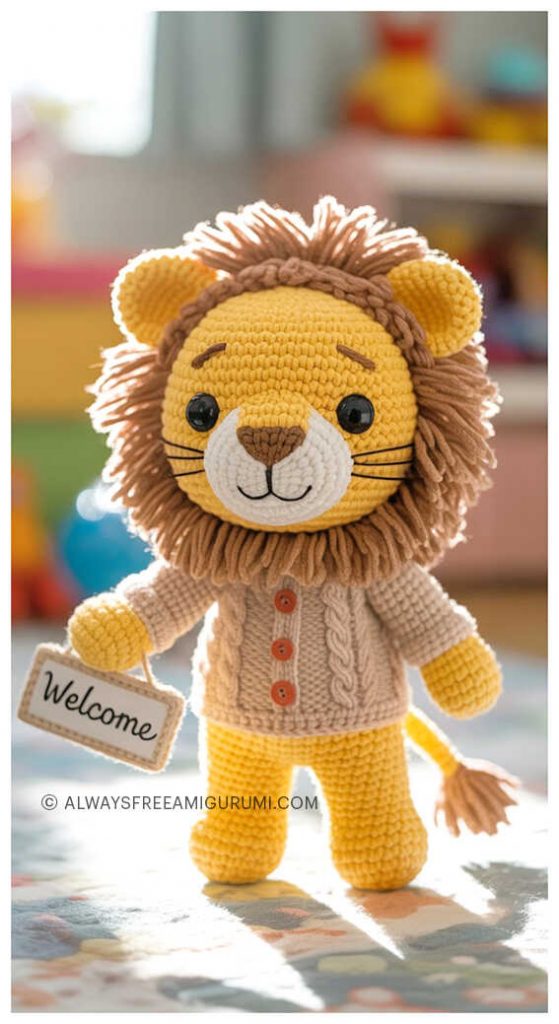
Special thanks to DidyToys for sharing this delightful design with the crochet community! And don’t forget to check out the end of the pattern for more inspiring Amigurumi Lion ideas to fuel your creativity and imagination.
Materials
Plush yarn (Himalaya Dolphin Baby, YarnArt Dolce etc.) 1 skein main color, just a little additional color (for muzzle and paw pads)
Amigurumi eyes
Amigurumi Nose
Fiberfill
Crochet hook size 3,5
Plastic needle for plush yarn, long needle for sculpting
Scissors
Strong thread for sculpting
Abbreviations
MR-
sc- single crochet
inc- increase
dec-decrease
BLO- back loop only
Stuff the details in the process. Do not stuff the tail and ears
AMIGURUMI PLUSH LION CROCHET FREE PATTERN
Ears
Rnd 1. 6sc into a MR-6
Rnd 2. 6 inc-12
Rnd 3. (sc, inc)*6-18
Rnd 4. (5sc, inc)*3-21
Fold and crochet the two edges together. Fasten off and cut the thread leaving a tail for sewing.
Tail
Start crocheting from additional color. Use loop stitches
Rnd 1. 6sc into a MR-6
Rnd 2. sc in each st around-6
Change color, use simple stitches
Rnd 3-8. (6 rounds) sc in each st around-6
Fold and crochet the two edges together. Fasten off and cut the thread leaving a tail for sewing.
Body + Head
Use main color
Rnd 1. 6sc into a MR-6
Rnd 2. 6inc-12
Rnd 3. 12inc-24
Rnd 4.(3sc, inc)*6-30
Rnd 5.(4sc, inc)*6-36
Rnd 6.(5sc, inc)*6-42
Rnd 7.(6sc, inc)*6-48
Rnd 8-12: (5 rounds): sc in each st around-48
Rnd 13. (6sc, dec)*6 -42
Rnd 14. sc in each st around- 42
Rnd 15. (5sc, dec)*6-36
Rnd 16. sc in each st around-36
Rnd 17. (4sc, dec)*6-30
Rnd 18. sc in each st around-30
Rnd 19. (3sc, dec)*6-24
Rnd 20. sc in each st around-24
Rnd 21. (2sc, dec)*6-18
Rnd 22. sc in each st around-18
Start crocheting the HEAD
Rnd 23. 18inc-36
Rnd 24. (5sc, inc)*6-42
Rnd 25-26 (2 rounds): sc in each st around-42
Rnd 27. (6sc, inc)*6-48
Rnd 28-30. sc in each st around-48
Rnd 31. (6sc, dec)*6-42
Rnd 32.(5sc, dec)*6-36
Rnd 33. (4sc, dec)*6-30
Rnd 34. (3sc, dec)*6-24
Rnd 35. (2sc, dec)*6-18
Rnd 36. (sc, dec)*6-12
Rnd 37. 6dec-6
Arms (x2)
Rnd 1. 6sc into a MR-6
Rnd 2. 6inc-12
Rnd 3. (sc, inc)*6-18
Rnd 4. sc in each st around-18
Rnd 5. (sc, dec)*6-12
Rnd 6-10 (5 rounds): sc in each st around-12
Rnd 7. (2sc, dec)*3-9
Fold and crochet the two edges together. Fasten off and cut the thread leaving a tail for sewing
Legs (x2)
Rnd 1. 6ch, start crocheting from the second ch from the hook: 4sc, 3sc in one stitch,turn and continue working on the other side of the chain:3sc, inc-12
Rnd 2. inc, 3sc, 3inc, 3sc, 2inc-18
Rnd 3. sc, inc, 3sc, (sc, inc)*3, 3sc, (sc, inc)*2-24
Rnd 4. 24 BLO-24
Rnd 5. sc in each st around-24
Rnd 6. 6sc, 6dec, 6sc-18
Rnd 7. 5sc, 4dec, 5sc-14
Rnd 8. 5sc, 2dec, 5sc-12
Rnd 9. sc in each st around- 12
Rnd 10. (2sc, dec)*3-9
Rnd 11-17 (7 rounds): sc in each st around-9
Fold and crochet the two edges together. Fasten off and cut the thread leaving a tail for sewing.
Paw Pads
Small ones (make 6)
Rnd 1.: 6sc into a MR-6
Fasten off and cut the thread leaving a tail for sewing.
Big ones (make two):
Rnd 1. 6sc into a MR-6
Rnd 2. 6inc-12
Fasten off and cut the thread leaving a tail for sewing
Muzzle
Rnd 1. 6ch, start crocheting from the second ch from the hook: 4sc, 3sc in one stitch,turn and continue working on the other side of the chain:3sc, inc-12
Rnd 2. inc, 3sc, 3inc, 3sc, 2inc-18
Rnd 3. sc, inc, 3sc, (sc, inc)*3, 3sc, (sc, inc)*2-24
Rnd 4. 2sc, inc, 3sc, (2sc, inc)*3, 3sc,(2sc, inc)*2-30
Fasten off and cut the thread leaving a tail for sewing.
Install the nose in the middle of the upper part. Sew the muzzle to the head. Stuff a bit before sewing.
Mane
I made the mane by crocheting slst all around the head leaving a loop every time I made a stitch (Use additional color)
You may crochet the main using loop stitches. Just crochet a detail from additional color a little bigger than the head using loop stitches (start from 6sc into a MR and make 6 inc every new round till required size).
After the mane is ready sew it to the head.
Assembly
Sew the pads to the feet. Sew the arms and legs to the body. Sew the ears to the head.
Sculpt the muzzle to make it look better. Attach the eyes and sew them to the head. Embroider brows and a line deviding the muzzle.
Weave in all the yarn tails.
Congratulations, you have completed the amigurumi pattern.
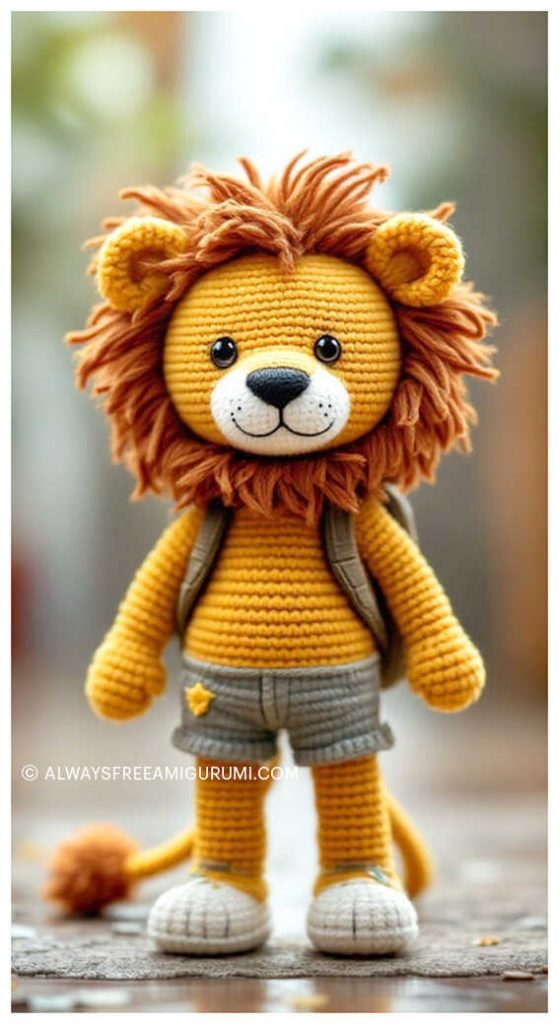
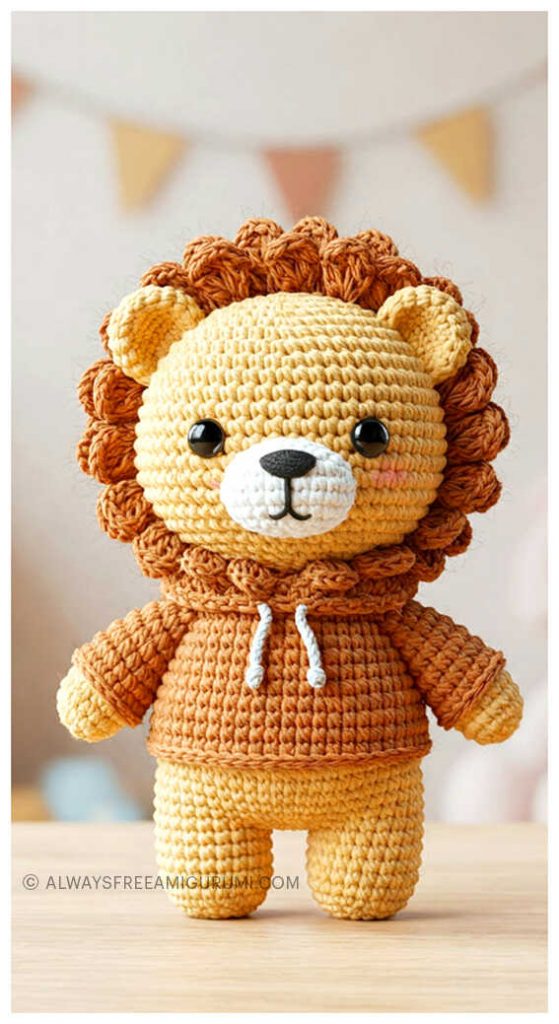
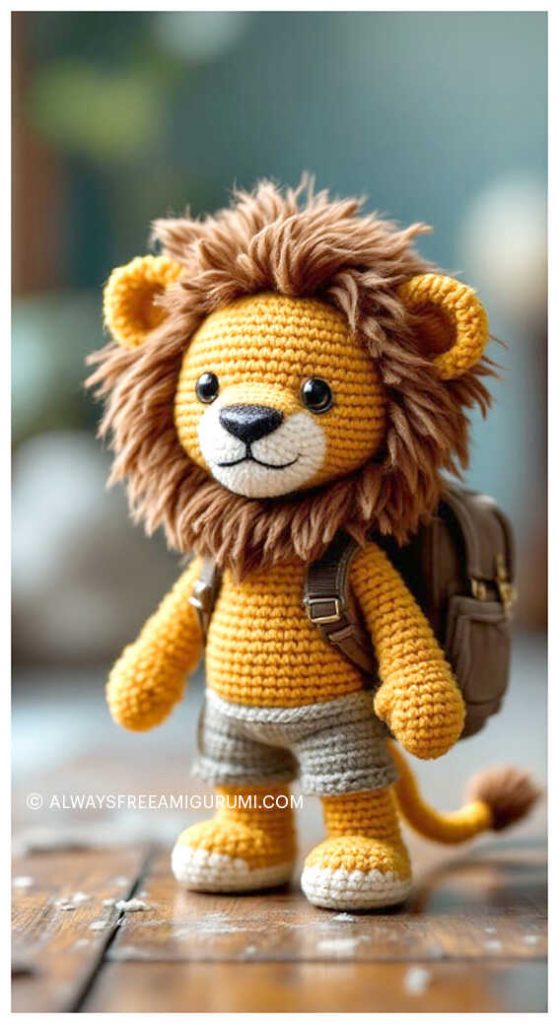
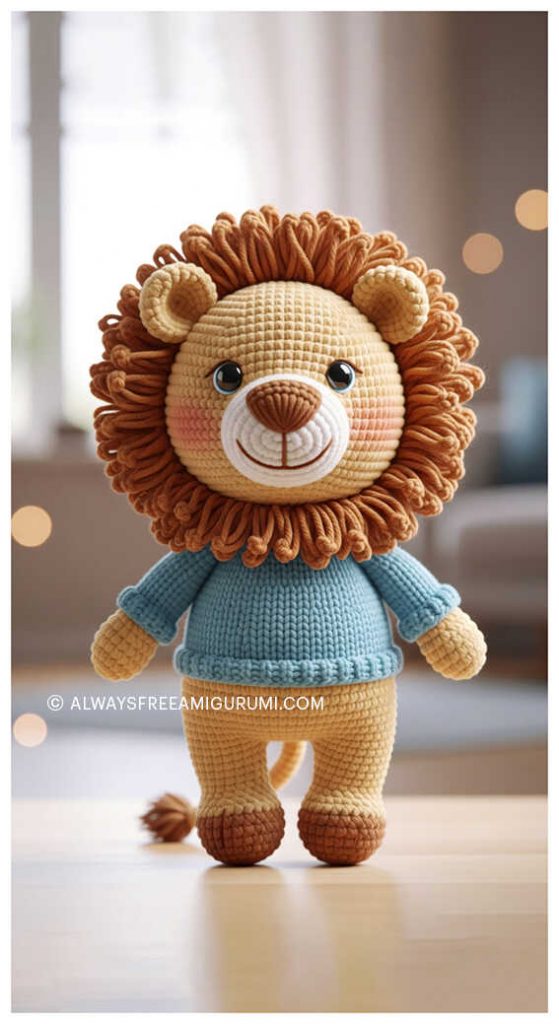
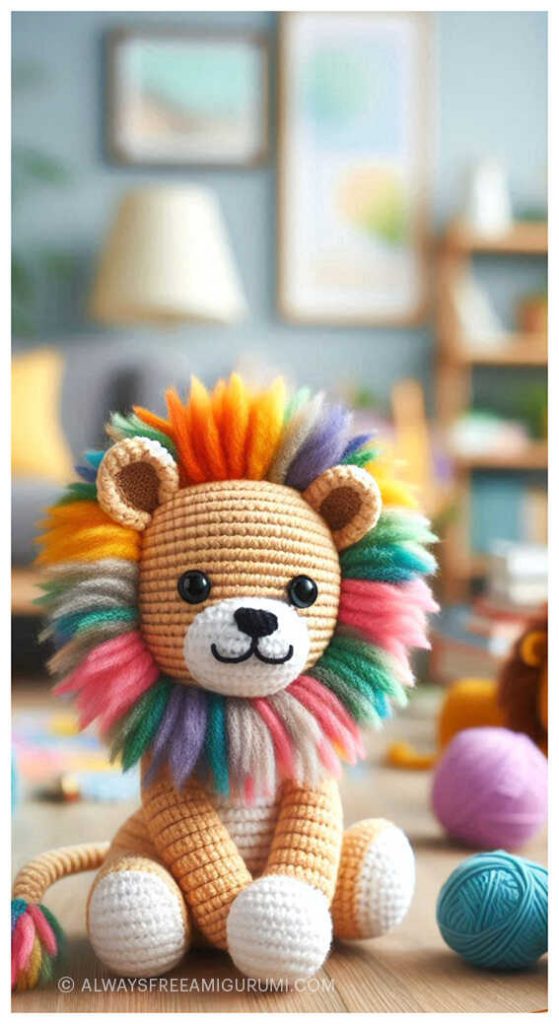
More amigurumi lion ideas:

From Yarn to Charm: Begin Your Amigurumi Journey
Explore our ever-growing collection of free amigurumi crochet patterns—from sweet little cats, playful puppies, and cuddly bunnies to magical unicorns, gentle elephants, and tall giraffes. You’ll also find beloved classics like amigurumi bears, foxes, pandas, monkeys, lambs, pigs, penguins, birds, hippos, llamas, dinosaurs, and even whimsical dolls and clowns.
Each pattern comes with easy-to-follow instructions and beautiful example photos to support you at every step. Whether you’re a beginner or an experienced crocheter, our designs will spark your creativity.
Join our thriving community on Facebook—connect with fellow makers, share your finished toys, and stay updated with the latest patterns and inspiration.
Your next amigurumi adventure starts here—let’s crochet something adorable together!