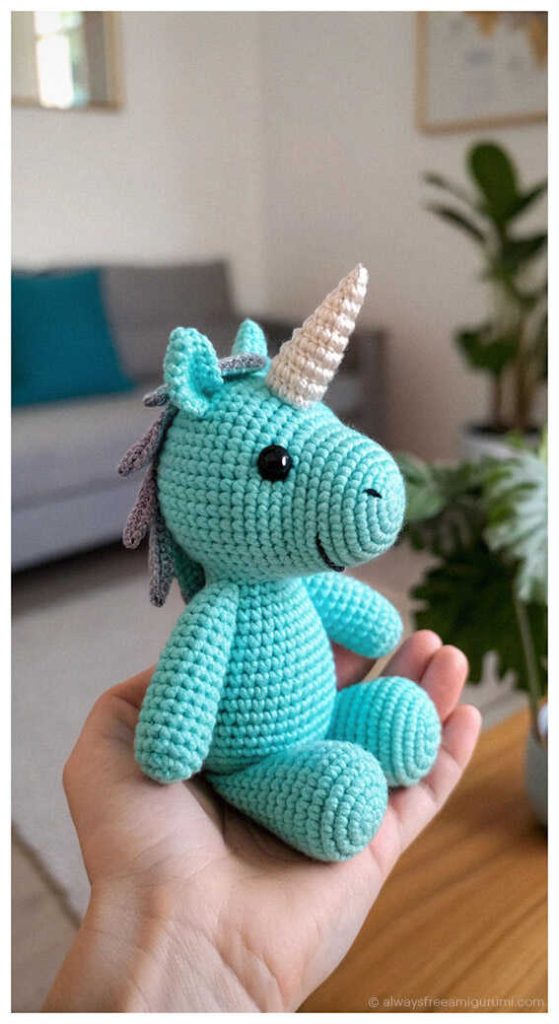
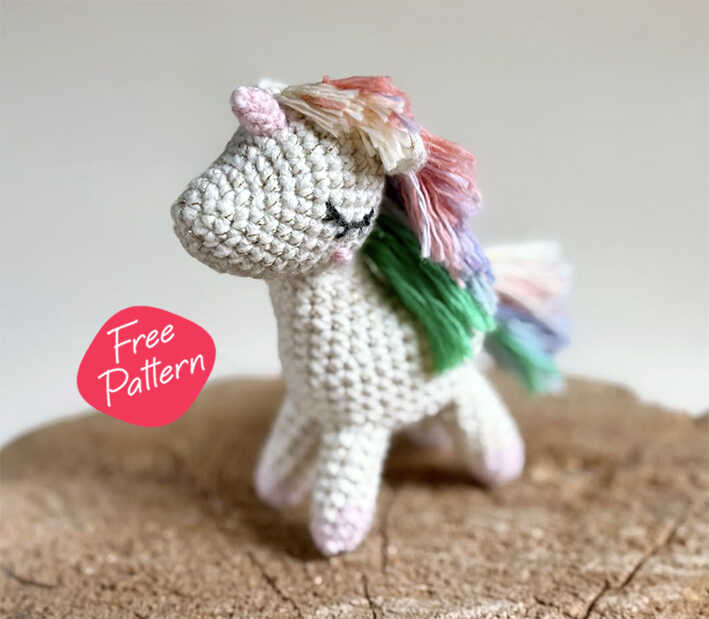
Amigurumi Cute Unicorn Crochet Free Pattern: Magical DIY Gift
Designer: Ula Sas
Instagram: @amigurulla
If you love soft yarn and tiny stitches, you’re in the right place…
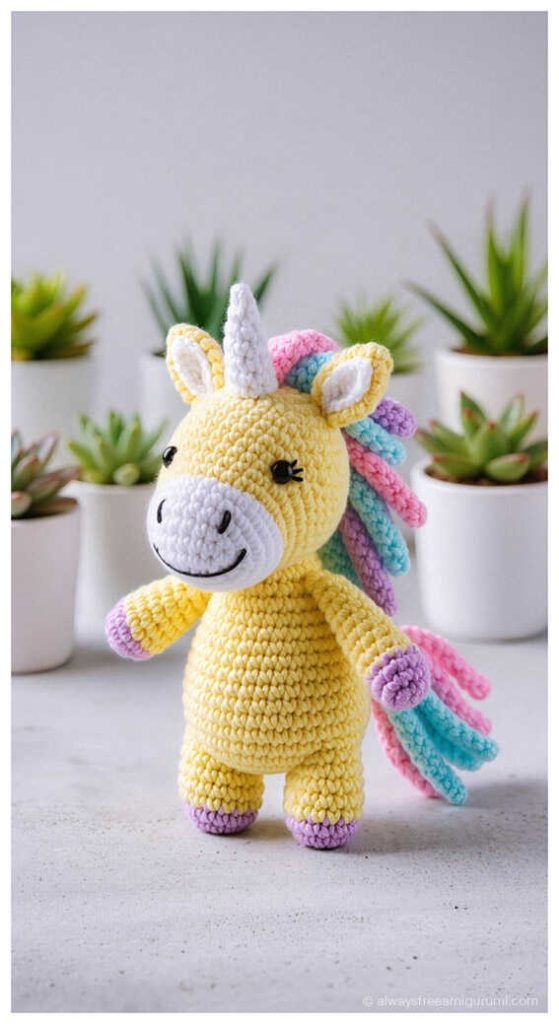
Bring a little magic into your life with this How to Crochet a Tiny Unicorn: Best Quick to Make Amigurumi Guide, a project designed to capture the enchantment of a fairy-tale kingdom. Inspired by the grace of mythical creatures, this palm-sized unicorn makes an adorable bag charm, a magical nursery mobile element, or a sweet token of friendship. These DIY Crochet Gift Ideas are perfect for those who want to spread a bit of stardust through their crafting, serving as Easy Crochet Projects that deliver a high-quality result in a short amount of time. At the conclusion of this tutorial, you will also discover a gallery of extra amigurumi unicorn ideas at the end of the post to further spark your creativity. A heartfelt thank you goes to Ula Sas for this incredibly imaginative and whimsical design. If you have been looking for a way to turn a few scraps of yarn into a legendary companion, this pattern is the perfect spark for your creativity.
This step by step adventure is intentionally crafted to be beginner friendly, making it an ideal beginner amigurumi unicorn pattern for those who are just beginning to explore the world of 3D crochet. The design stands out as a true Quick to Make Amigurumi, allowing you to finish the body and the colorful mane much faster than you might expect. It is a fantastic example of Low Sew Amigurumi Patterns, focusing on clever shaping to reduce the time spent with a sewing needle. Whether you are crafting a gift for a child or adding to your own fantasy collection, the easy-to-follow flow of this pattern ensures a relaxing and successful experience for every level of maker.
To create this tiny wonder, you will need off-white sport weight yarn for the body, light pink for the horn, and a palette of rainbow colors in fingering weight for the mane and tail. The technical process involves using a 2mm hook for the main structure and a 1.5mm hook for the delicate details, ensuring every stitch is perfectly defined. You will also need fiberfill for stuffing, black embroidery thread for the facial features, and perhaps some gold thread to give the horn an extra shimmer. By following these how to crochet amigurumi techniques, you will build a sturdy and well-shaped figure that holds its magical form beautifully.
While the designer recommends using sport-weight cotton yarn for a detailed and crisp finish, you can easily transform this mythical friend into a huggable cloud by using a thick velvet yarn; just be aware that choosing a plush fiber will significantly increase the size of your final toy! Swapping textures is a wonderful way to experiment with the look and feel of your creations, whether you want a tiny keychain or a large cuddle buddy. Now, pick up your hooks and let your imagination take flight with this delightful project. Happy crocheting!
Materials and tools
Yarn colors:
• off-white (sport)
• leftover light pink (sport)
• leftover light pink for the horn and rainbow colors for the mane and tail (fingering)
• Hook size: 2mm and 1.5mm
• fibrefill for stuffing
• yarn needle
• scissors
• stitch markers
• black embroidery thread
• optional: gold thread to add to off-white yarn
Abbreviations
MR* – * single crochets in the magic ring
sc – single crochet
hdc – half double crochet
dc – double crochet
inc – increase
dec – invisible decrease
slst – slip stitch
BBO – back bumps only
ch* – chain * loops
MAGICAL UNICORN AMIGURUMI: FREE STEP-BY-STEP CROCHET PROJECT
Head
In off-white (optionally: add gold thread and crochet with both)
1. MR6 (6)
2. 6inc (12)
3. 12sc (12)
4. (sc, inc) repeat 6 times (18)
5. 18sc (18)
6. 9sc, (2inc, sc) repeat 3 times (24)
7. 24sc (24)
8. 11sc, (inc, sc) repeat 6 times, sc (30)
9-13. 30sc (30)
start stuffing
14. (3sc, dec) repeat 6 times (24)
15. sc, (dec, 2sc)repeat 5 times, dec, sc (18)
16. (Sc, dec)6 (12)
17. 12sc (12) make sure it’s stuffed firmly and fasten off.
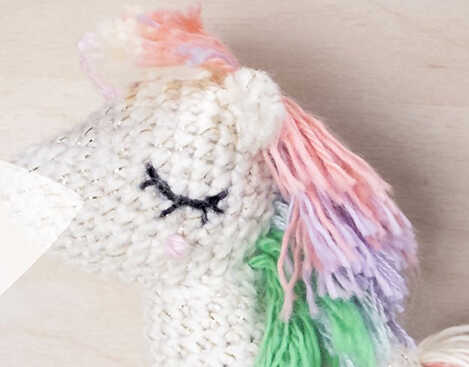
Embroider the eyes between rds 9 and 14 on both sides of the head. Underneath the eyes make French knots in light pink for the cheeks.
Horn
In light pink fingering yarn, hook 1.5mm
1. MR3 (3)
2. 3inc (6)
3-4. 6sc (6) stuff firmly and fasten off, leaving tail for sewing.
Ears
In off-white (optionally: add gold thread and crochet with both)
Right ear – into MR make sc, hdc, dc, ch2, dc, ch1, hdc, sc; Fasten off, leaving tail for sewing
Left ear – into MR make sc, hdc, ch1, dc, ch2, dc, hdc, sc; Fasten off, leaving tail for sewing.
Body
In off-white (optionally: add gold thread and crochet with both)
1. Start with a long tail for sewing, ch15, join with a slst
2-4. 15sc (15)
5. Sc, ch5 +1, BBO 5sc, 14sc (25)
6. 5sc, 2inc, 19sc (28)
7. 6sc, 2inc, 20sc (30)
8. 2sc, (inc, 4sc) repeat 5 times, inc, 2sc (36)
9-12. 36sc (36)
13. 2sc, (dec, 4sc) repeat 5 times, dec, 2sc (30)
14. (3sc, dec)6 (24) start stuffing
15. Sc, (dec, 2sc) repeat 5 times, dec, sc (18)
16. (Sc, dec)6 (12)
17. 12sc (12) stuff firmly and fasten off.
Legs
Make 4 (start in light pink)
1. MR 6 (6)
2. (Sc, inc) repeat 3 times (9)
3. 9sc (9)
4. [change to off-white (+optional gold thread)] 9sc (9)
5-9. 9sc (9) stuff firmly and fasten off, leaving tail for sewing.
Assembly
– Sew the body to the head between rds 10 and 16.
– Sew the horn to the head between rds 7 and 9.
– Sew the ears to the head between rds 11 and 14, approximately 6 sts apart.
– Sew the front legs to the body between rds 11 and 14, one st apart.
– Sew the back legs to the body between rds 12 and 15, one st apart.
Mane and Tail
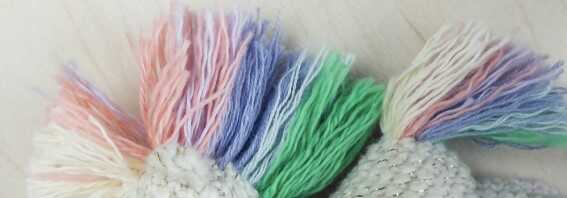
Cut 10cm pieces of fingering yarn in rainbow colors. I used light yellow, warm pink, lavender, light blue & green (in this order). Using yarn needle insert each piece into the head starting between the ears and going down to the neck. Do the same with the tail, inserting the pieces to the back side of the body between rds 6 and 9.
Untangle the yarn and trim it to look nice.
You may also like: Cute Donkey Amigurumi Free Pattern (Beginner-Friendly & Step-by-Step)
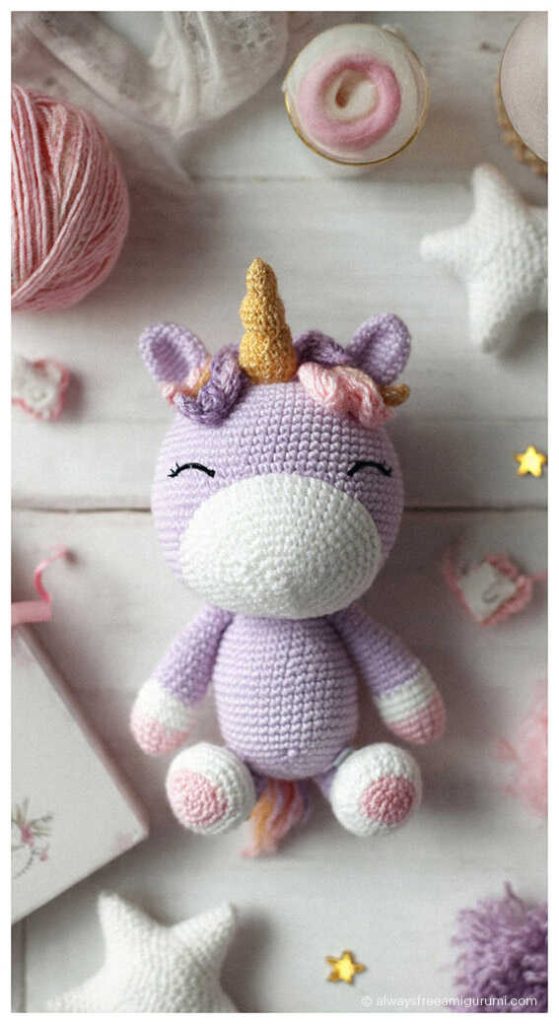
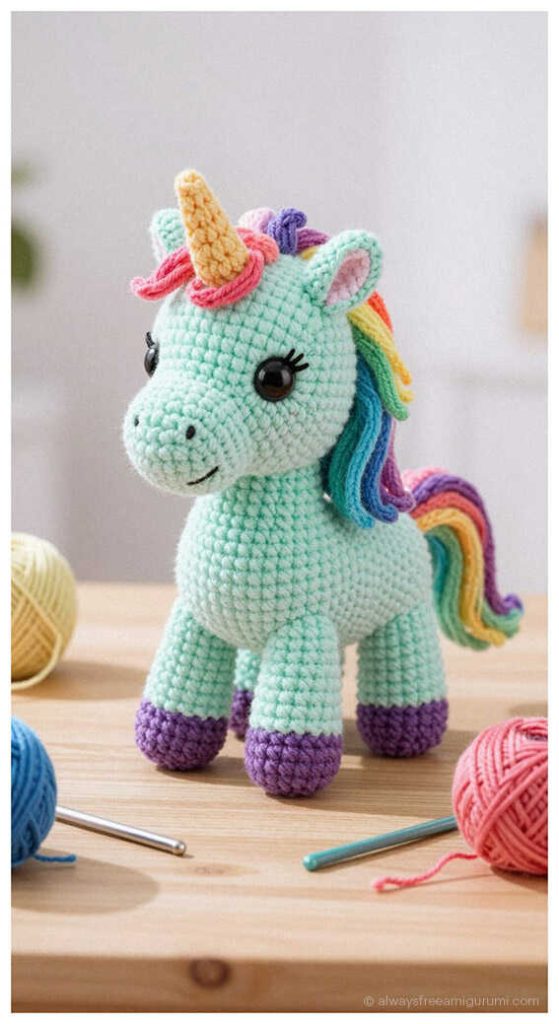
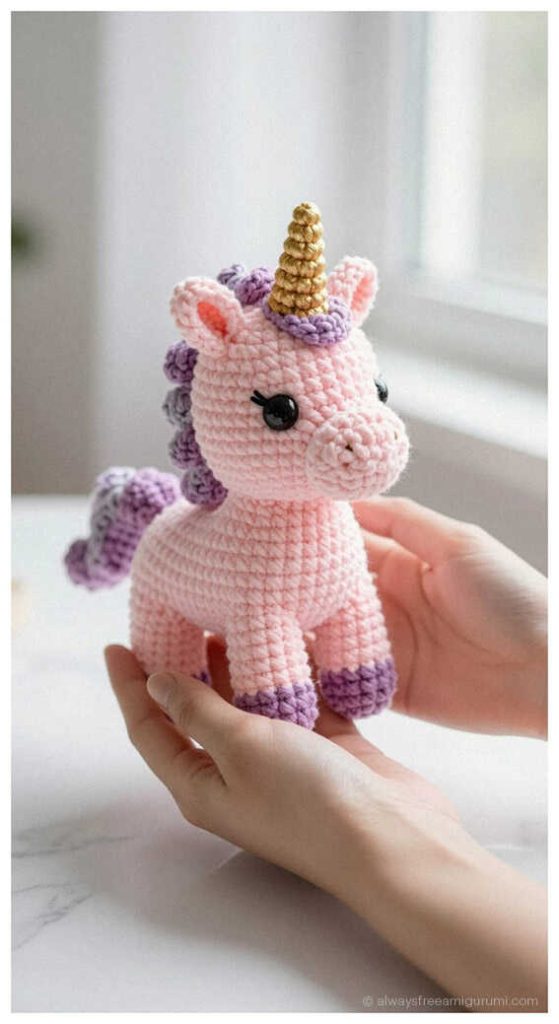
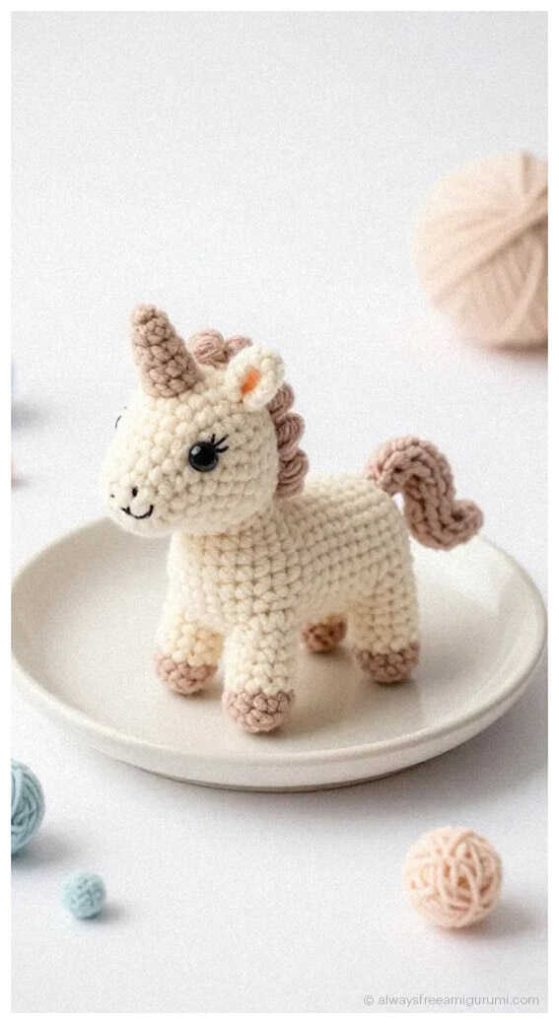
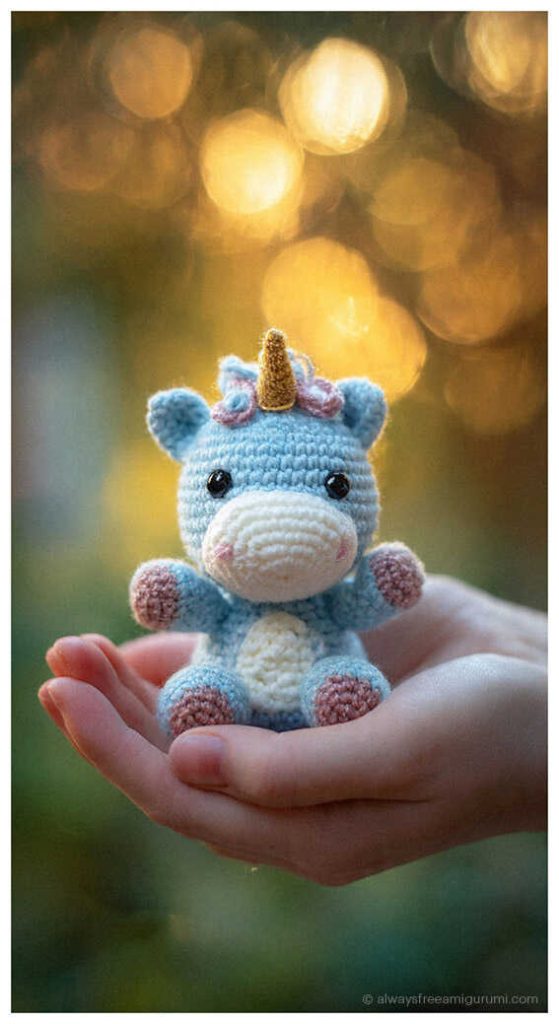
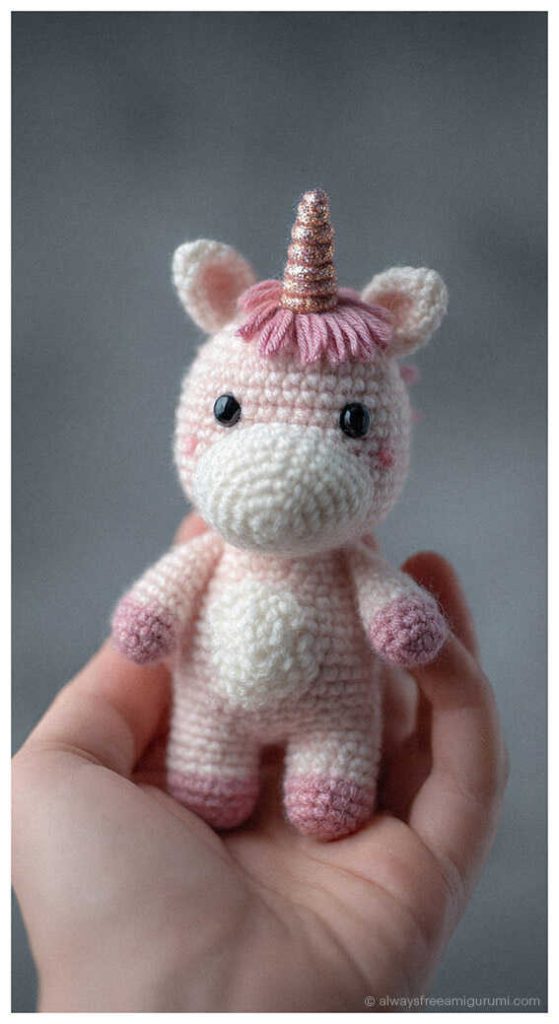
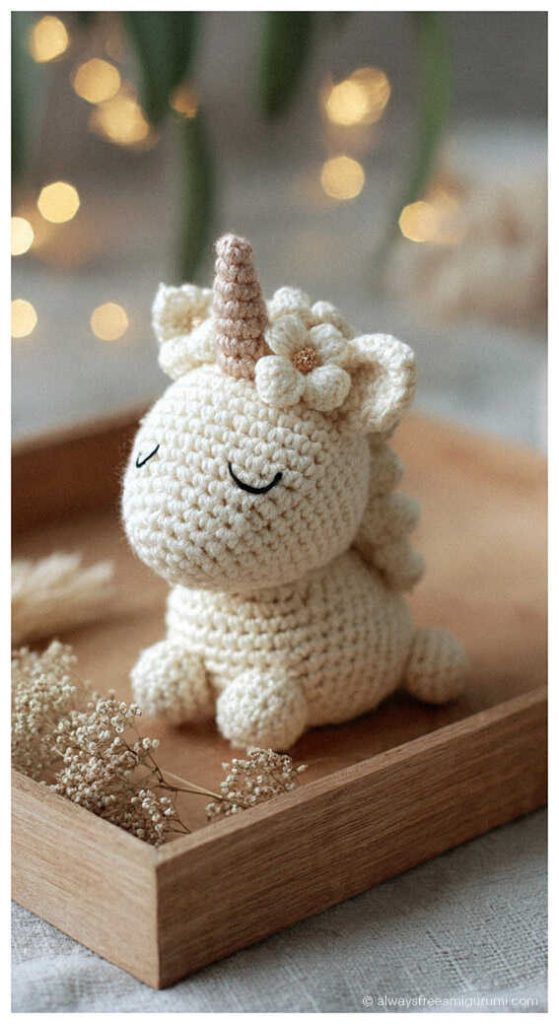
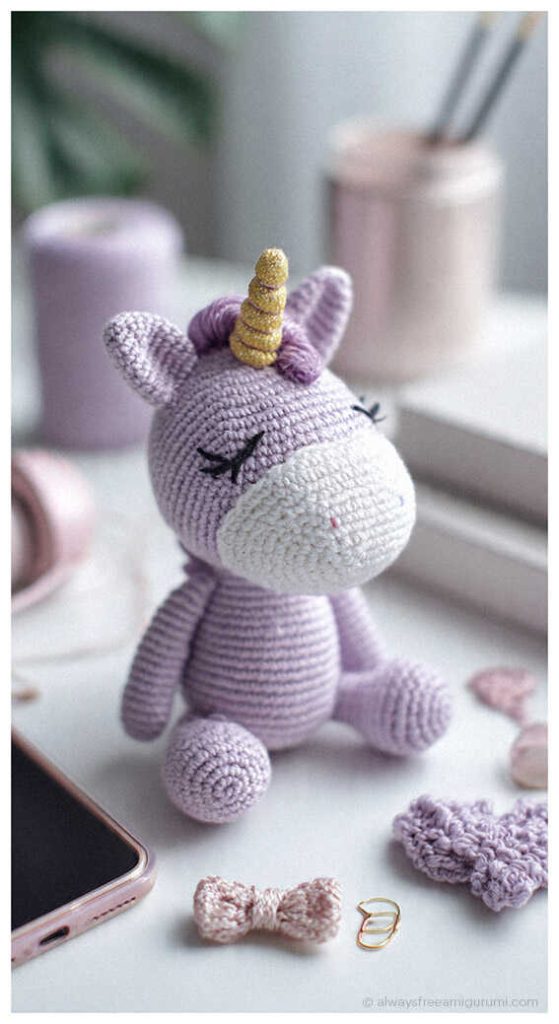
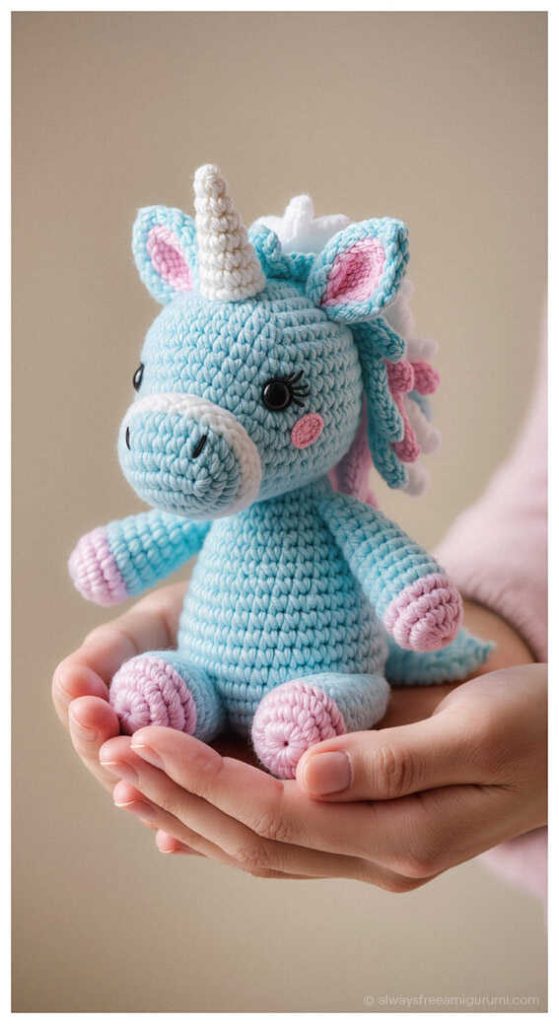
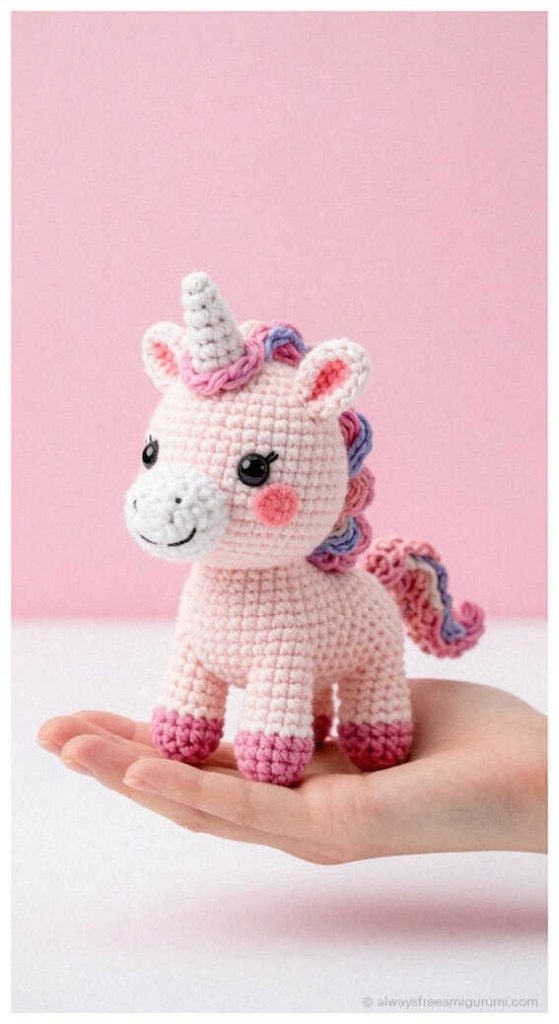
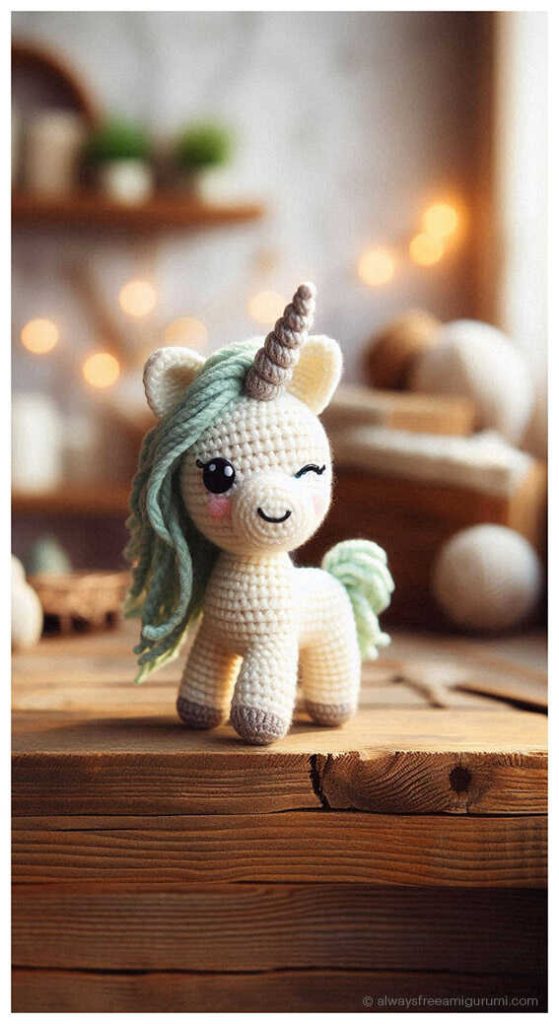
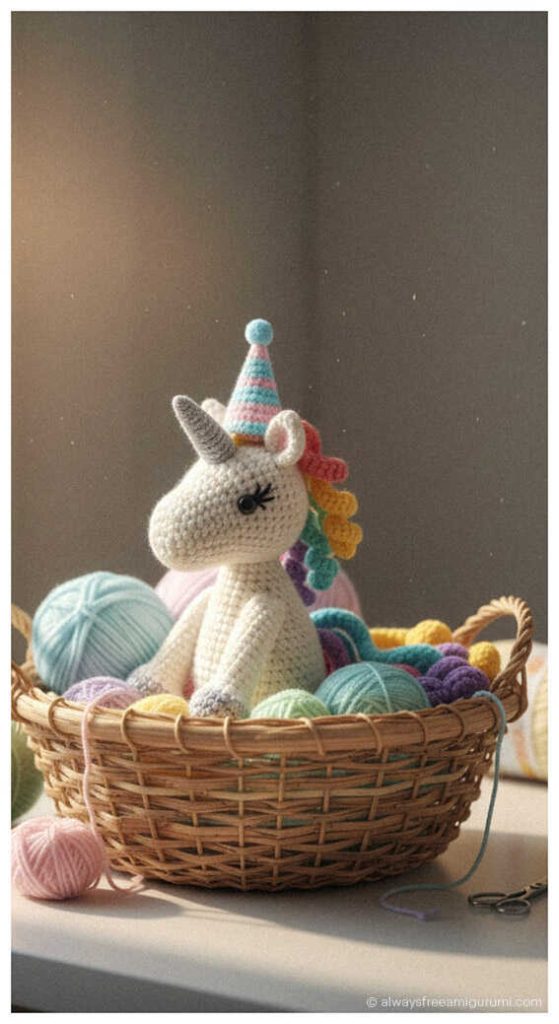
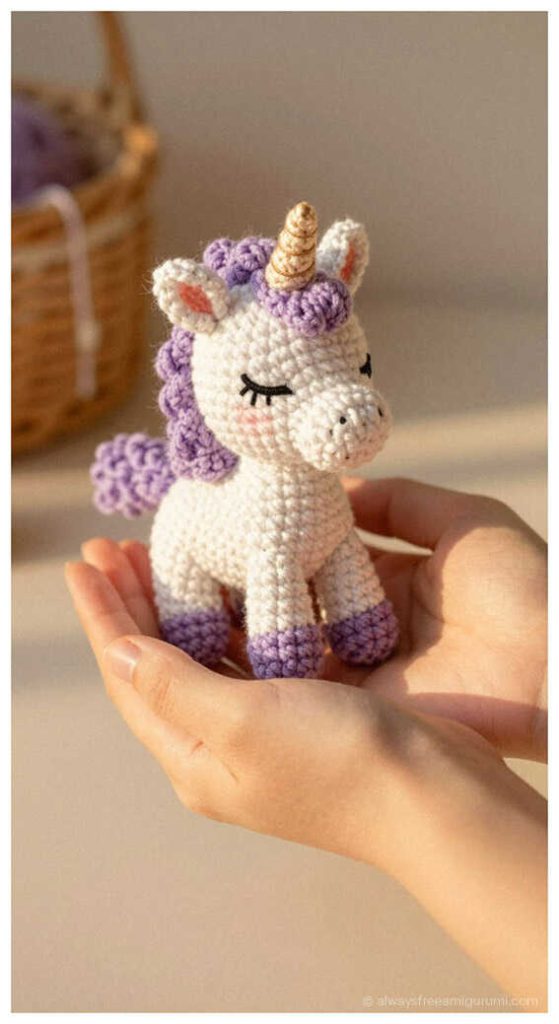
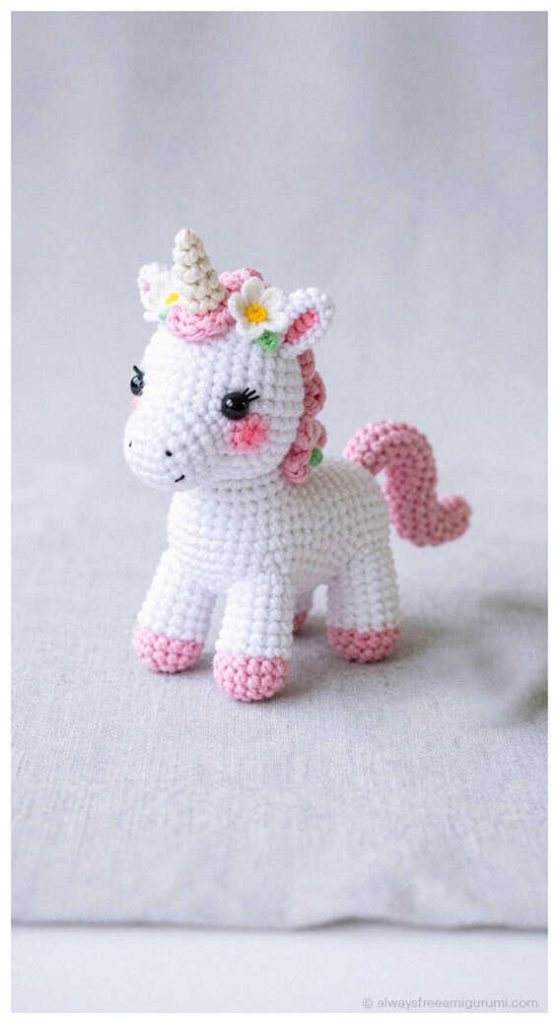
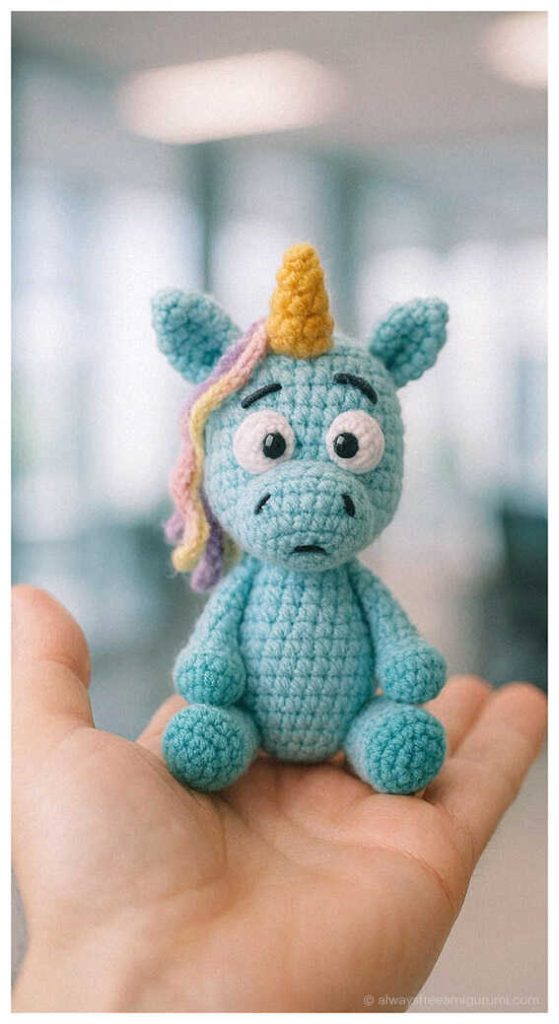
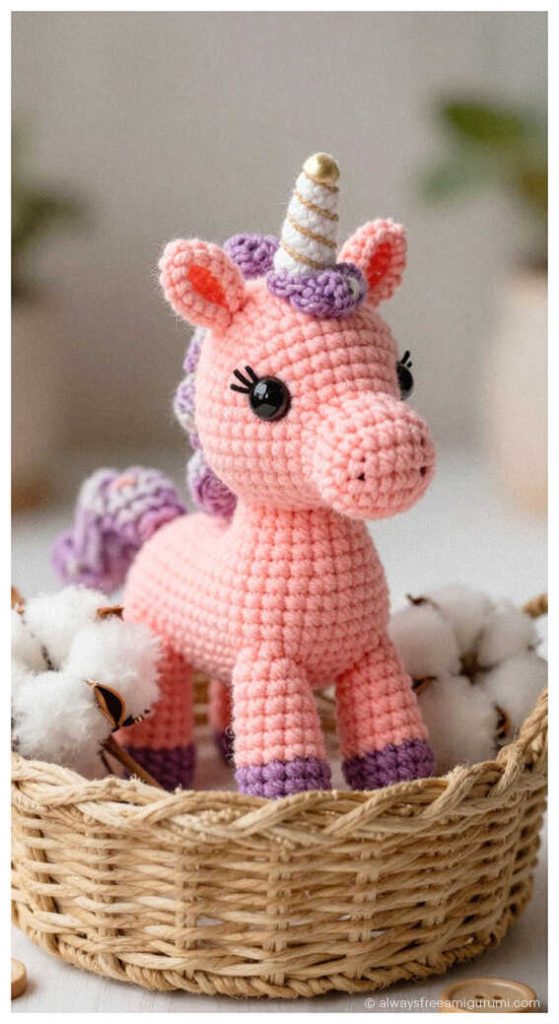
Creative Amigurumi Unicorn Ideas for Your Inspiration: