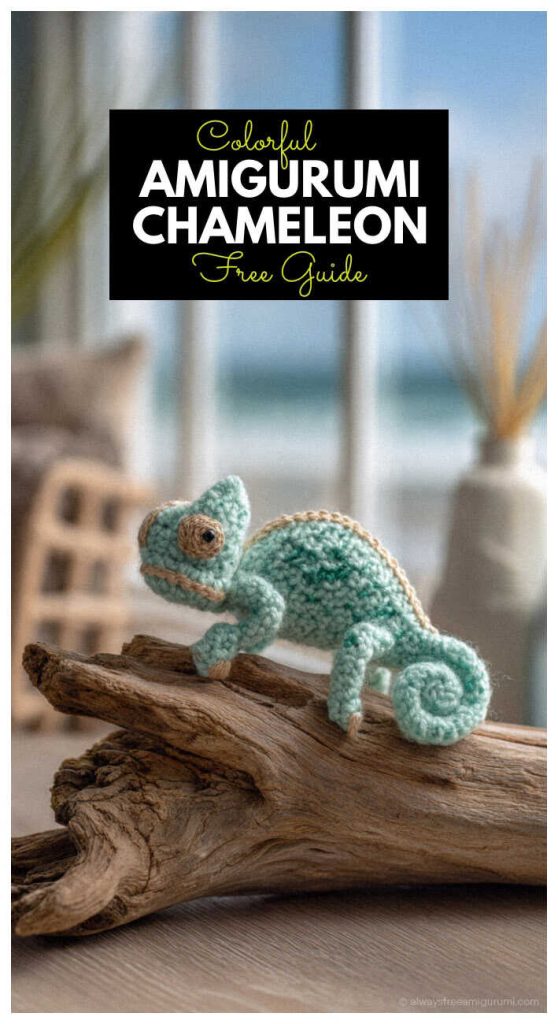
Free Chameleon Amigurumi Crochet Pattern: Beginner Friendly
Designer: Viktoria Ivanova
VK: Marmalade Bear Club
Difficulty level: Medium
Grab your yarn and get cozy — a new amigurumi adventure awaits…
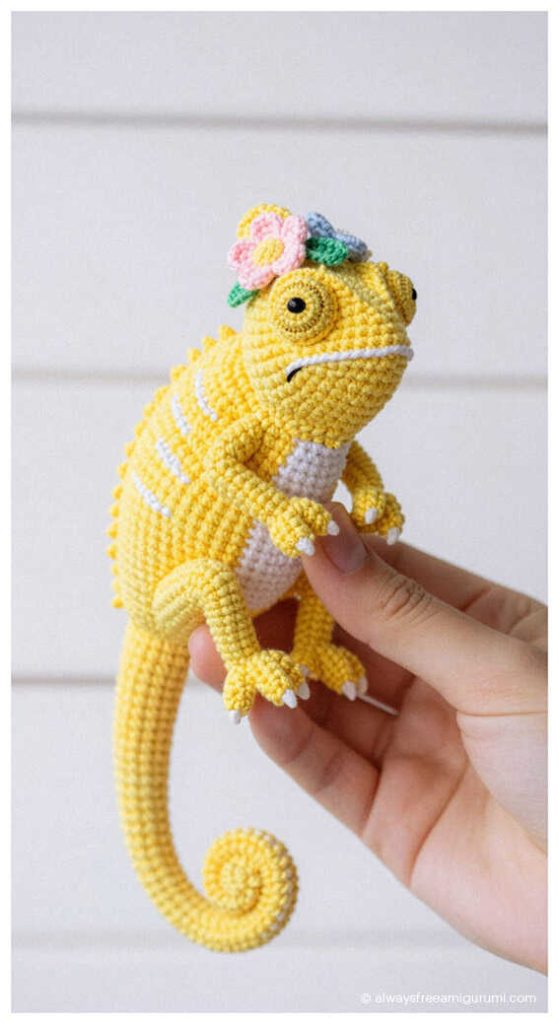
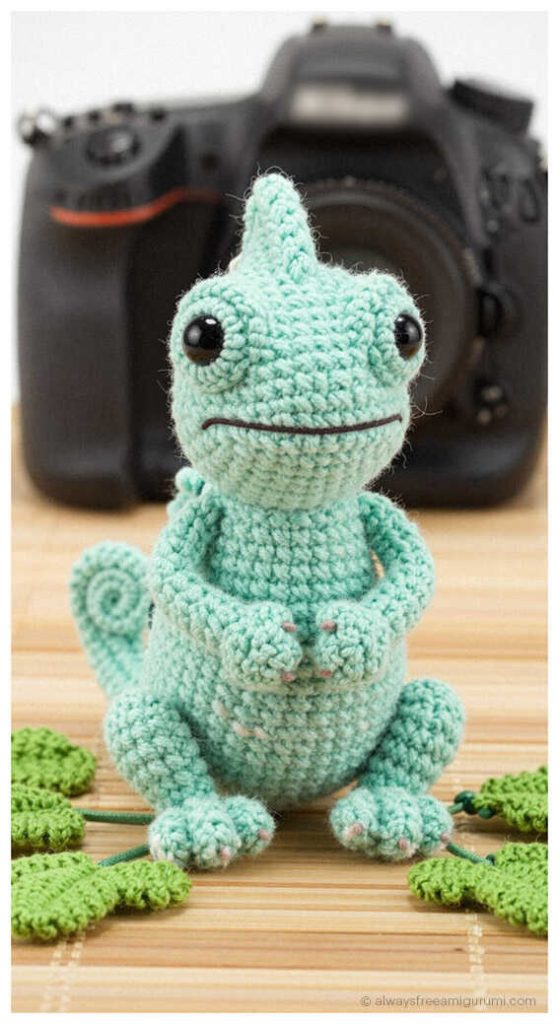
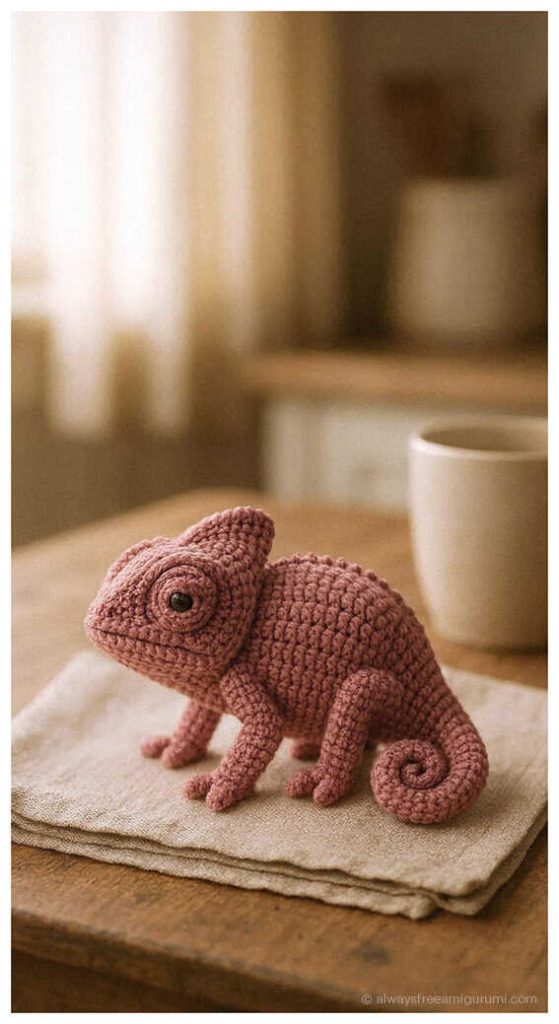
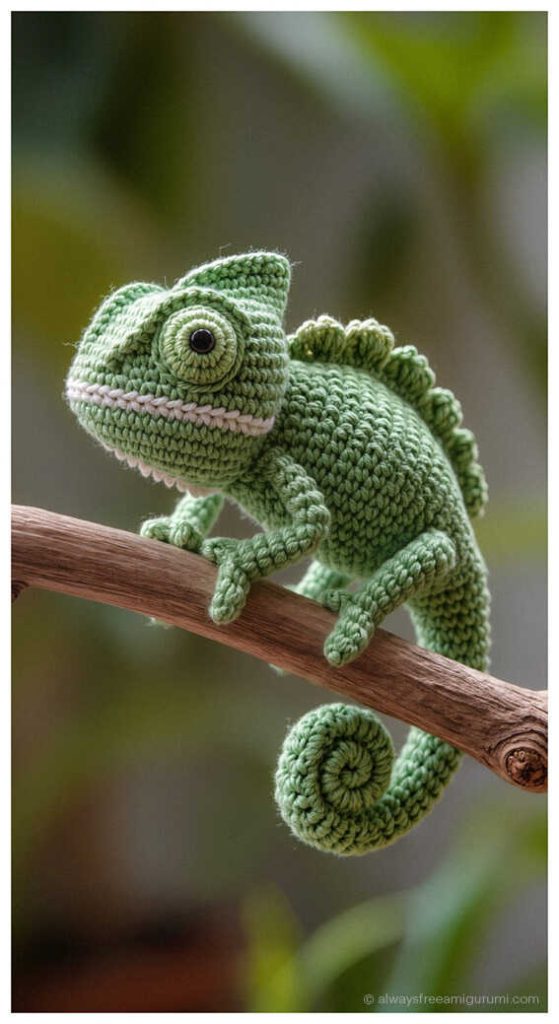
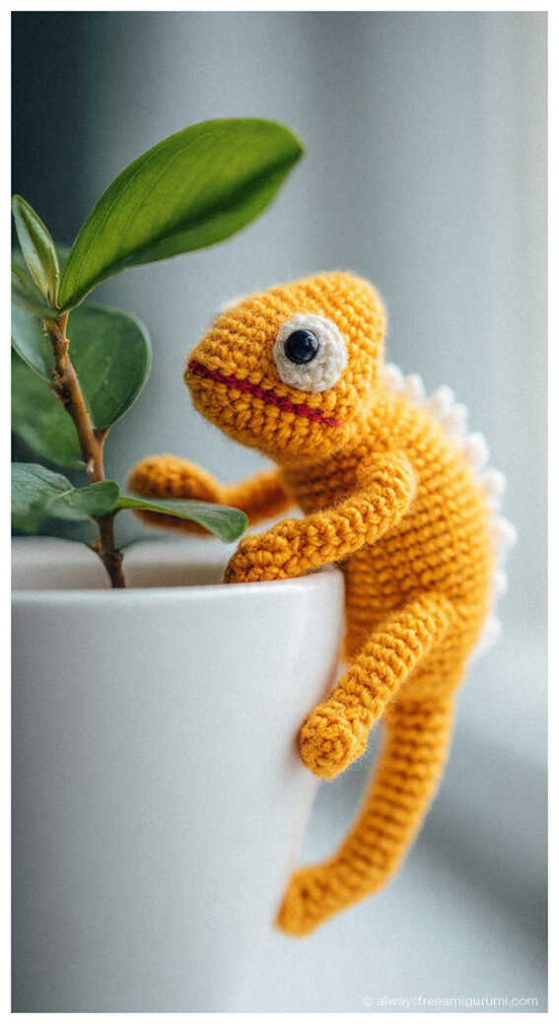
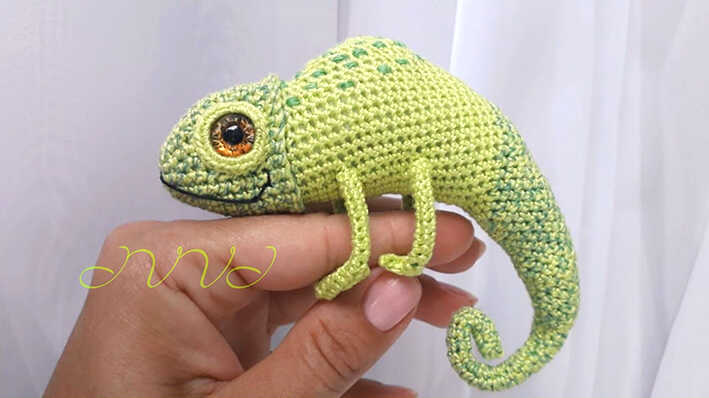
Brighten your crafting space with this Colorful Crochet Chameleon: Free Amigurumi Pattern Ideas, a project that perfectly captures the whimsical charm of nature’s masters of disguise. This design by Viktoria Ivanova was inspired by the vibrant biodiversity of tropical rainforests, intended to serve as a playful desk mascot or a unique hanging ornament for a plant-lover’s home. As you search for fresh DIY Crochet Gift Ideas, this exotic reptile stands out for its intricate look and artistic flair. It is a fantastic choice for those exploring Easy Crochet Projects with a slightly more detailed finish, and it fits beautifully among modern Low Sew Amigurumi Patterns that minimize tedious assembly. At the end of this guide, you will discover even more creative amigurumi chameleon ideas to inspire your next palette. A sincere thank you to Viktoria Ivanova for this incredibly detailed and colorful contribution! If you have been looking for a clear path on how to crochet amigurumi creatures that are as expressive as they are unique, this master class is your ideal starting point.
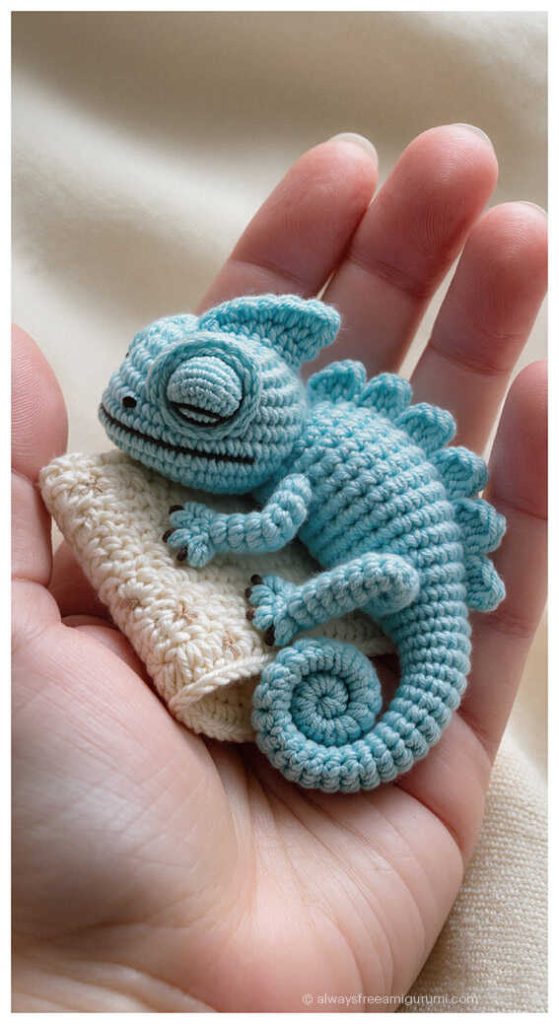
Although this design is rated at an intermediate difficulty level, the step by step instructions make it accessible for anyone ready to advance their skills beyond a standard beginner amigurumi pattern. The entire toy is worked in continuous rounds, which helps maintain a clean and uniform texture, so be sure to use a stitch marker or scrap yarn to mark the beginning of each round accurately. This method ensures that each new round ends exactly before the marked stitch, keeping the chameleon’s proportions perfectly aligned. Once completed, your finished chameleon will measure approximately 9 cm high and 23 cm long, making it a perfectly sized companion. This project is a rewarding way to practice shaping and detail work, resulting in a boutique-quality plushie that looks far more complex than it actually is to construct.
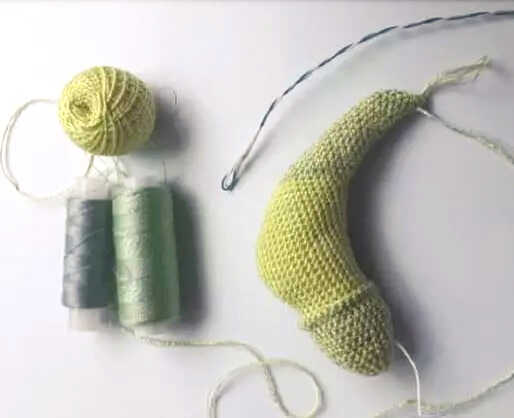
To bring this vibrant character to life, you will need sport or fingering weight yarn, such as Iris or Alize Forever, paired with a tiny 1.1 mm crochet hook for precise stitching. Your toolkit should also include 8–10 mm safety eyes, thin wire to make the tail and limbs poseable, fiberfill stuffing, glue, a tapestry needle, and scissors. While the designer recommends fine cotton for a crisp and realistic look, you could also experiment with velvet yarn for a softer feel; just remember that choosing a bulkier fiber will result in a much larger final toy! Mastering how to crochet amigurumi details like the curled tail and expressive eyes will build your confidence for future projects. Simply gather your materials and follow the flow of the instructions to create a stunning, high-quality companion. Happy crocheting!
Materials And Tools
Sport or light yarn such as Iris or Alize Forever (or any similar yarn)
Crochet hook 1.1 mm
Sewing threads to give the chameleon desired shades
Safety eyes 8–10 mm
Thin wire
Toy stuffing
Glue
Needle
Scissors
Abbreviations
ch – chain
sl st – slip stitch
sc – single crochet
inc – increase
dec – decrease
MR – magic ring
(…) x n – repeat the instructions in parentheses n times
HOW TO CROCHET A CHAMELEON: FREE AMIGURUMI STEP-BY-STEP GUIDE
Head Body And Tail
Work with three strands held together: one yarn strand and two sewing threads.
R1: 6 sc in MR (6)
R2: inc x 6 (12)
R3: 12 sc (12)
R4: sc, inc x 9 (18)
R5: 18 sc (18)
R6: 2 sc, inc x 8 (24)
R7: 24 sc (24)
R8: 3 sc, inc x 6 (30)
R9: 30 sc (30)
R10: 30 sc (30)
R11: 30 sc (30)
R12: 30 sc (30)
R13: work in back loops only, 30 sc (30)
R14: work in front loops only: 7 sc, dec, 3 sc, dec, 2 sc, dec, 3 sc, dec, 7 sc (26)
R15: 26 sc (26)
At this point, remove the sewing threads and continue crocheting using only the yarn.
R16: 12 sc, inc x 2, 12 sc (28)
R17: 13 sc, inc x 2, 13 sc (30)
R18: 14 sc, inc x 2, 13 sc (31)
R19: 15 sc, inc, 15 sc (32)
R20: 15 sc, inc, 16 sc (33)
R21: 16 sc, inc, 16 sc (34)
R22: 16 sc, inc, 17 sc (35)
R23: 17 sc, inc, 17 sc (36)
R24: 36 sc (36)
R25: 36 sc (36)
R26: 36 sc (36)
R27: 36 sc (36)
R28: 17 sc, dec, 17 sc (35)
R29: 17 sc, dec, 16 sc (34)
R30: 16 sc, dec, 16 sc (33)
R31: 16 sc, dec, 15 sc (32)
R32: 15 sc, dec, 15 sc (31)
R33: 15 sc, dec, 14 sc (30)
R34: 14 sc, dec, 14 sc (29)
R35: 14 sc, dec, 13 sc (28)
R36: 13 sc, dec, 13 sc (27)
R37: 13 sc, dec, 12 sc (26)
R38: 11 sc, dec x 2, 10 sc, inc (25)
R39: 10 sc, dec x 2, 10 sc, inc (24)
Stuff the piece firmly as you continue.
R40: 10 sc, dec x 2, 9 sc, inc (23)
R41: 9 sc, dec x 2, 9 sc, inc (22)
R42: 9 sc, dec x 2, 8 sc, inc (21)
R43: 8 sc, dec x 2, 8 sc, inc (20)
R44: 8 sc, dec x 2, 7 sc, inc (19)
R45: 7 sc, dec x 2, 7 sc, inc (18)
R46: 7 sc, dec x 2, 6 sc, inc (17)
R47: 6 sc, dec x 2, 6 sc, inc (16)
R48: 6 sc, dec x 2, 5 sc, inc (15)
R49: 5 sc, dec x 2, 5 sc, inc (14)
R50: 5 sc, dec x 2, 4 sc, inc (13)
At this stage, take a piece of wire approximately 20 cm long. Using a knitting needle, make a hole in the stuffing and insert the wire as deeply as possible. This will form the tail frame. Continue crocheting tightly around the wire.
R51: 4 sc, dec x 2, 4 sc, inc (12)
R52: 4 sc, dec x 2, 3 sc, inc (11)
R53: 3 sc, dec x 2, 3 sc, inc (10)
R54: 3 sc, dec x 2, 2 sc, inc (9)
R55: 2 sc, dec x 2, 2 sc, inc (8)
R56: 2 sc, dec x 2, 2 sc (6)
R57: crochet 100 sc continuously in a spiral around the wire
R58: dec until the opening is completely closed
Fasten off and hide the yarn tail.
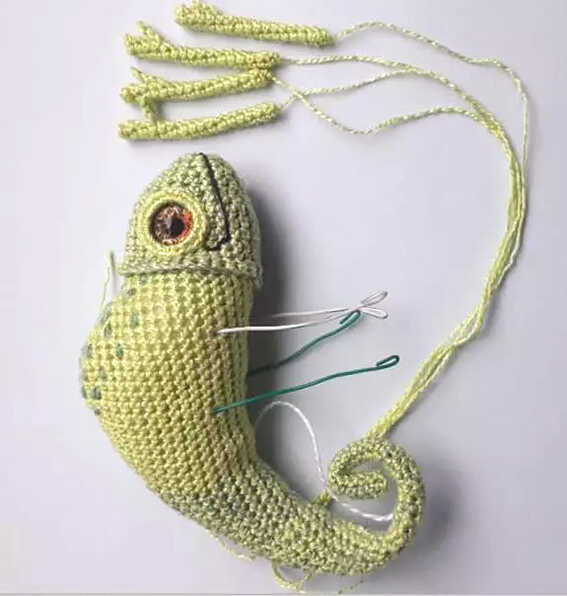
Eye Sculpting And Decoration
Create eye indentations.
Glue the safety eyes in place.
Embroider small bumps along the back using sewing threads.
Embroider a small smile.
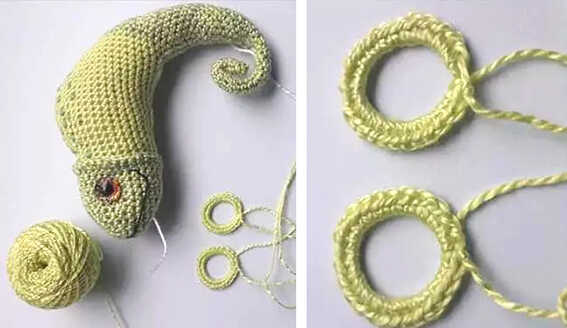
Eyelids
R1: 25 sc in MR, do not tighten too much
Fit around the eyes and sew the eyelids in place.
Legs
R1: 4 sc in MR (4)
R2: 4 sc (4)
R3: 4 sc (4)
R4: 4 sc (4)
R5: ch 4, turn, starting from the second chain from the hook: sl st, 2 sc, sl st into the starting stitch (4 sc total plus one toe)
R6: sc around (52 sc)
At this stage, take two pieces of wire approximately 10 cm long. Using a knitting needle, make holes in the stuffing and insert the wire to form the leg frames. Slide the crocheted legs onto the wire frames and sew them securely in place.
Finish
The amigurumi chameleon is complete.
If desired, decorate it with beads or embroider the bumps using shiny thread.
Copyright & Usage Notice
This crochet pattern is the intellectual property of its original designer.
It is shared for personal use only.
Copying, reproducing, translating, publishing, or redistributing this pattern in any form without the designer’s permission is not allowed.
You may also like: Amigurumi Spider Crochet Free Pattern (Beginner-Friendly & Step-by-Step)
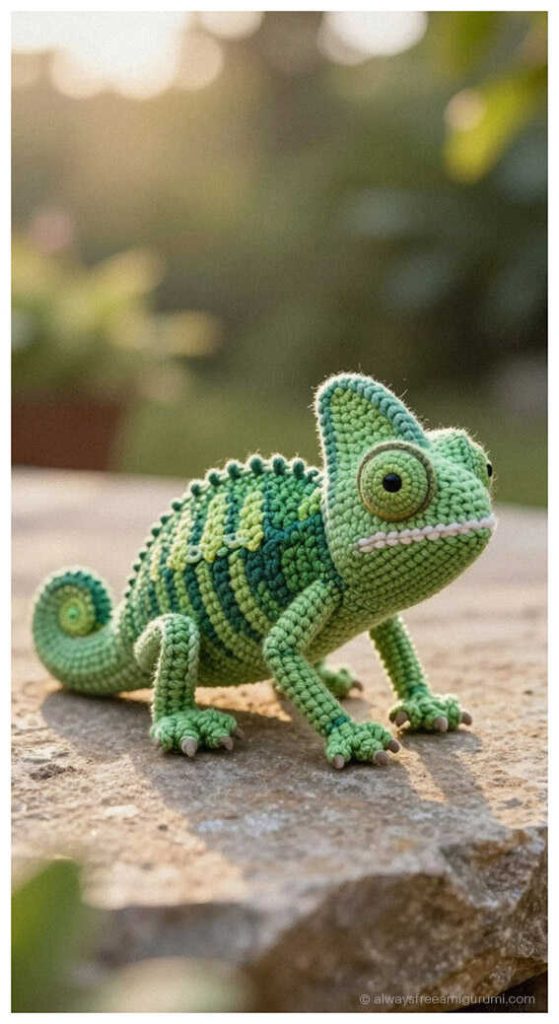
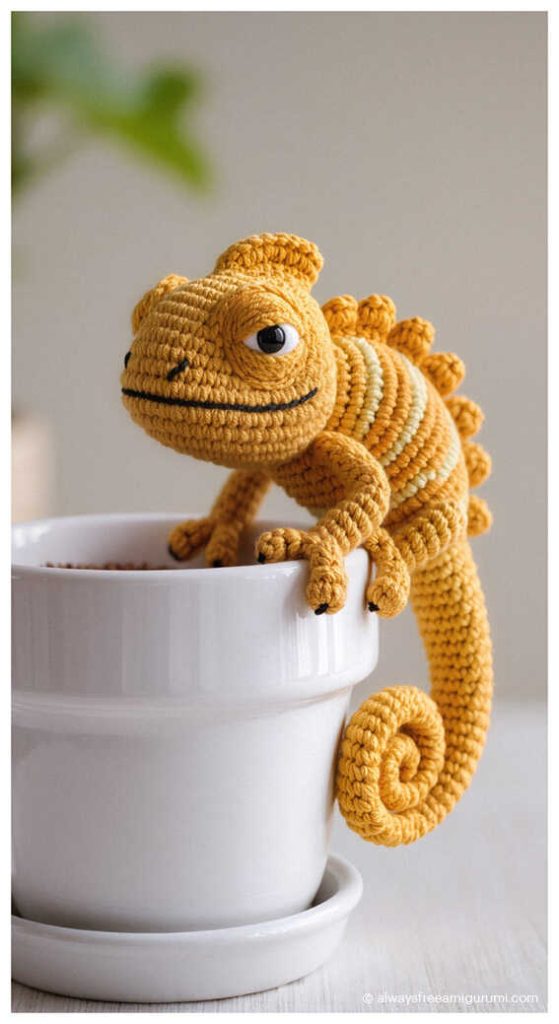
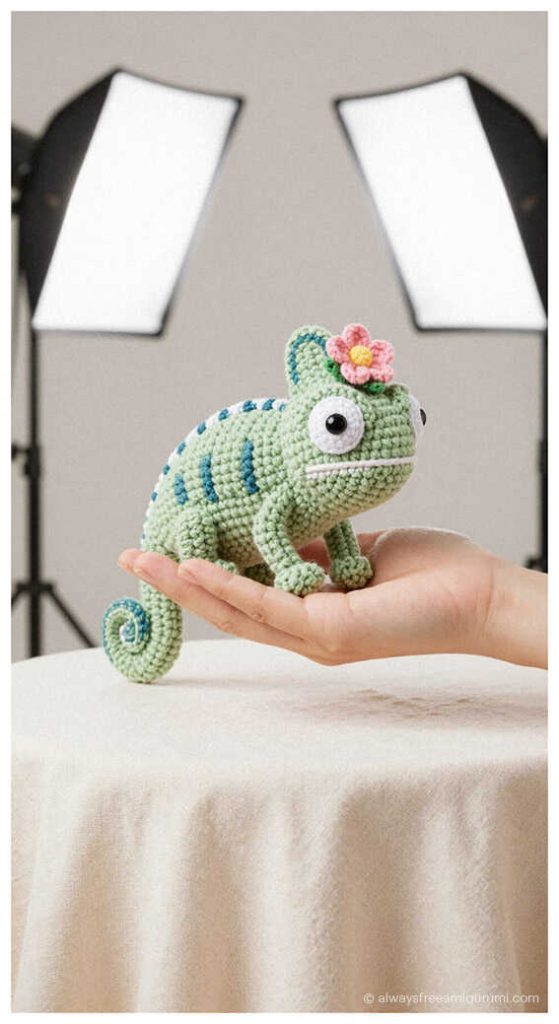
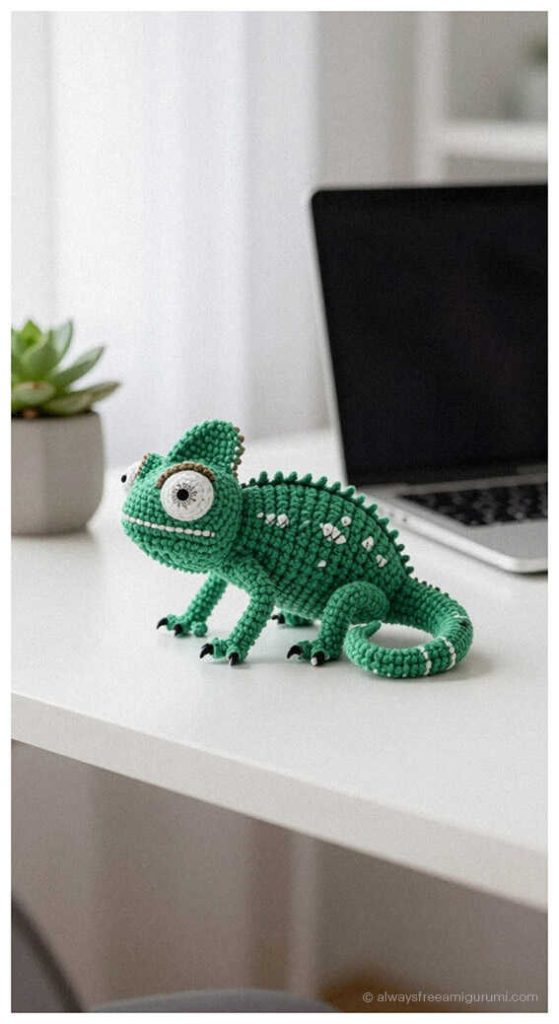
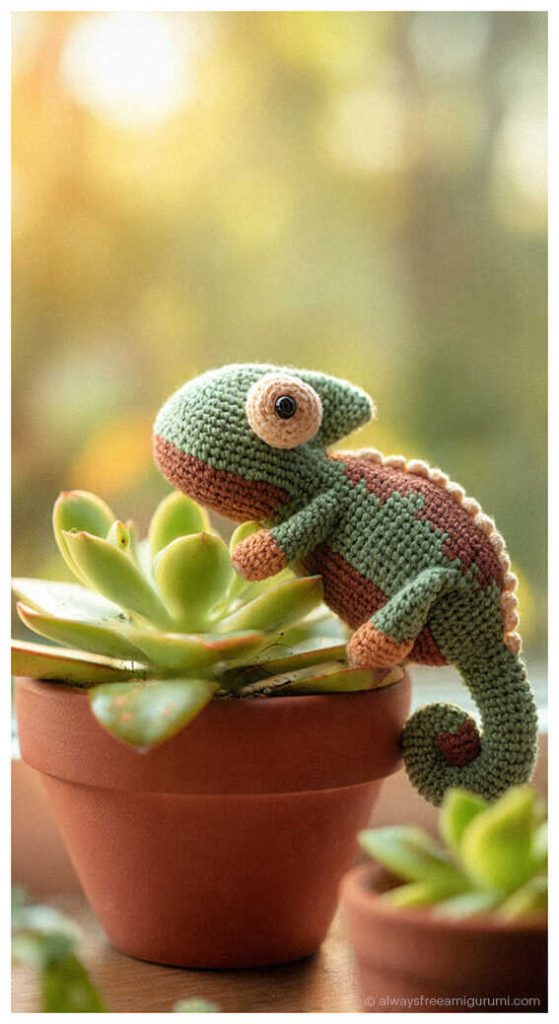
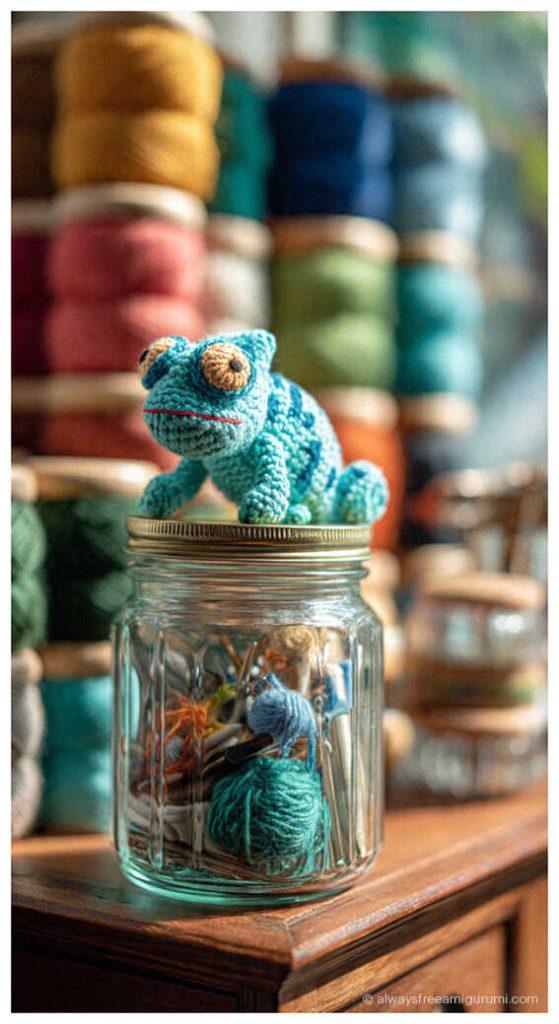
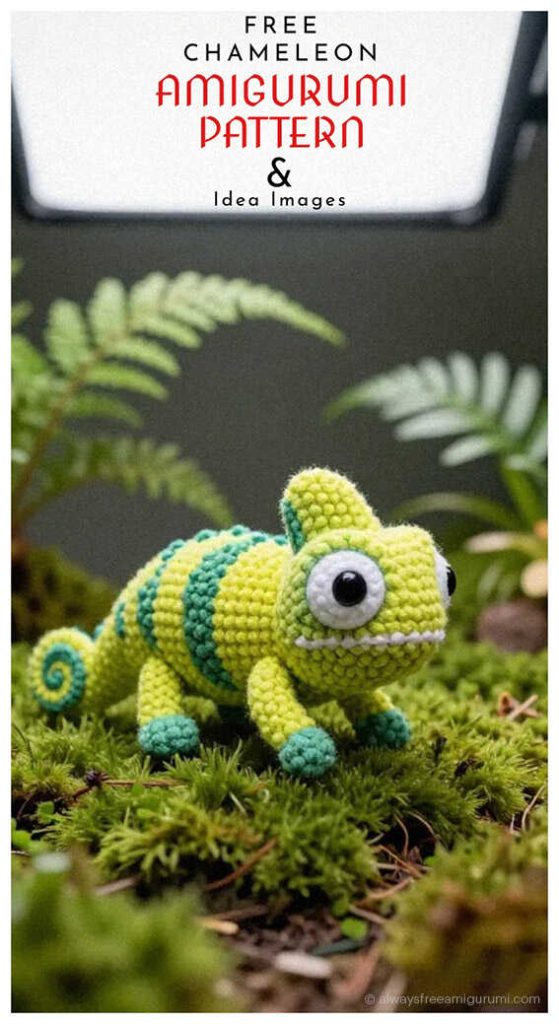
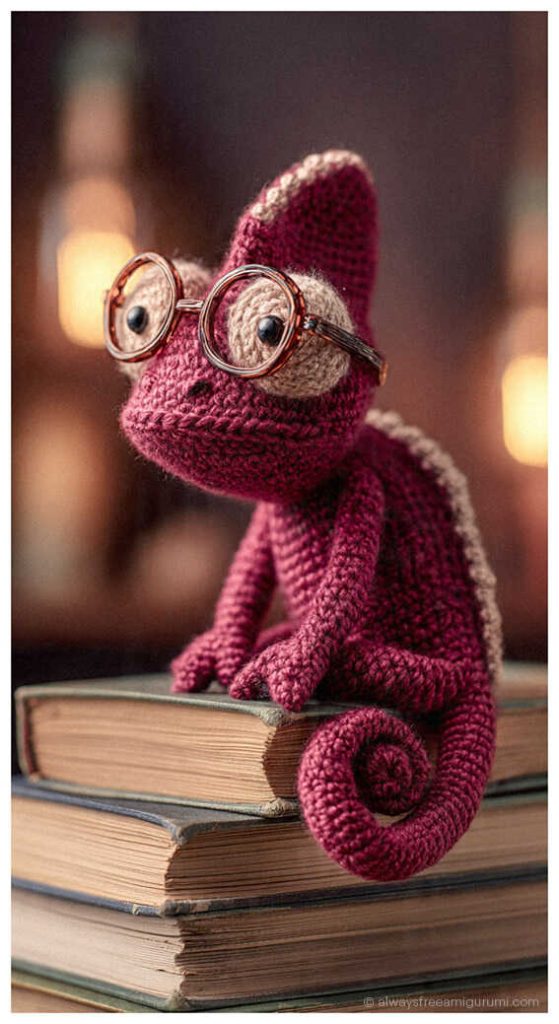
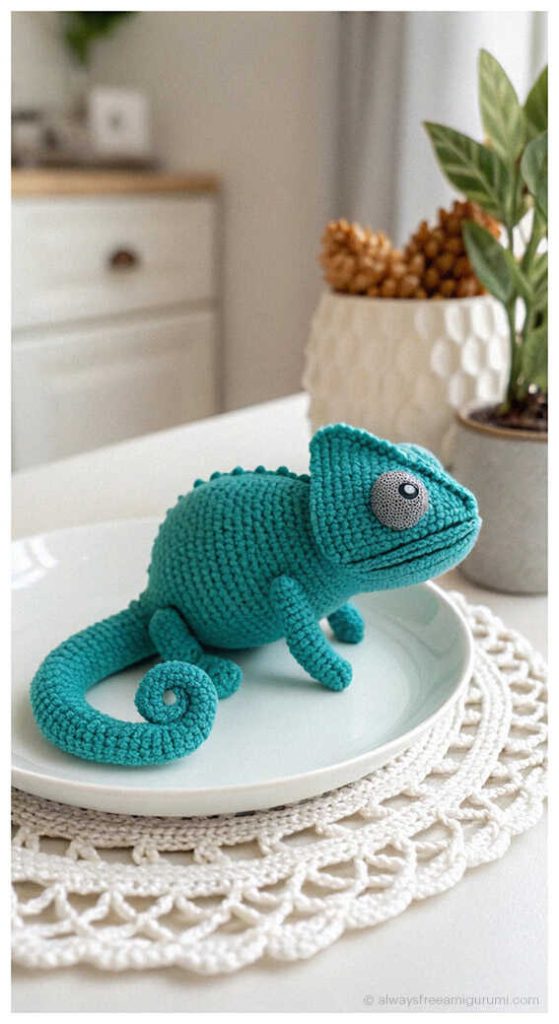
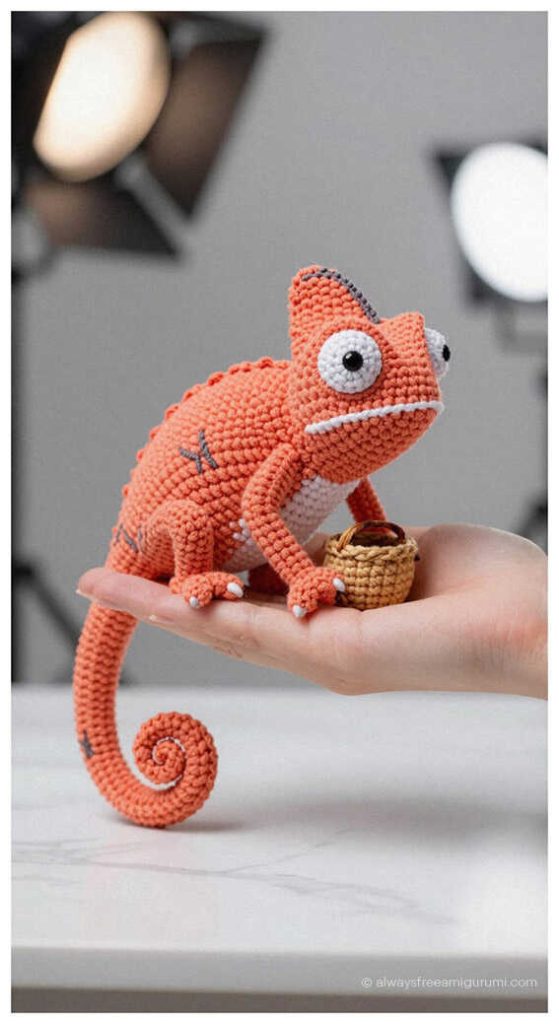
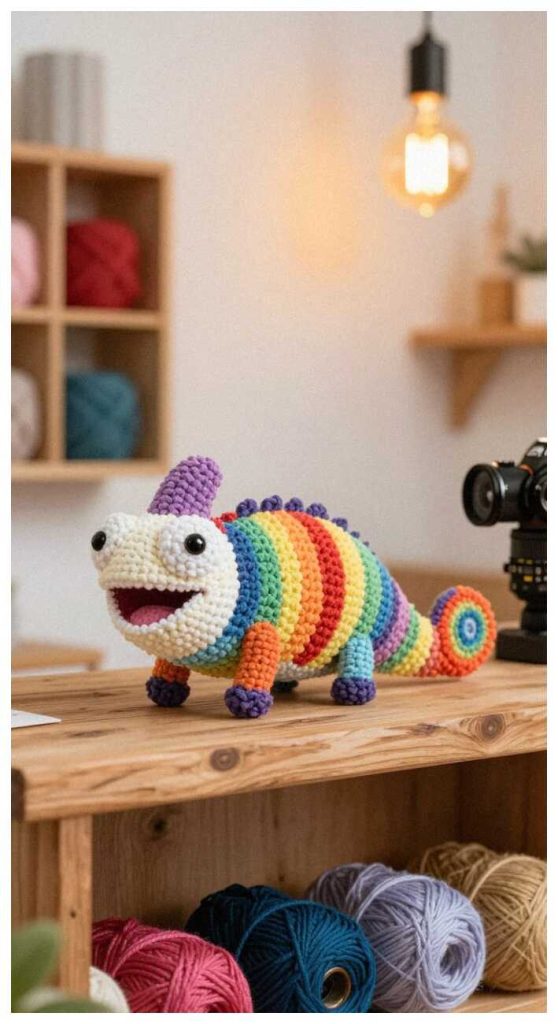
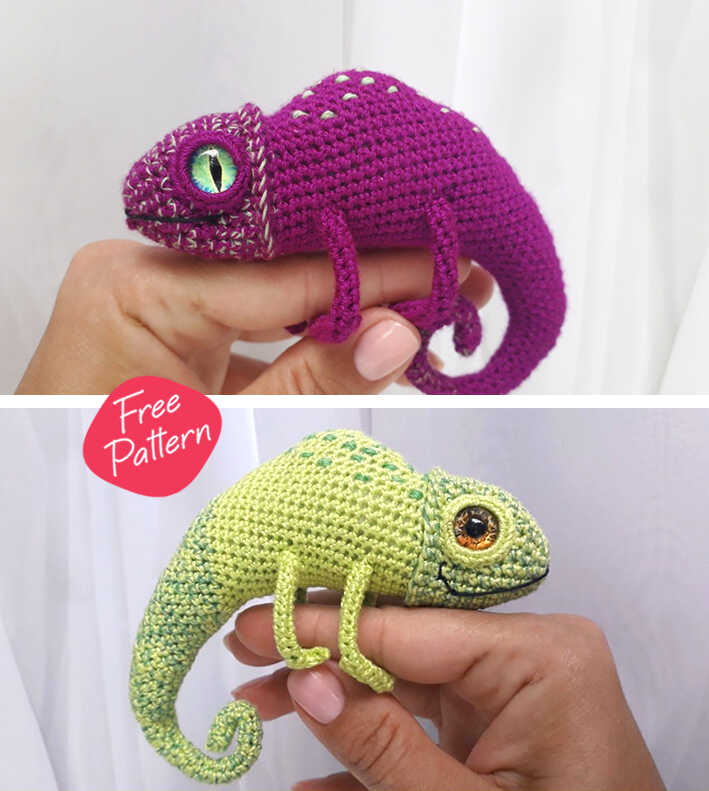
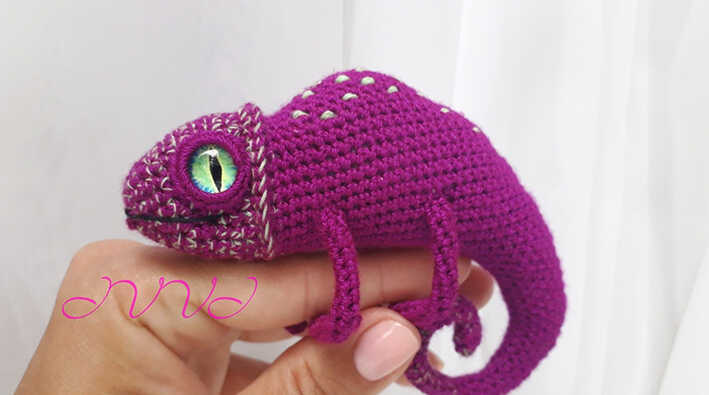
Adorable amigurumi chameleon ideas: