Parrot Popik Amigurumi – Free Crochet Pattern
Designer: Elena Timakova
VK: @timakova_lena
Tiny stitches, big cuteness — this pattern is sure to make you smile…
Parrot Popik Amigurumi Free Crochet Pattern is a charming, step by step, beginner friendly project designed to help you create a soft and expressive parrot using plush yarn. This pattern works up smoothly with plush yarn in the main color (about 20 grams), small amounts of two additional plush colors, and a fine yarn with a weight of 300 m / 100 g for details. You will also need 16 mm plastic safety eyes, stuffing material, crochet hooks suitable for the yarn thickness (the designer uses 3.5 mm and 2 mm), and a yarn needle with a large eye. At the end of the pattern, you will also find lovely amigurumi parrot ideas to inspire different color combinations and creative variations. Many thanks to the talented designer Elena Timakova for sharing this delightful parrot design.
With its plush texture and clear construction, this amigurumi parrot is perfect for crocheters who enjoy cute animal projects and want a relaxing make. The instructions are easy to follow, guiding you through shaping, assembly, and finishing details while keeping the process enjoyable and stress-free. Whether you crochet Parrot Popik as a gift, a decorative piece, or part of a themed collection, this pattern offers a fun way to explore color play and texture while building confidence in amigurumi techniques.
Materials and tools
Plush yarn in the main color, approximately 20 grams
One meter each of plush yarn in two additional colors
A small amount of yarn with a weight of 300 m / 100 g
Plastic safety eyes, 16 mm
Stuffing material
Crochet hooks suitable for the yarn thickness (the designer used sizes 3.5 mm and 2 mm)
Yarn needle with a large eye
Abbreviations
ch – chain
sc – single crochet
dec – decrease (work 2 sc together)
inc – increase (work 2 sc in one stitch)
dc – double crochet
hdc – half double crochet
sl st – slip stitch
FREE PARROT POPIK AMIGURUMI CROCHET PATTERN
Eyelids
Use thin yarn and a 2 mm crochet hook.
R1: ch 6, join into a ring with sl st, ch 3, 17 dc (18)
R2: (2 sc, inc) repeat 6 times (24)
Fasten off, leaving a tail for sewing.
Body
Use plush yarn and a 3.5 mm crochet hook.
R1: ch 2, work 6 sc into the second chain from the hook (6)
R2: inc in each stitch (12)
R3: (1 sc, inc) repeat 6 times (18)
R4: (2 sc, inc) repeat 6 times (24)
Keep track of the beginning-of-round marker, it should be centered on the back; if needed, work a shifting stitch not included in the stitch count.
R5: 24 sc
R6: (inc, 3 sc) repeat 6 times (30)
R7: 30 sc
R8: 30 sc
R9: 25 sc, ch 7, starting from the second chain from the hook work sc, hdc, 2 dc, hdc, sc into the base of the 25th sc, 5 sc (31)
R10: 6 sc, ch 7, starting from the second chain from the hook work sc, hdc, 2 dc, hdc, sc into the base of the 6th sc, 5 sc, 4 dec, 6 sc, pull the wing made in R9 toward you, 6 sc (28)
R11: 6 sc, pull the wing made in R10 toward you, 22 sc (28)
R12: 28 sc
R13: 24 sc, work 1 sc catching the 7th chain of the wing, 3 sc (28)
R14: 3 sc, work 1 sc catching the 7th chain of the wing, 24 sc (28)
R15: 27 sc, ch 6, starting from the second chain from the hook work hdc, 2 dc, sc, sc (28)
R16: ch 9, starting from the second chain from the hook work sc, 2 hdc, 3 dc, hdc, sc, sc into the first stitch of the round, ch 6, starting from the second chain from the hook work hdc, 2 dc, sc, 26 sc, pull the first tail feather toward you, sc (28)
After completing R16, work 1 sc and 1 sl st while pulling the second and third tail feathers toward you, move the beginning-of-round marker two stitches to the left onto the worked stitches.
R17: work in back loops only, 3 sc, (dec, 5 sc) repeat 3 times, dec, 2 sc (24)
After completing R17, proceed with shaping the toy.
Facial details
Between R6 and R7, stepping 2 sc inward from the top edge of the wings toward the center, attach the safety eyes, place the crocheted eyelids onto the eyes before attaching, sew the eyelids around the edges using the remaining yarn tail.
Beak embroidery
Embroider the beak in two stages.
First, using the first color yarn, outline a triangle with the bottom point positioned at R11 and extending upward across 4 rounds, secure the yarn on the wrong side.
Second, using the second color yarn, embroider three horizontal stitches along the top of the beak, the needle entry and exit points should be one round below the edge of the beak, secure the yarn on the wrong side.
Stuff the toy lightly, the bottom part should remain flat.
Continue crocheting the body.
R18: (sc, dec) repeat 8 times (16)
R19: dec repeat 8 times (8)
R20: dec repeat 4 times (4)
Pull the opening closed and weave in the yarn tail.
The parrot is finished.
P.S. The name Popik is a playful diminutive form inspired by the well-known Russian expression.
Copyright & Credits
Original amigurumi parrot pattern by Elena Timakova. Published here in translated form for crochet enthusiasts. Please acknowledge the designer if you use or share the pattern.
You may also like Amigurumi Peacock Pablo Free Crochet Pattern
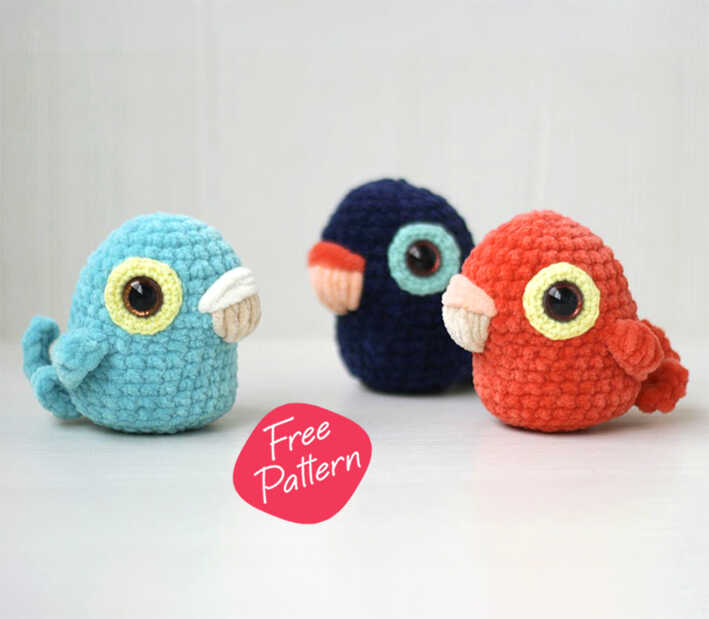
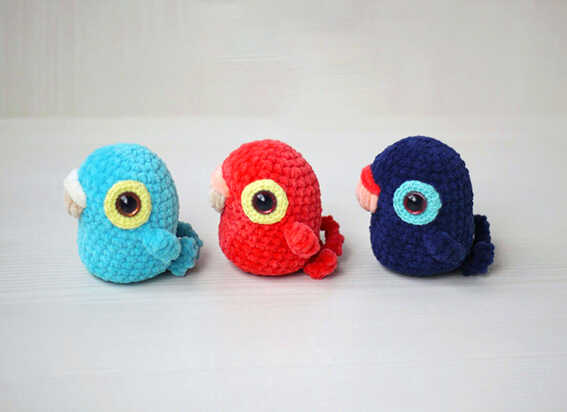
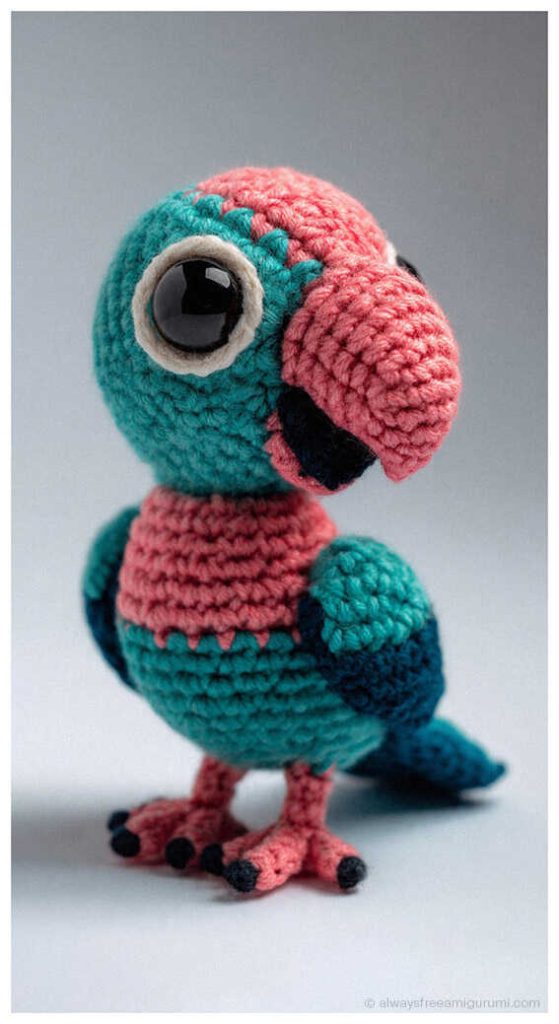
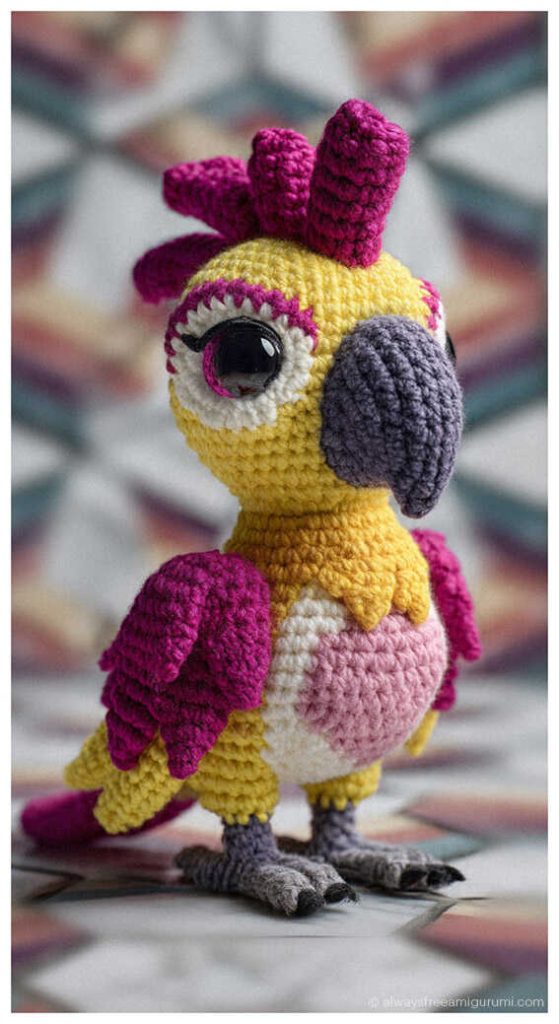
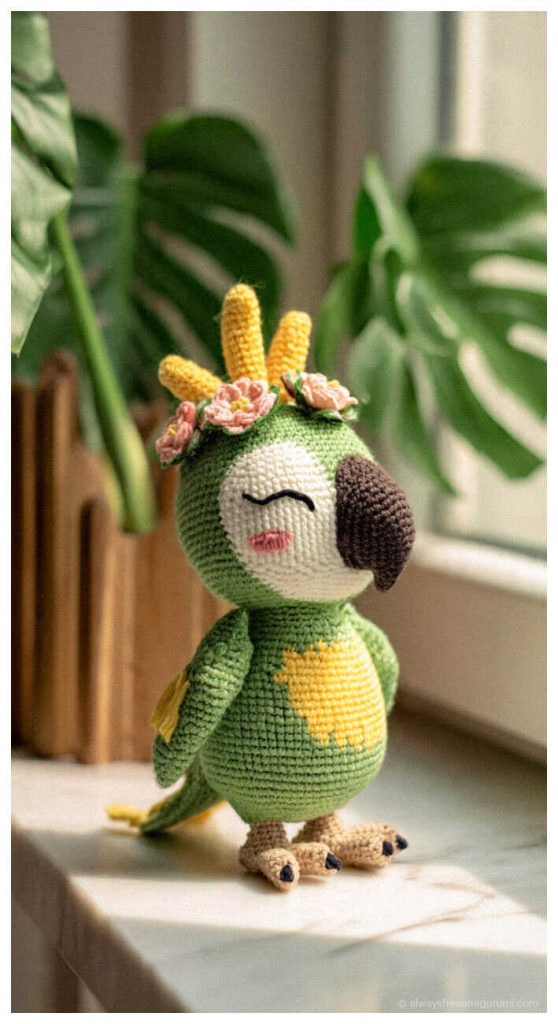
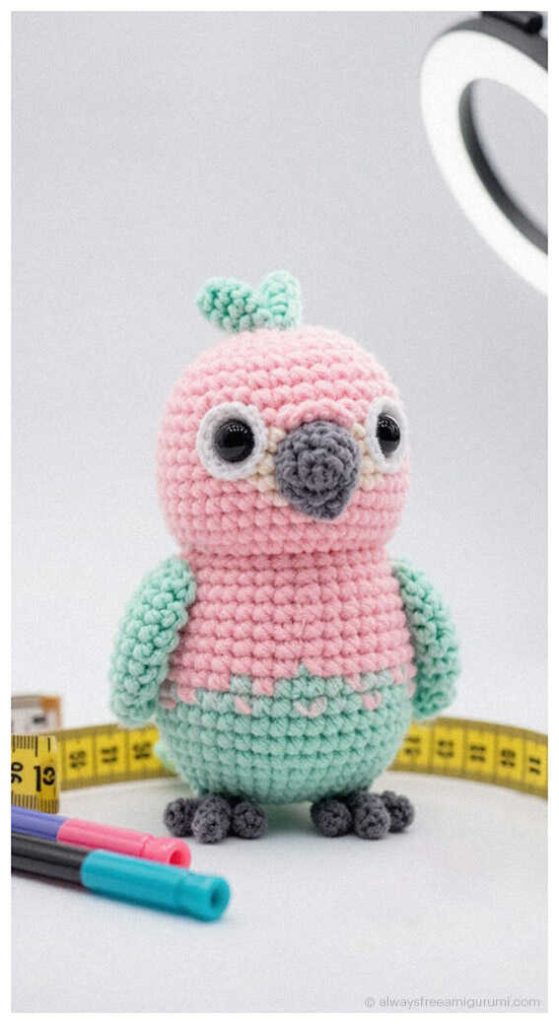
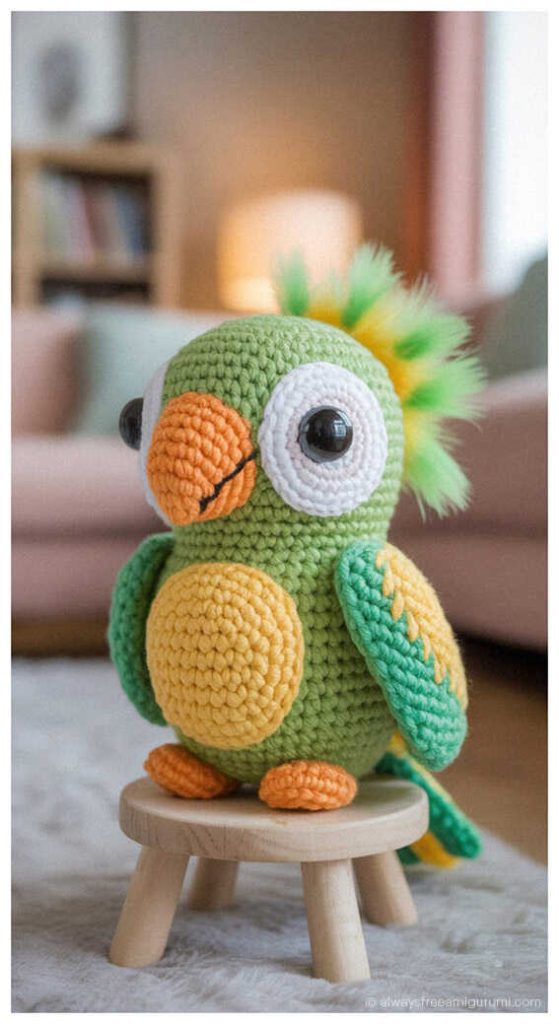
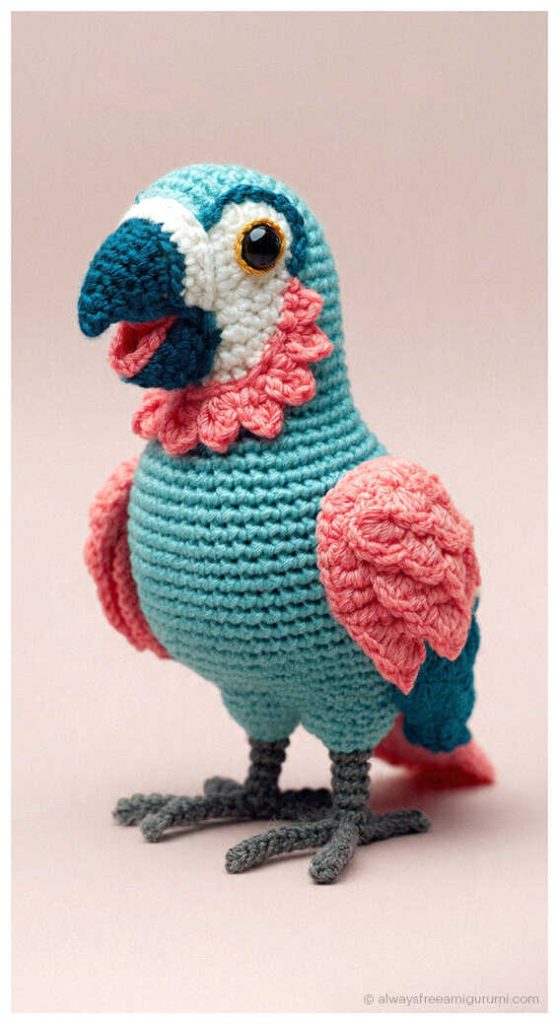
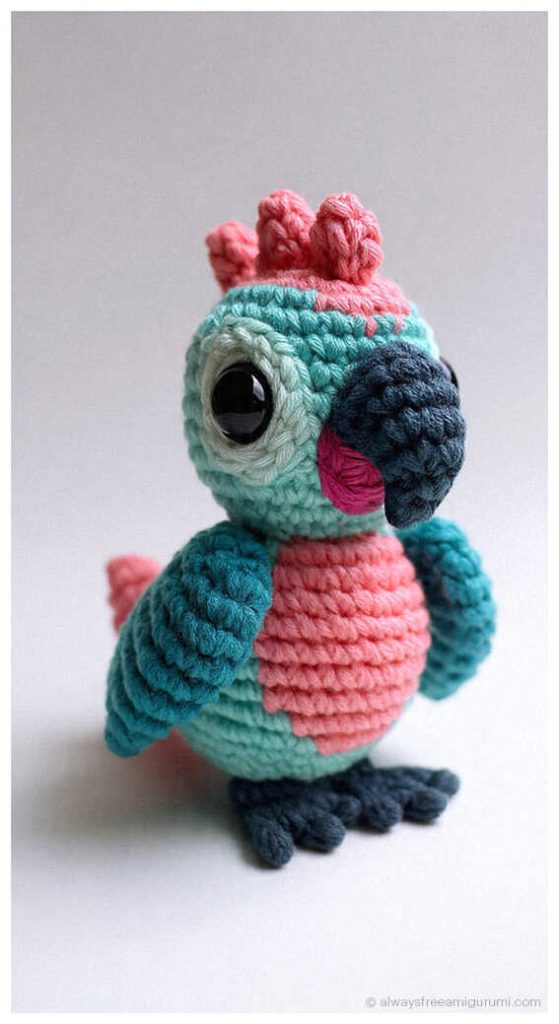
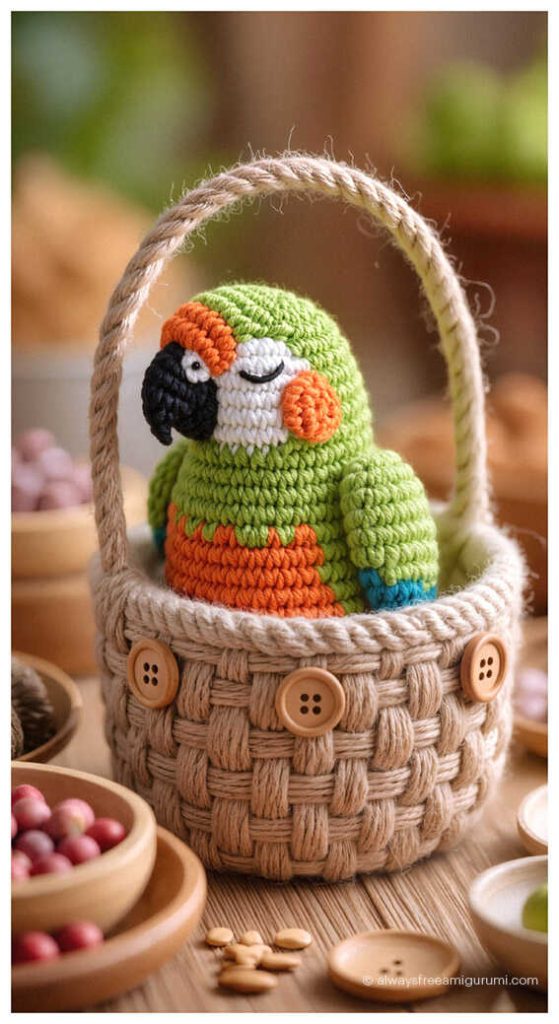
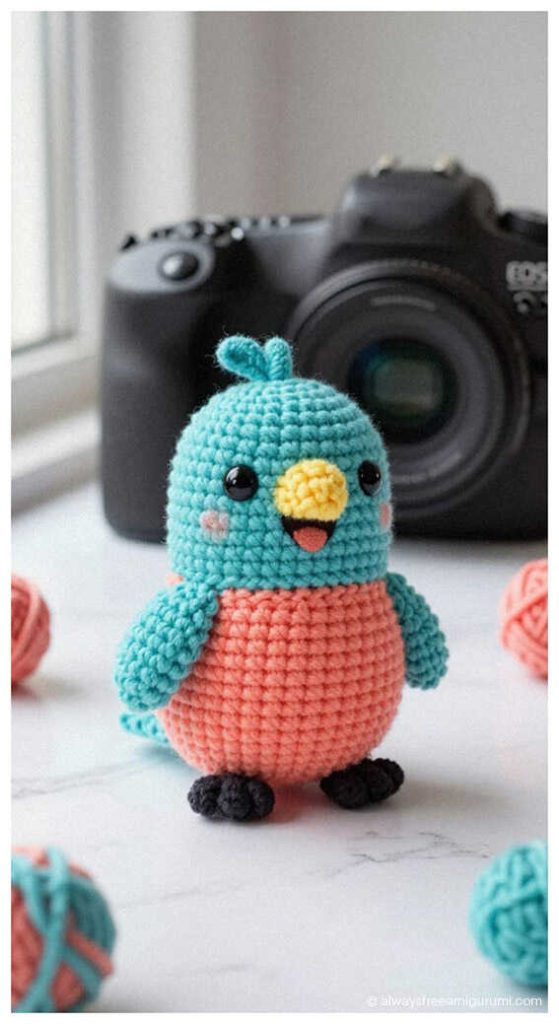
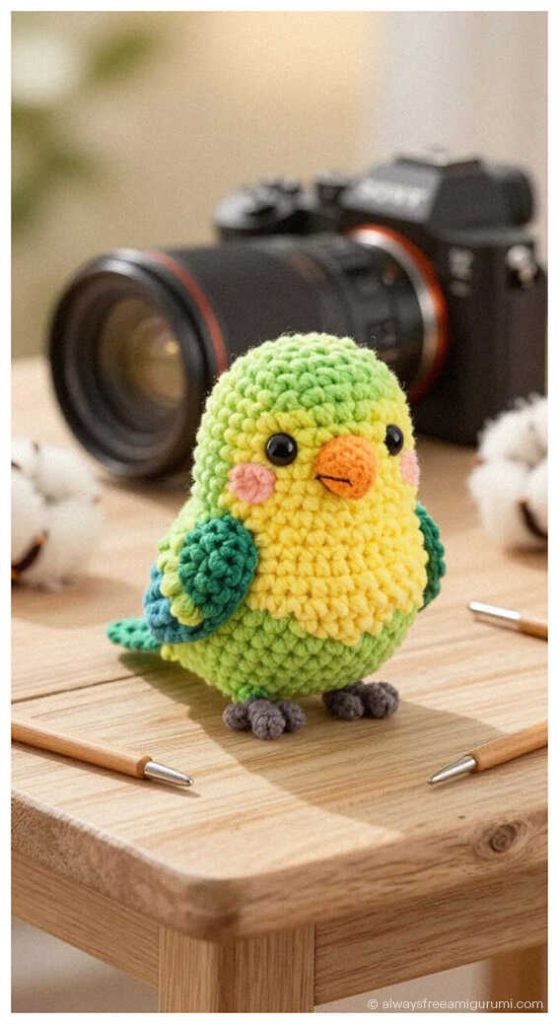
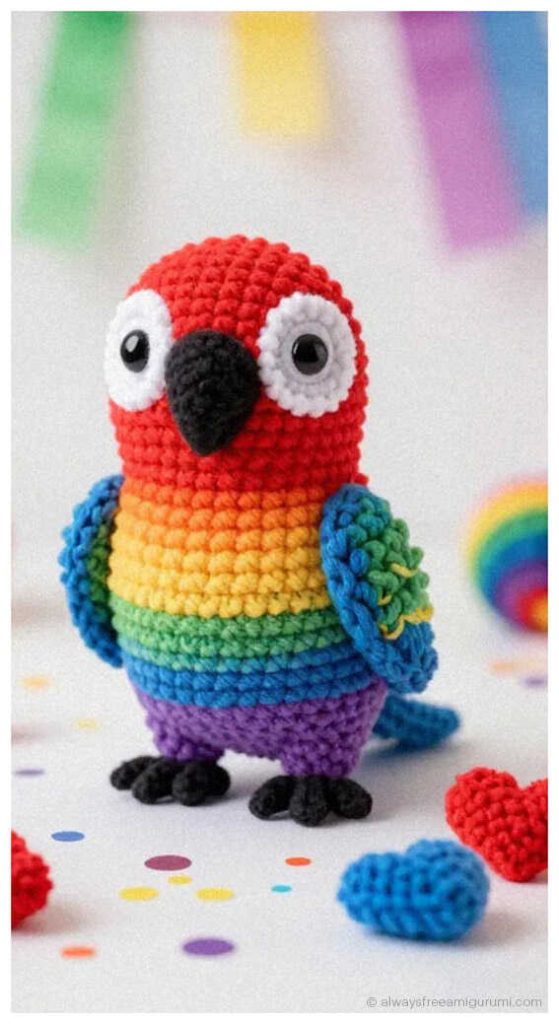
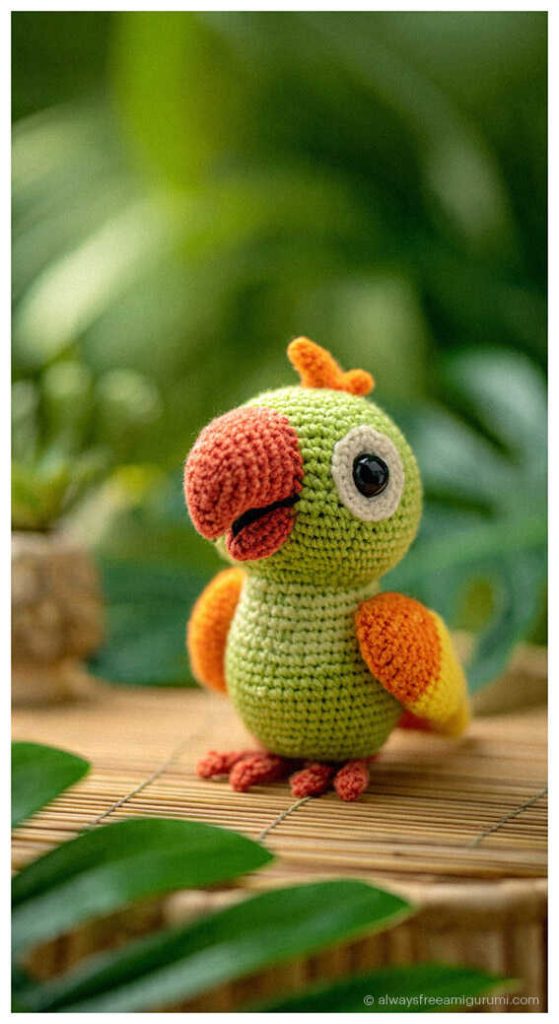
Imaginative amigurumi parrot ideas:


From Yarn to Charm: Begin Your Amigurumi Journey
Explore our ever-growing collection of free amigurumi crochet patterns—from sweet little cats, playful puppies, and cuddly bunnies to magical unicorns, gentle elephants, and tall giraffes. You’ll also find beloved classics like amigurumi bears, amigurumi foxes, amigurumi pandas, amigurumi monkeys, amigurumi lambs, amigurumi pigs, amigurumi penguins, amigurumi birds, amigurumi hippos, amigurumi llamas, amigurumi dinosaurs, and even whimsical amigurumi dolls and amigurumi clowns.
Each pattern comes with easy-to-follow instructions and beautiful example photos to support you at every step. Whether you’re a beginner or an experienced crocheter, our designs will spark your creativity.
Join our thriving community on Facebook—connect with fellow makers, share your finished toys, and stay updated with the latest patterns and inspiration.
Your next amigurumi adventure starts here—let’s crochet something adorable together!
Keywords: free amigurumi patterns, crochet toys, amigurumi animals, beginner amigurumi, amigurumi dolls, crochet free patterns, crochet patterns, easy crochet