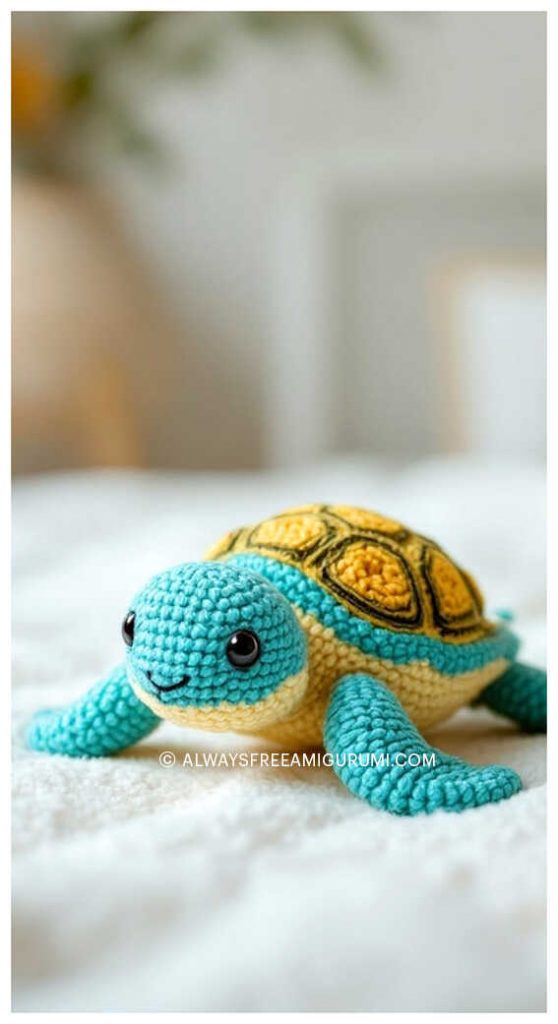
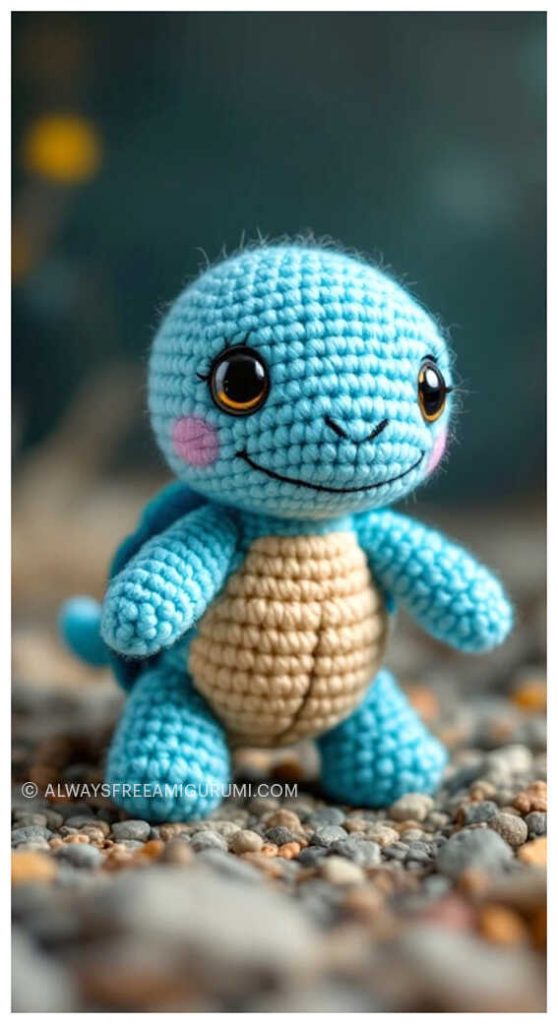
Phoebe the Sea Turtle Crochet Free Pattern
Designer: Truva Plyusha
Instagram: @tvoya_plyusha_
Hello Amigurumi Lovers…
One of the free amigurumi crochet patterns we will share today is the amigurumi Phoebe the Sea Turtle whose photos and design belong to Truva Plyusha. You can learn how to crochet this sea turtle using the free amigurumi pattern. Thanks to Truva Plyusha for this cute sea turtle.
Amigurumi cats, amigurumi dolls, amigurumi dogs, amigurumi unicorns, amigurumi lambs, amigurumi dinosaurs, amigurumi foxes, amigurumi bears, amigurumi giraffes, amigurumi pigs, amigurumi birds, amigurumi penguins, amigurumi panda, amigurumi llama, amigurumi bunny, amigurumi clowns, amigurumi elephants, amigurumi hippos, amigurumi monkeys… All the amigurumi toys pattern step by step tutorials and ideas you are looking for are here… Don’t forget to visit our YouTube channel…
Abbreviations:
Ch – Chain;
MR – Magic Ring;
inc – increase (2 stitches in one);
dec – decrease;
sc – single crochet;
tch – turning chain.
Used materials:
Hook 1.5 mm;
Needle for sewing;
Stuffing;
Scissors;
Safety eyes 10 mm;
Yarn:
YarnArt Jeans 03 (for the belly);
YarnArt Jeans 71 (for the shell);
Alize Cotton Gold 15 (main color);
White for the eyes;
Black for the eyelashes and nose.
AMIGURUMI SEA TURTLE FREE CROCHET PATTERN
Head
1. 6sc in MR
2. 6inc (12)
3. (1sc, inc) repeat 6 times (18)
4. (2sc, inc) repeat 6 times (24)
5. (3sc, inc) repeat 6 times (30)
6. (4sc, inc) repeat 6 times (36)
7. (5sc, inc) repeat 6 times (42)
8.-15. 42sc (8 rounds)
Insert the eyes between rounds 12 and 13. The distance between the eye legs is 12 single crochets.
16. (5sc, dec) repeat 6 times (36)
17. (4sc, dec) repeat 6 times (30)
18. (3sc, dec) repeat 6 times (24)
19. (2sc, dec) repeat 6 times (18)
20. (1sc, dec) repeat 6 times (12)
21. 6dec (6)
Stuff well. Close the opening. Cut the yarn.
Tail
1. 5sc in MR
2. 5inc (10)
3. (2sc, inc) repeat 3 times, 1sc (13)
4. 13sc
Fold in half and crochet 6 sc together.
Secure and cut the yarn.
Head shaping
Stage 1.
Take the yarn in the main color.
Insert the needle into point 1, bring it out at point 2. Insert it into point 3 (the yarn goes below the eye), bring it out at point 1. Insert into point 4, bring it out at point 5. Insert into point 6 (the yarn goes below the eye), bring it out at point 4. Tighten the eyes well.
Tie a knot and cut the yarn.
Stage 2.
Take the yarn in the main color.
Insert the needle into point 1, bring it out at point 2. Insert into point 3 (the yarn goes to the right of the eye), bring it out at point 4. Insert into point 5 (the yarn goes to the left of the eye), bring it out at point 6. Tighten the eyes well.
Tie a knot and cut the yarn.
Embroider the eyes with white yarn.
Embroider the eyelids and nose. The nose is positioned between rounds 13 and 14, at a distance of 2.5 single crochets.
Embroider the eyelashes with black yarn. You can also emphasize the nose.
Mouth tightening:
Take the yarn in the main color.
Thread it onto the needle. Insert it into point 1. Bring it out at point 2 and insert it into point 3 (these points are located between rounds 17 and 18, at a distance of 2 sc).
Bring it out at point 1, tighten it well, and tie a knot.
Hide the yarn and smooth the stuffing to ensure there are no dents on top.
Upper fins (2 pieces)
1. 6sc in MR
2. 6inc (12)
3. (1 sc, inc) repeat 6 times (18)
4. (2sc, inc) repeat 6 times (24)
5. (Зsc, inc) repeat 6 times (30)
6. (4sc, inc) repeat 6 times (36)
7. (5sc, inc) repeat 6 times (42)
8. 21 sc (incomplete round)
Fold in half and crochet 21 sc together.
Continue with back-and-forth rows:
1. tch, 3sc
2. tch, 3sc
Finish the crochet, secure, and cut the yarn.
To make the second fin symmetrical, move the yarn to the other end (see the photo). To do this, cut the yarn, leaving a long tail, and thread it onto the needle.
Insert the needle inside the fin and bring it out at the starting point, where you began crocheting the sides of the fin together. Make a chain stitch and continue crocheting back-and-forth rows:
1. tch, 3sc
2. tch, 3sc
Secure and cut the yarn.
Lower fins (2 pieces)
1. 6sc in MR
2. 6inc (12)
3. (1sc, inc) repeat 6 times (18)
4. (2sc, inc) repeat 6 times (24)
5. (3sc, inc) repeat 6 times (30)
6. 15sc (incomplete round)
Fold in half and crochet 15 sc together.
Continue with back-and-forth rows:
1. tch, 3sc
2. tch, Зsc
Finish the crochet, secure, and cut the yarn.
To make the second fin symmetrical, move the yarn to the other end (see the photo). To do this, cut the yarn, leaving a long tail, and thread it onto the needle.
Insert the needle inside the fin and bring it out at the starting point, where you began crocheting the sides of the fin together. Make a chain stitch and continue crocheting back-and-forth rows.:
1. tch, 3sc
2. tch, sc
Secure and cut the yarn.
Shell
Start crocheting with the yarn for the shell color.
1. 6 sc in MR
2. 6inc (12)
3. (1sc, inc) repeat 6 times (18)
4. (2sc, inc) repeat 6 times (24)
5. (Зо6н, inc) repeat 6 times (30)
6. (4sc, inc) repeat 6 times (36)
7. (5sc, inc) repeat 6 times (42)
8. (6sc, inc) repeat 6 times (48)
9.-10. 48sc (2 ряда)
Change the yarn color to a lighter shade. Crochet through the back loops and incorporate the fins and tail.
11. 4 sc, 4 sc together with the upper fin, 4 sc, 4 sc together with the lower fin, 2 sc, 6 sc together with the tail, 2 sc, 4 sc together with the lower fin, 4 sc, 4 sc together with the upper fin, 4 sc, 6 ch (this will be the opening for the head) (48).
Skip 6 sc and continue with the next round.
12. 48sc
13. (6sc, dec) repeat 6 times (42)
14. (5sc, dec) repeat 6 times (36)
15. (4sc, dec) repeat 6 times (30)
16. (3sc, dec) repeat 6 times (24)
17. (2sc, dec) repeat 6 times (18)
18. (1sc, dec) repeat 6 times (12)
19. 6dec (6)
Tighten the opening. Cut the yarn.
Through the opening for the head, stuff the shell well. Make sure the belly area is flat.
Attach the shell’s main color yarn to the row where you crocheted through the back loops. Crochet through the front loops: 1 sc, 2 ch to the end of the row. Secure and cut the yarn.
Now, crochet a small neck. Attach the belly color yarn to the opening and crochet sc to the end of the row. Secure and cut the yarn, leaving a long tail for attaching the head.
Sew the head to the shell.
Our turtle is ready!
I would be happy to see your work.
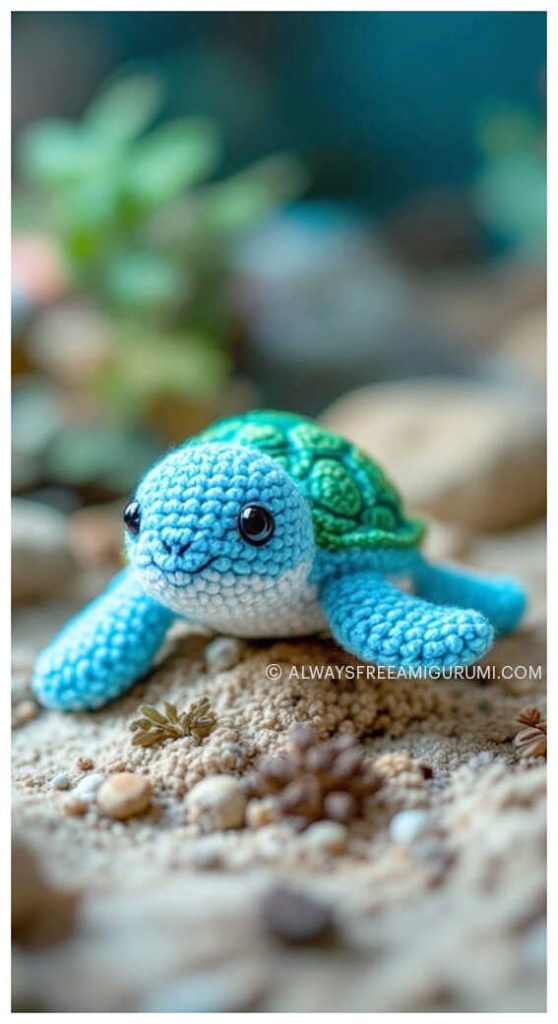
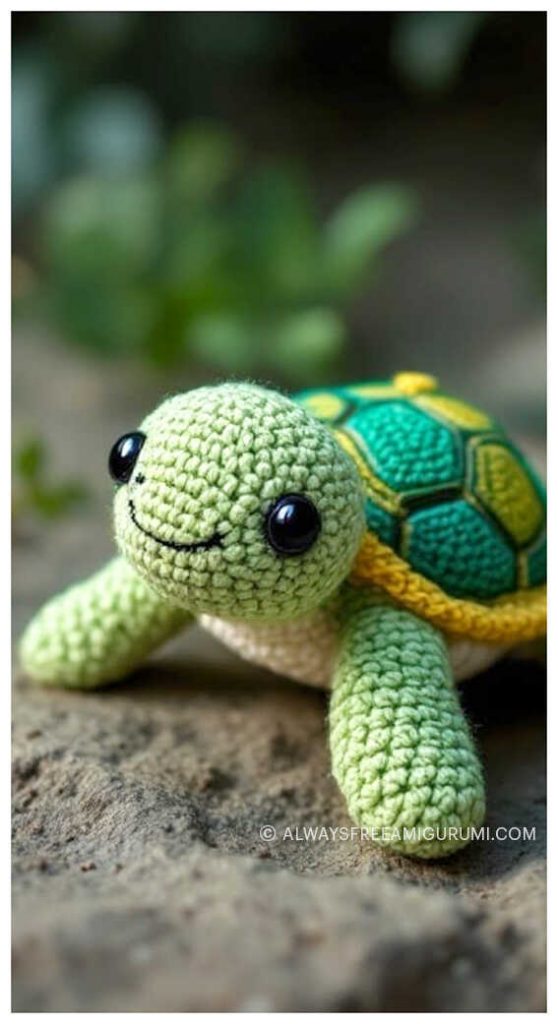
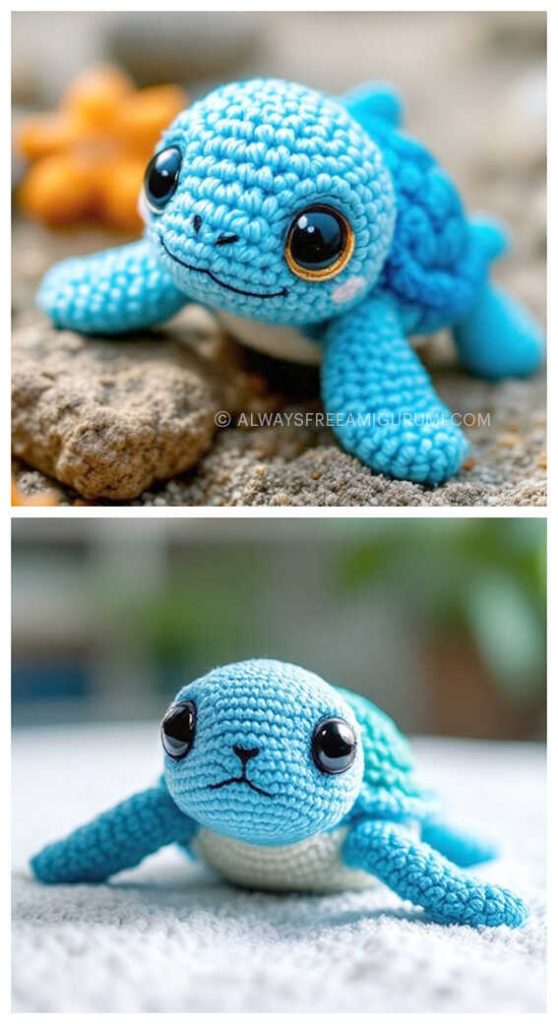
More amigurumi sea turtle ideas: